Mounting an LED light bar to the roof of your truck can be easier said than done. Here we show you some tips and tricks on how to get the job done!
Have you seen this new LED light bar technology from Vision X? They’ve invented a light bar that uses individual reflector style LED optics instead of the traditional style, and THEY ARE NOT ALL STRAIGHT! This is a totally innovative way to design a light bar, just check out the effect when turned on:
The other thing that is different about the new XPI series of the LED light bars is the mounting method.
At the time this blog was written and the XPI light bar was released, there was no side-end cap mounting solution. That is why we created the blog below. Recently, however, Vision X released a new end cap mounting solution for the XPI and XPR light bars. This new mounting solution can take the place of the original solution we came up with. You can find a link to these new mounts here.
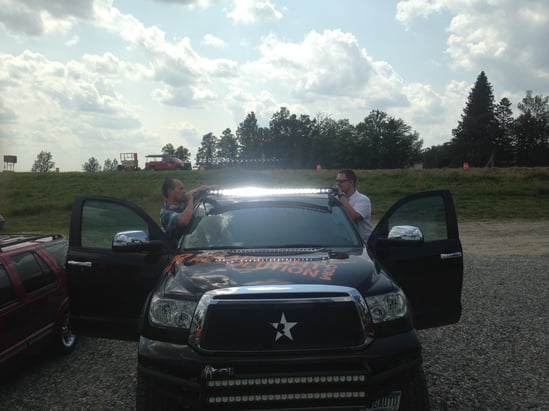
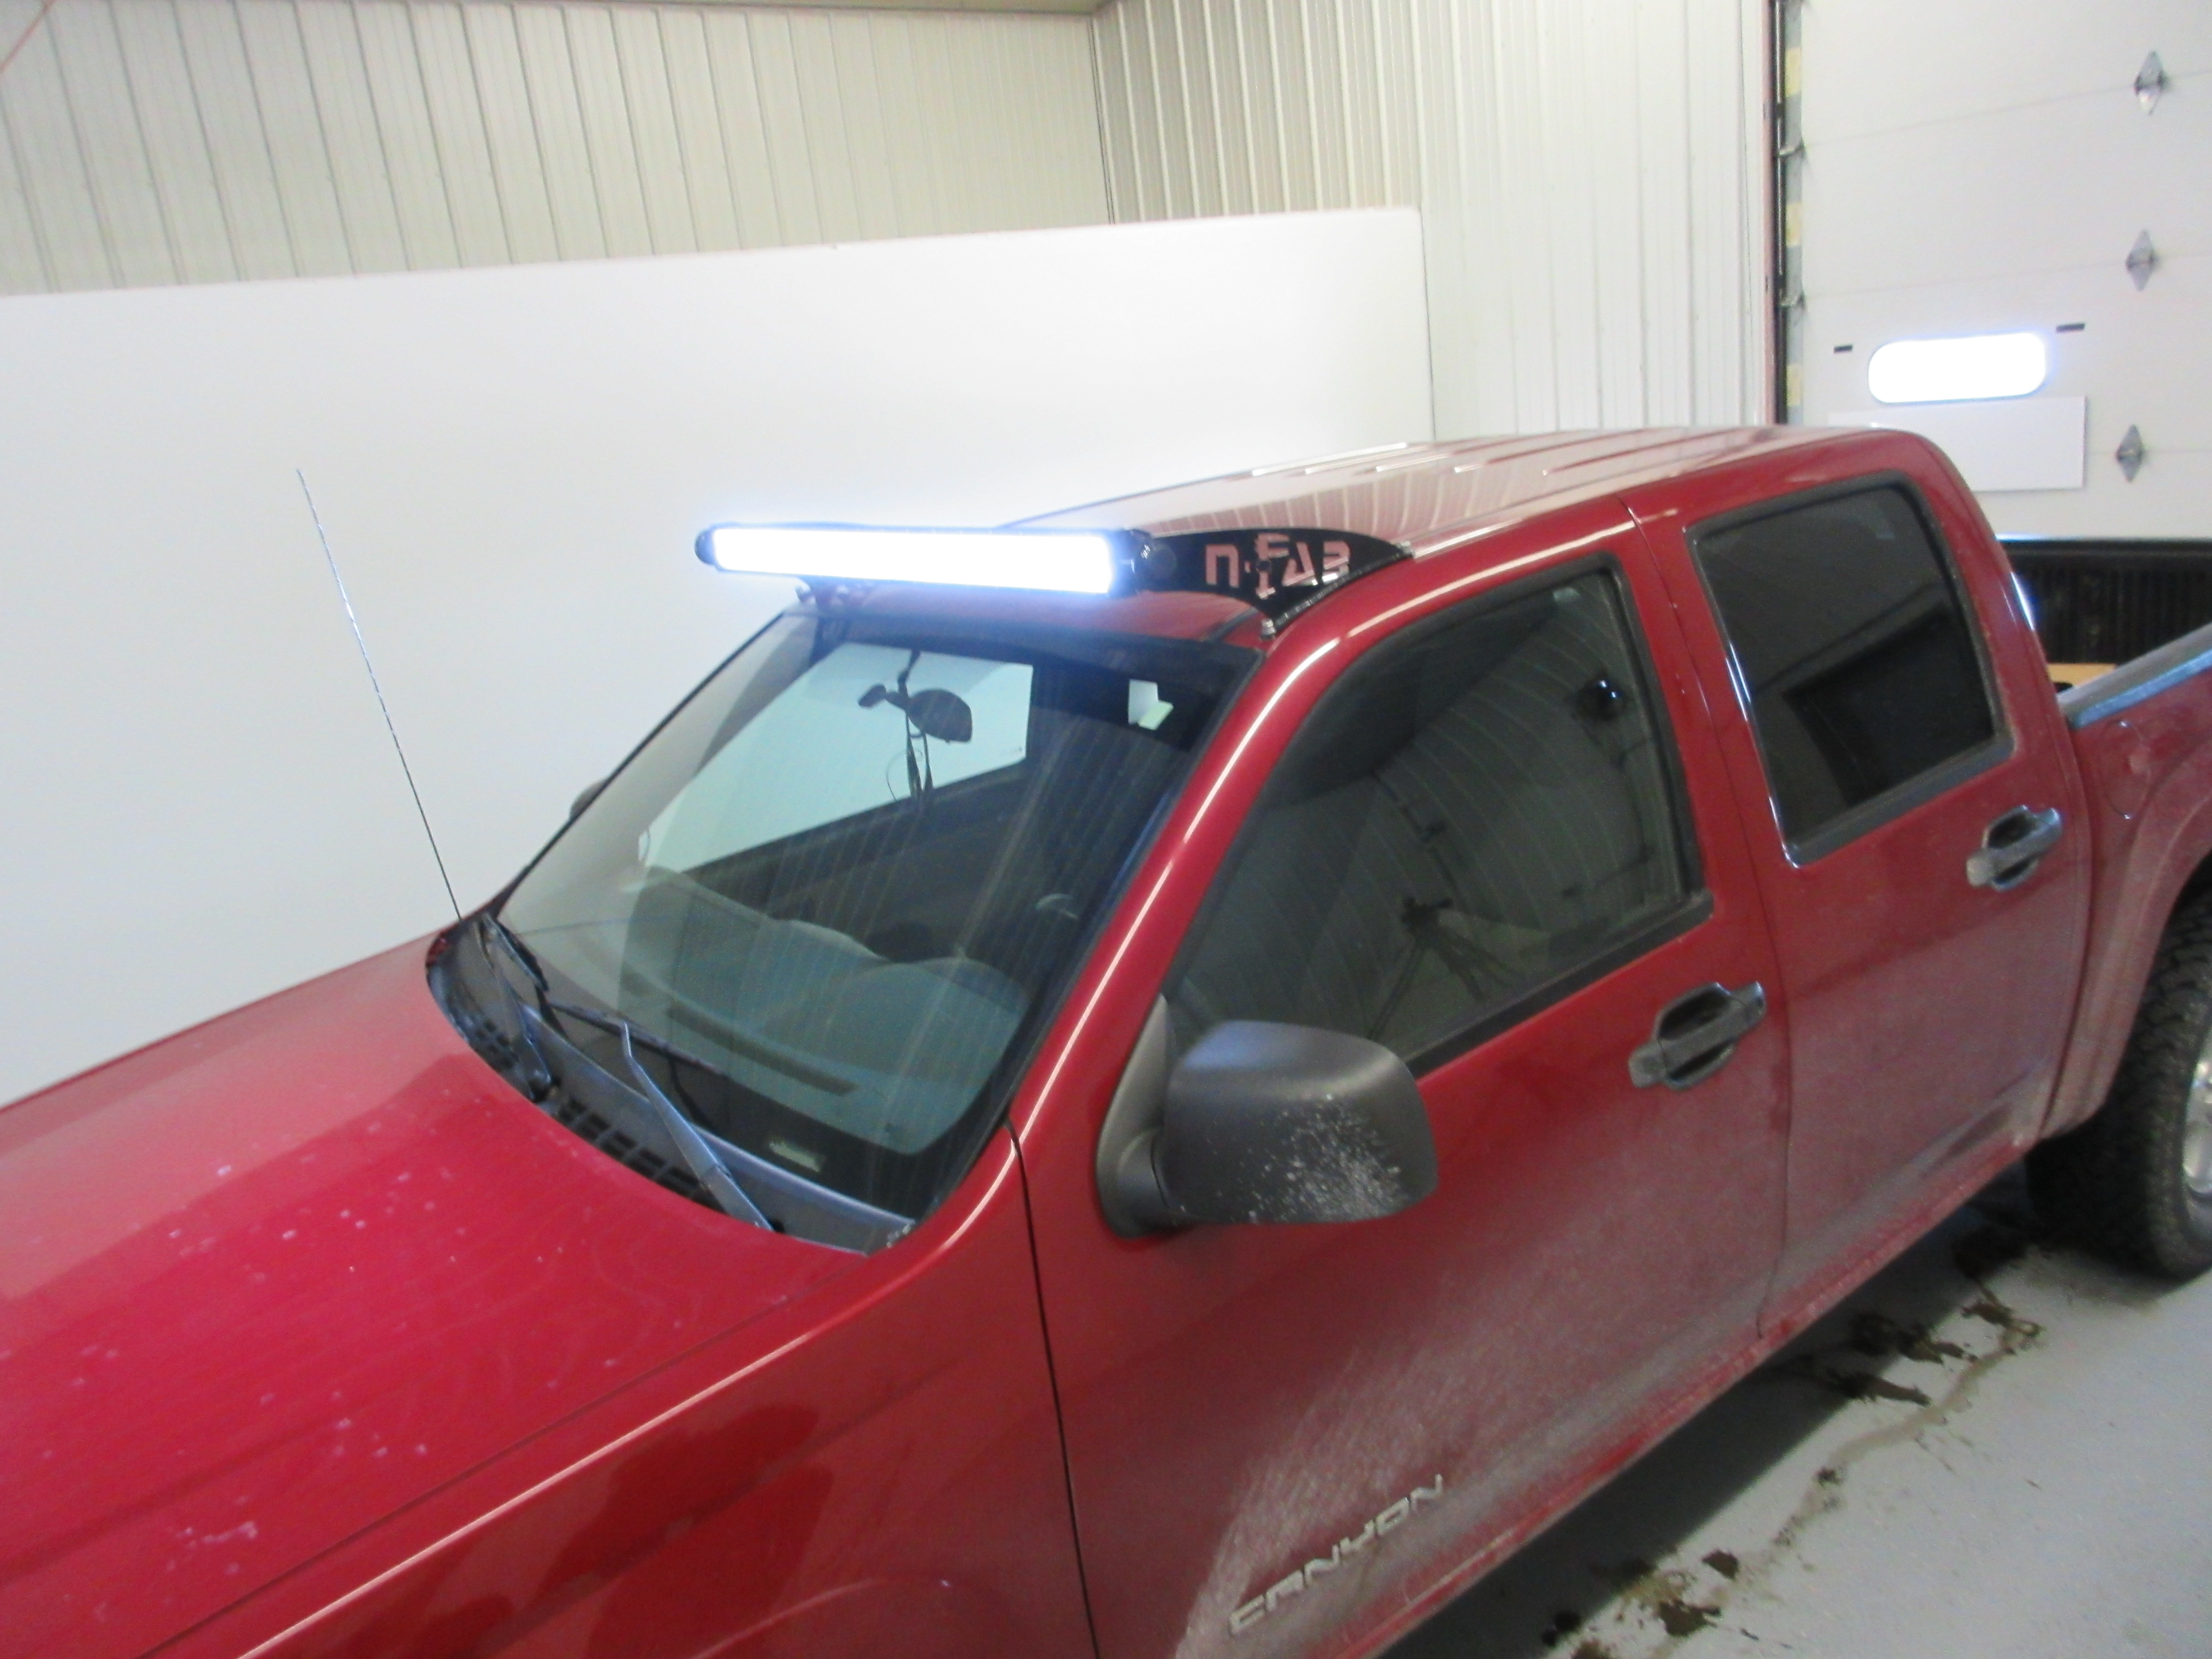
There was no option for side / end-cap mounting, only with the supplied brackets, and these supplied brackets are not designed to mount on the roof using an N-Fab bracket kit, so we got creative and made it work! Here’s how we did it:
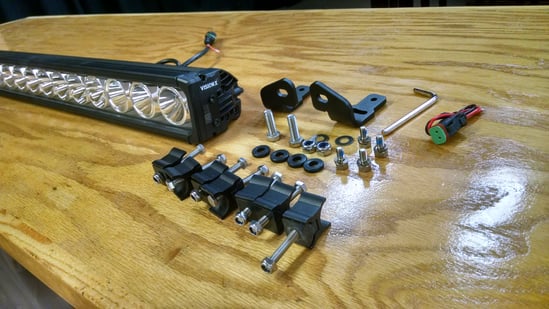
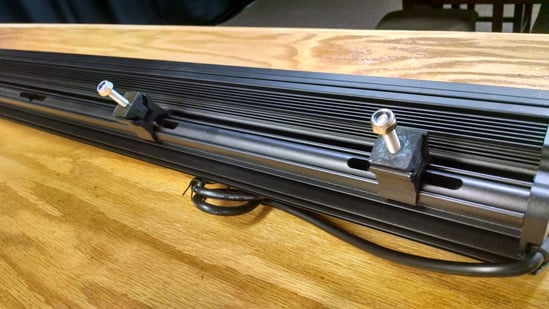
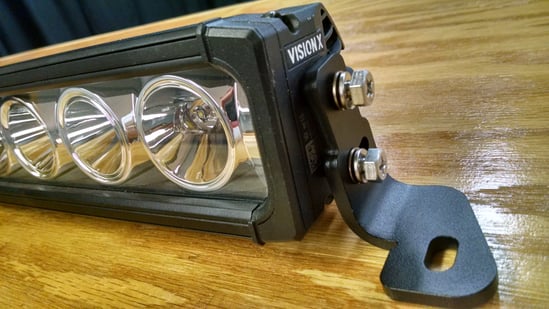
We wanted to do something a little different. With roof brackets already installed on the Tundra, we wanted to do a roof mount install. If you’re like us and want to install the Vision X XPI LED Light Bar on your roof, keep reading and we’ll show you what we did.
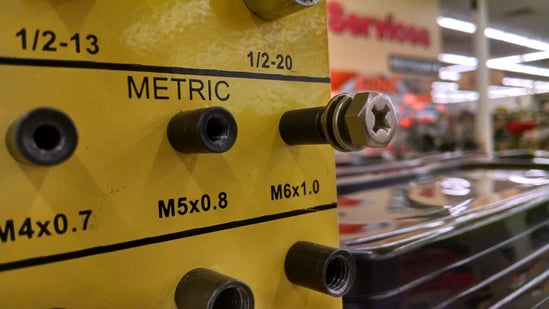
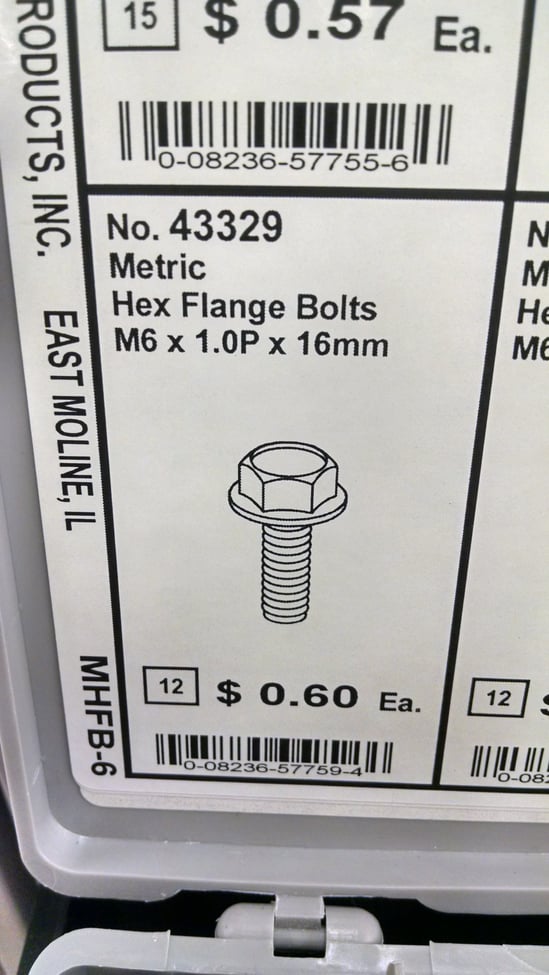
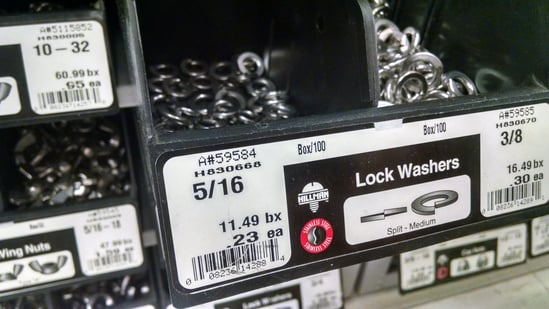
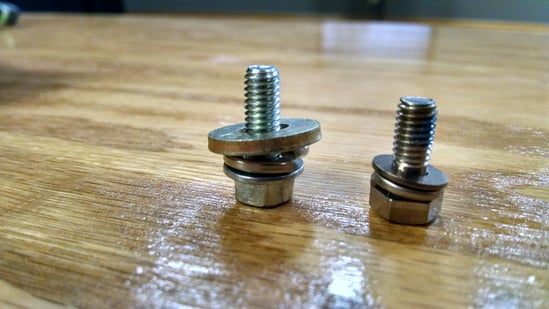
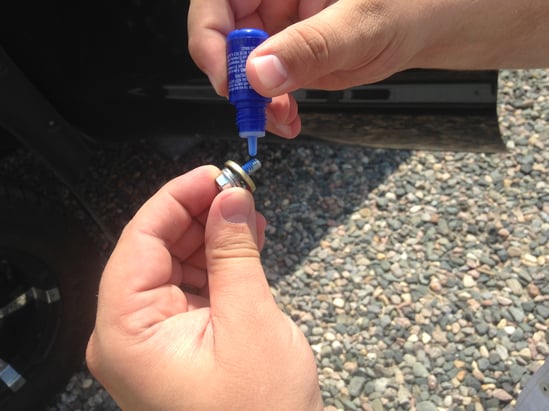
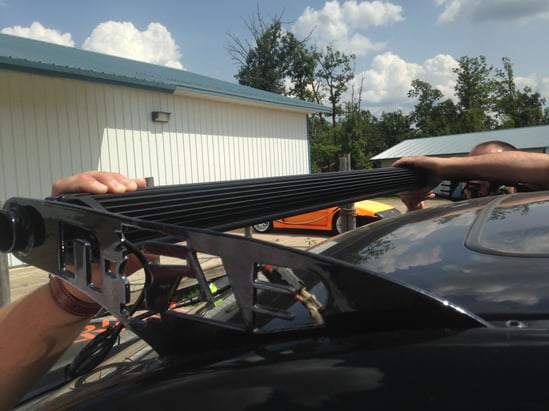
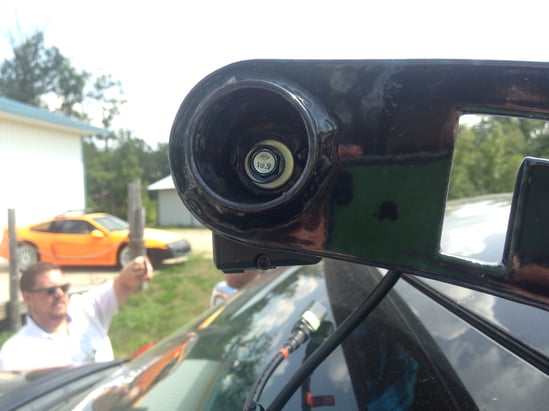
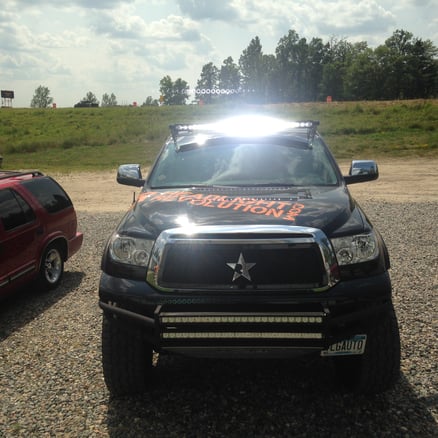
This style of the mounting method worked, but I don’t think it would be recommended by Vision X! If you want to copy what we did, beware that you do so at your own risk!
After doing the install and driving around with it mounted on the truck for a while, here are some new tips and tricks:
- Install a rubber washer between the light bar and the roof mount brackets. This will help with any vibration you might have and keep some positive pressure on all of the hardware.
- If you have vibration issues try removing the long metal bracket that supports the underside foot-mounting system. To do this you have to break the seal on the end caps, which voids the warranty, but then you won’t have that loose metal bar clanging around. Be careful, we can do it for you if you don’t want to try it!
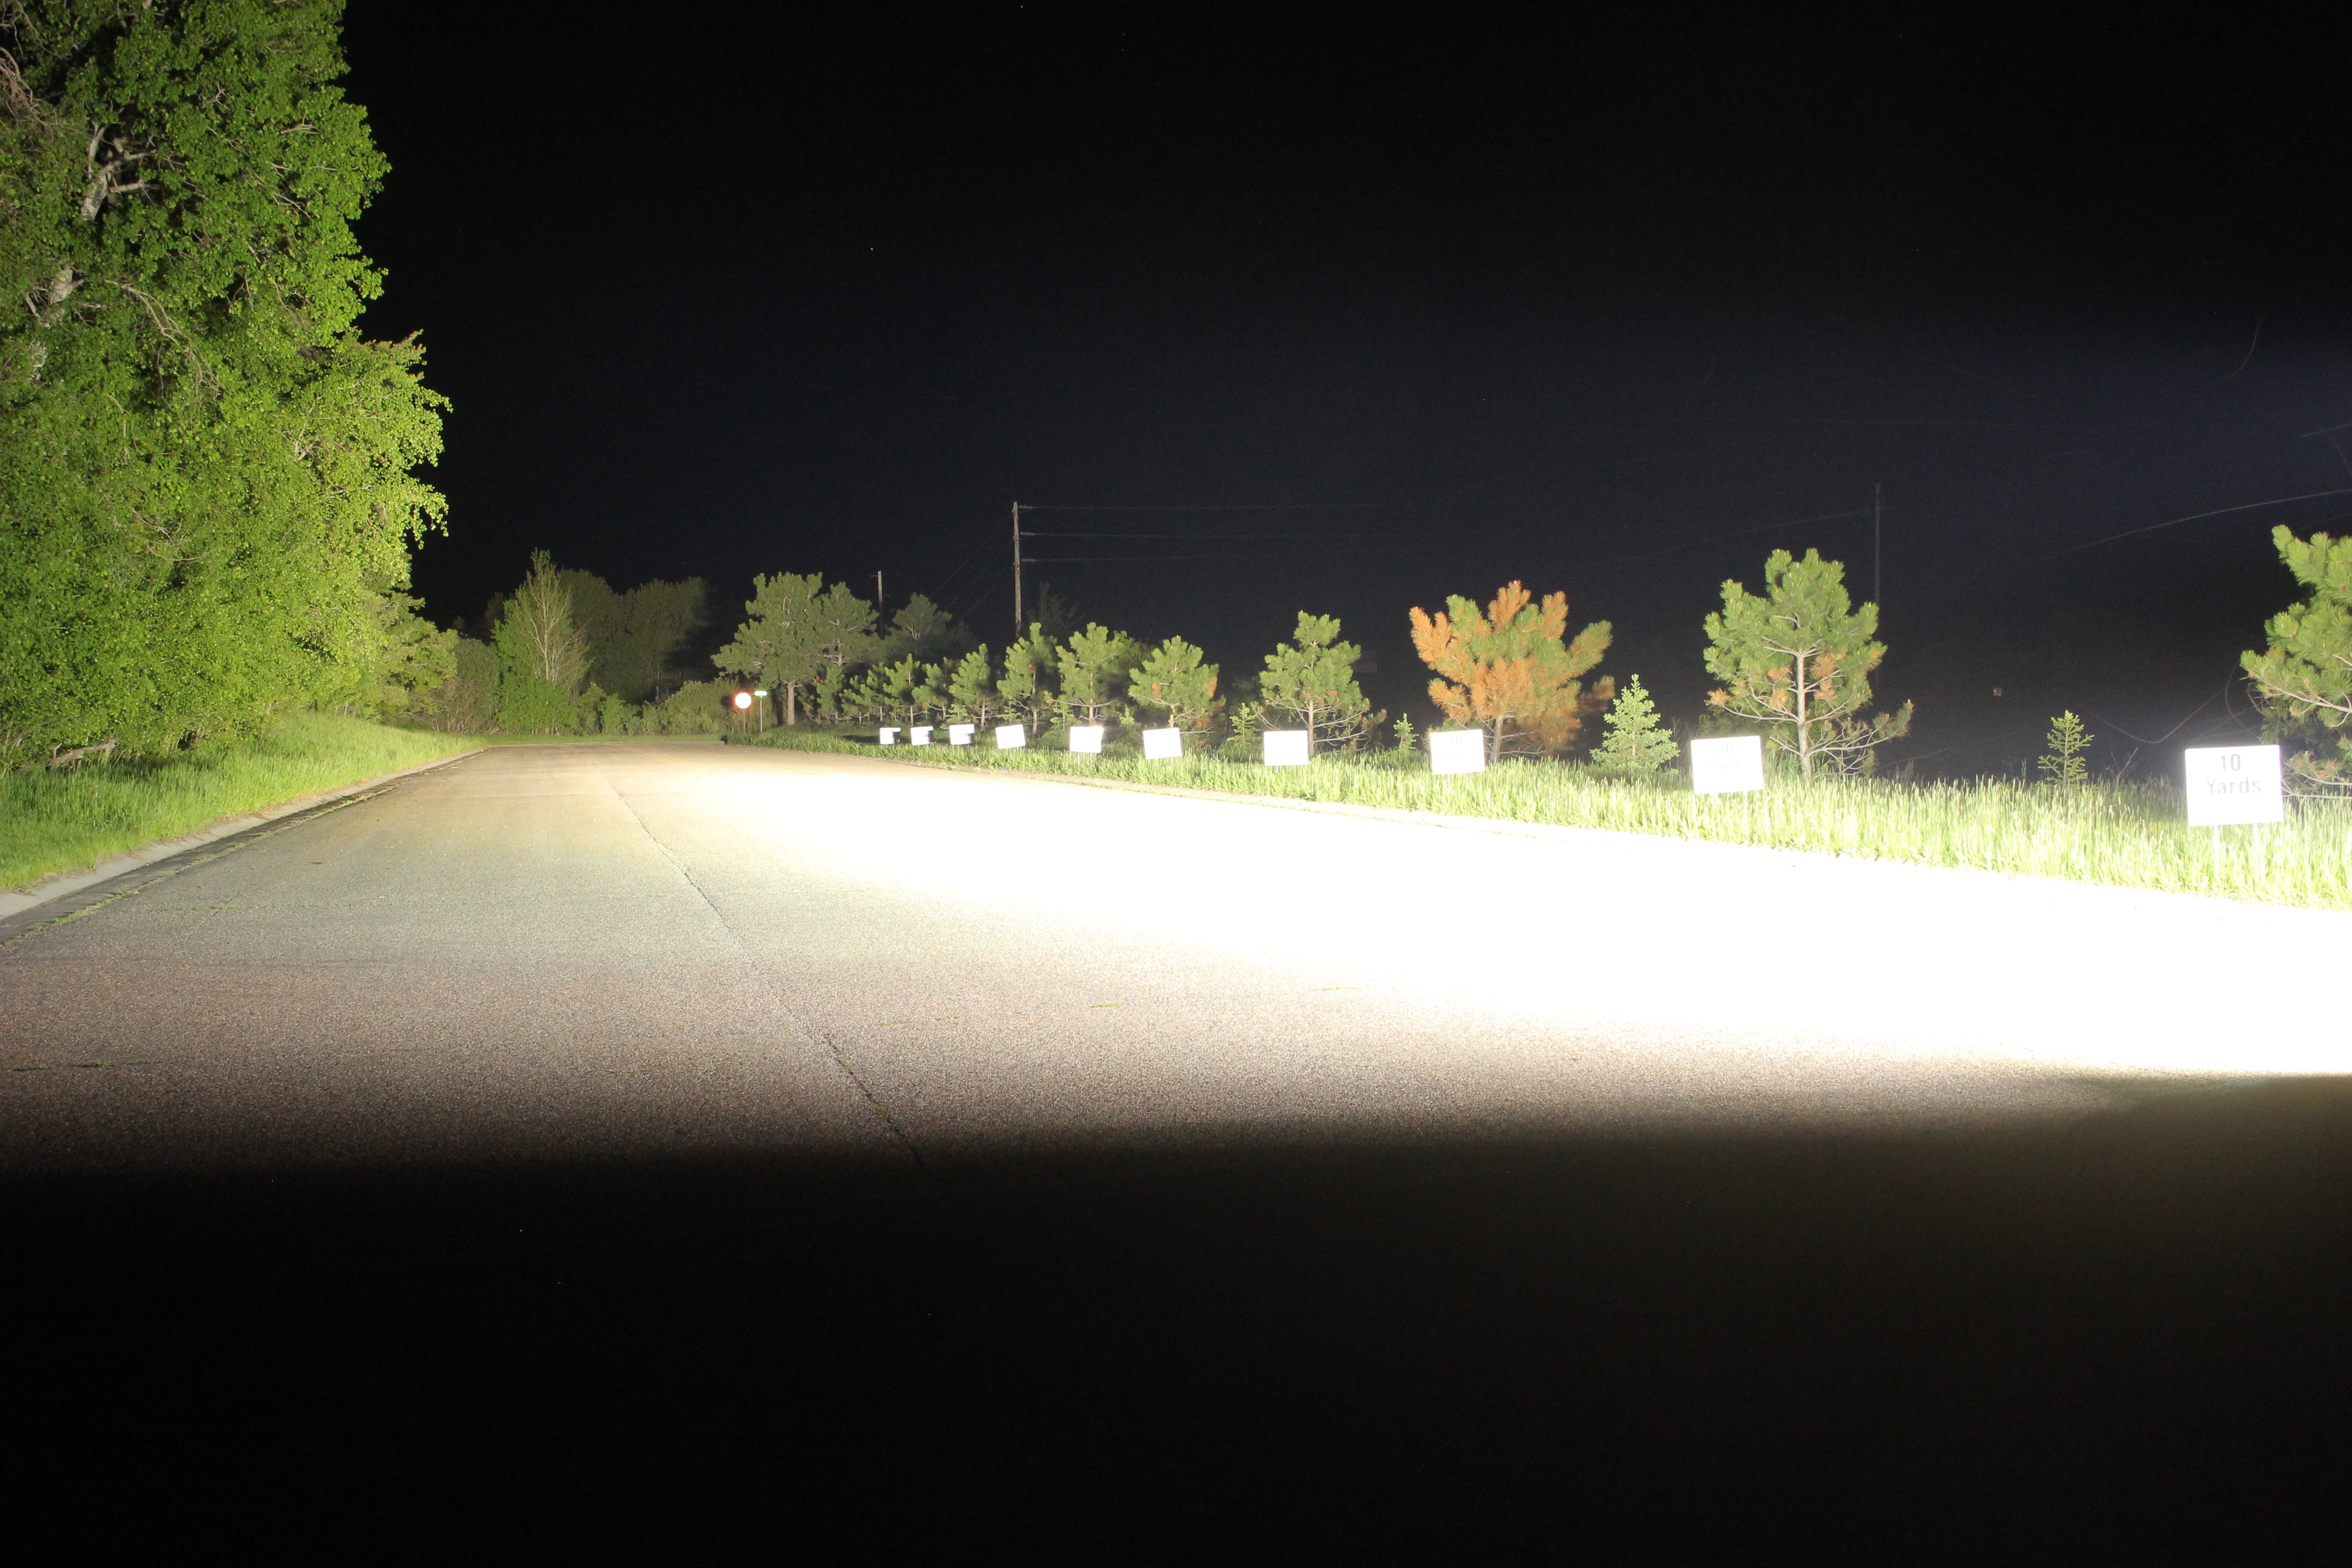
- It’s really easy to point the light bar up too high or down too low. Play around with it, keep the tools in your truck and mess around with it at night until you get it just right!
The entire lineup of Vision X offroad light bars can be found in the LED Light Bar Catalog




.png?width=300&height=87&name=logo%20(1).png)