How to Photograph Car Headlights
Who doesn’t like some nice photos of their cars? Some pristine, well-crafted images that show off all the details of your pride and joy. If it is shimmering custom wheels, exposed intercoolers, maybe a well-put-together interior, whatever it may be, it has got to look nice on camera. The same can be said for your headlights.
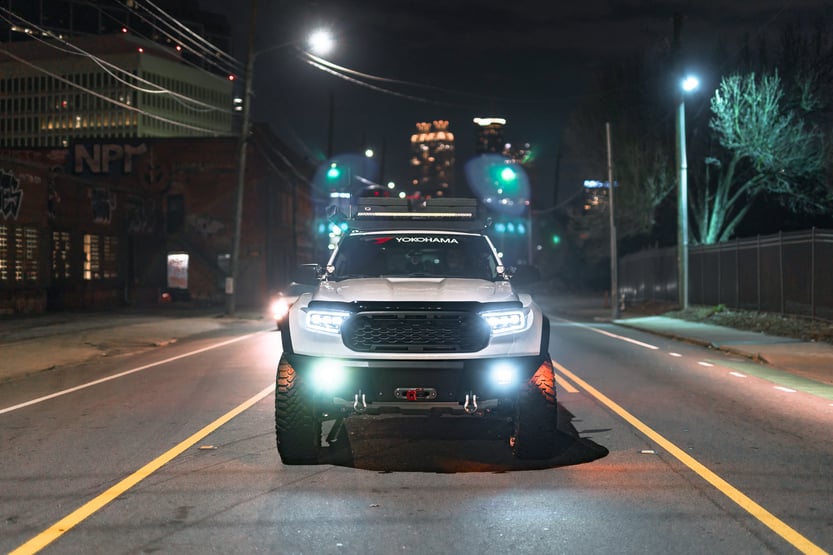
Due to the nature of how camera lenses work, with all the lenses and mirrors being used, it is a lot of opportunities to cause messy images. We are talking lens flare, over-exposed images, and bad reflections. We spoke with two Atlanta-based photographers to get an idea of the test tips and tricks to get that perfect shot of your car or truck’s headlights!
Before We Get Started…
There are several technical and creative aspects that go into automotive photography. Or really photography of any kind. We may not be able to cover every possible trick and technique here. If you have one that we forgot to mention, please drop us a comment. This is a learning opportunity for everyone. The more we learn, the better photographers and teachers we become.
Something else we would like to note, all these tricks can apply to you no matter what camera you have. If you are rolling with a smartphone from 2012, maybe not, but the composition and lighting approaches are there, nonetheless. Anyway, grab your camera, and let us get out and shoot some car (headlights)!
If you are using a DSLR (Digital Single-Lens Reflex) camera or a mirrorless camera, we highly recommend shooting in ‘M’ (Manual) mode for the most control over your image and its exposure. Furthermore, if you are looking to get really in-depth with the editing you can shoot in ‘RAW’ image format on your camera (RAW + FINE also works here). The file size will be much larger, and it will give you more image data to work with when editing.
If you are unfamiliar with shooting in M mode, I recommend checking out the video above that goes over all the basics. And if you do not want to shoot RAW image file formats, just use the largest size JPEG option your camera will allow. You won't receive more image data over a standard JPEG file size, but you will have a larger image to work with that has a better overall image resolution.
Tip #1: What are the Most Difficult Aspects of Shooting Cars at Night with their Lights on?
Before we get into the meat and potatoes of shooting, first we need to acknowledge what makes photographing car headlights difficult. We spoke with photographer Garrett Lester (@dxrkmedia on IG) and Shaun Rodecker (@centerspotlightmedia on IG), about what they find most challenging.
|
“Without taking multiple exposures, finding the balance between the brightness of the headlights and retaining some sort of detail around them in the shadows can be difficult, especially if there's little to no ambient lighting,” Lester said.
Taking multiple exposures requires a tripod or steady surface. Once you have your image composed, you will want to take between three and four different photos of the scene. Match your camera’s settings to appropriately meter for the sky, the car itself, the headlights, and any other deviant lighting surface. Be sure not to move your camera during this process. From there, you can combine those images in editing software to get the best lighting from each image.
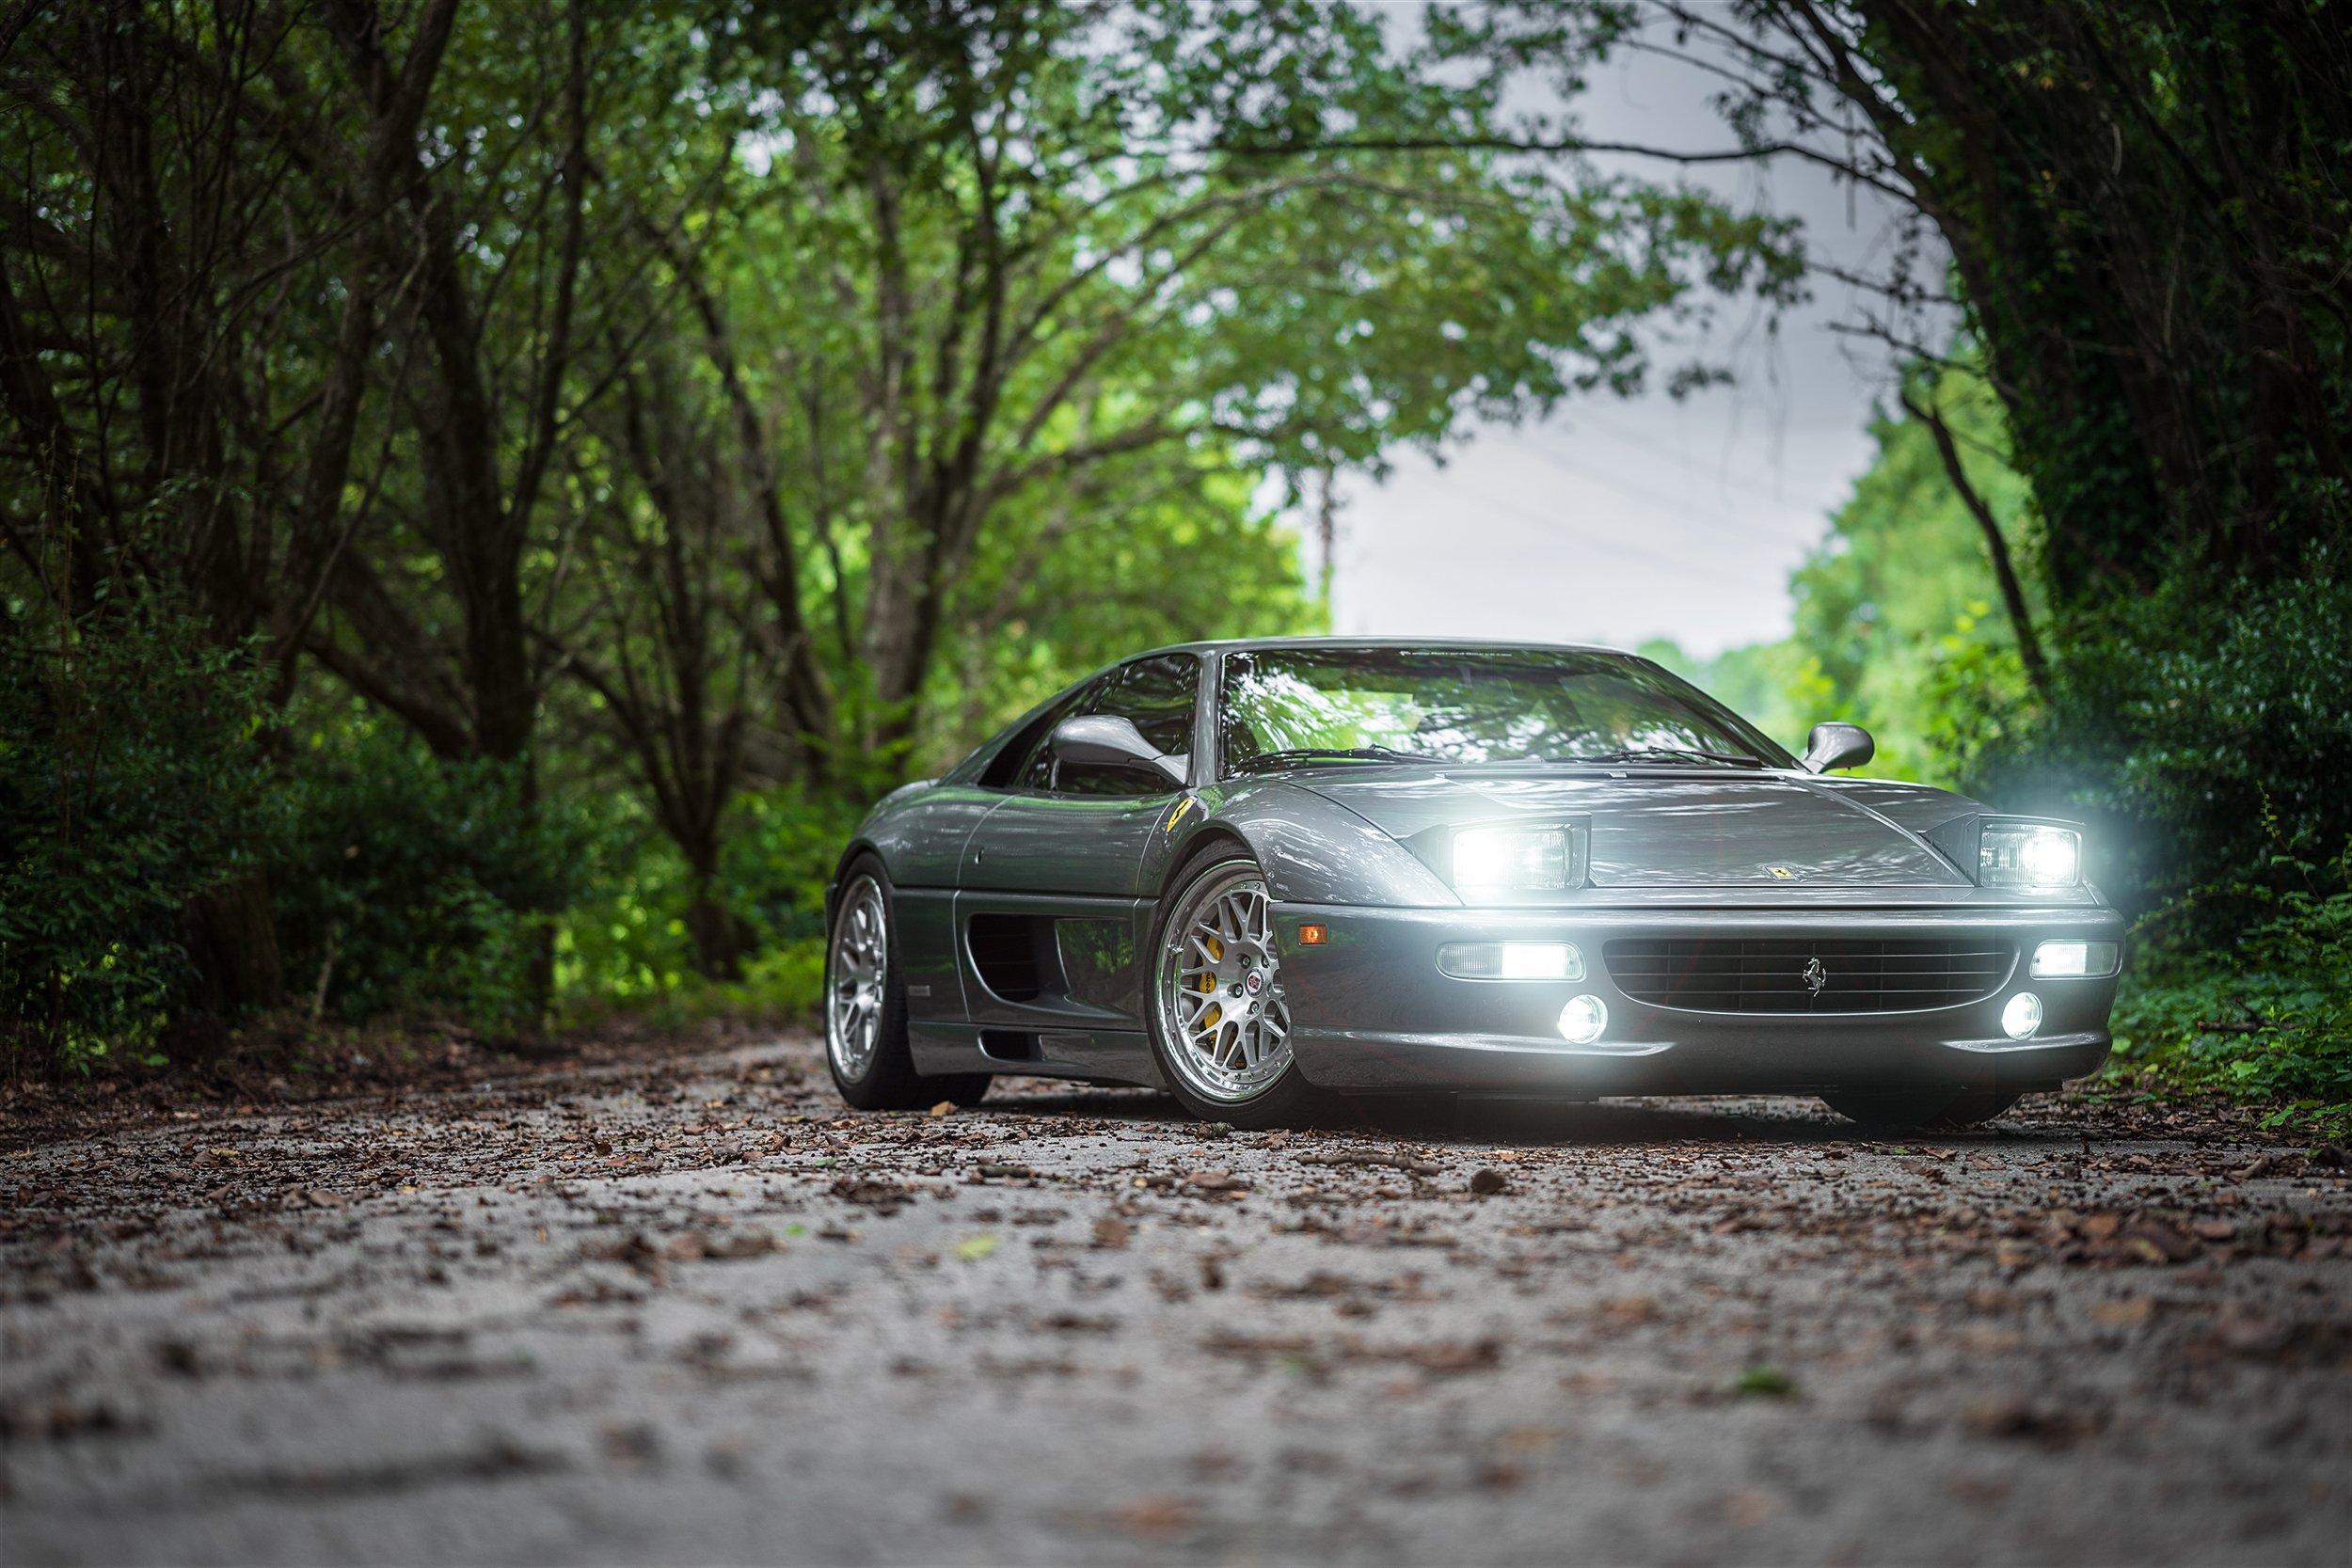
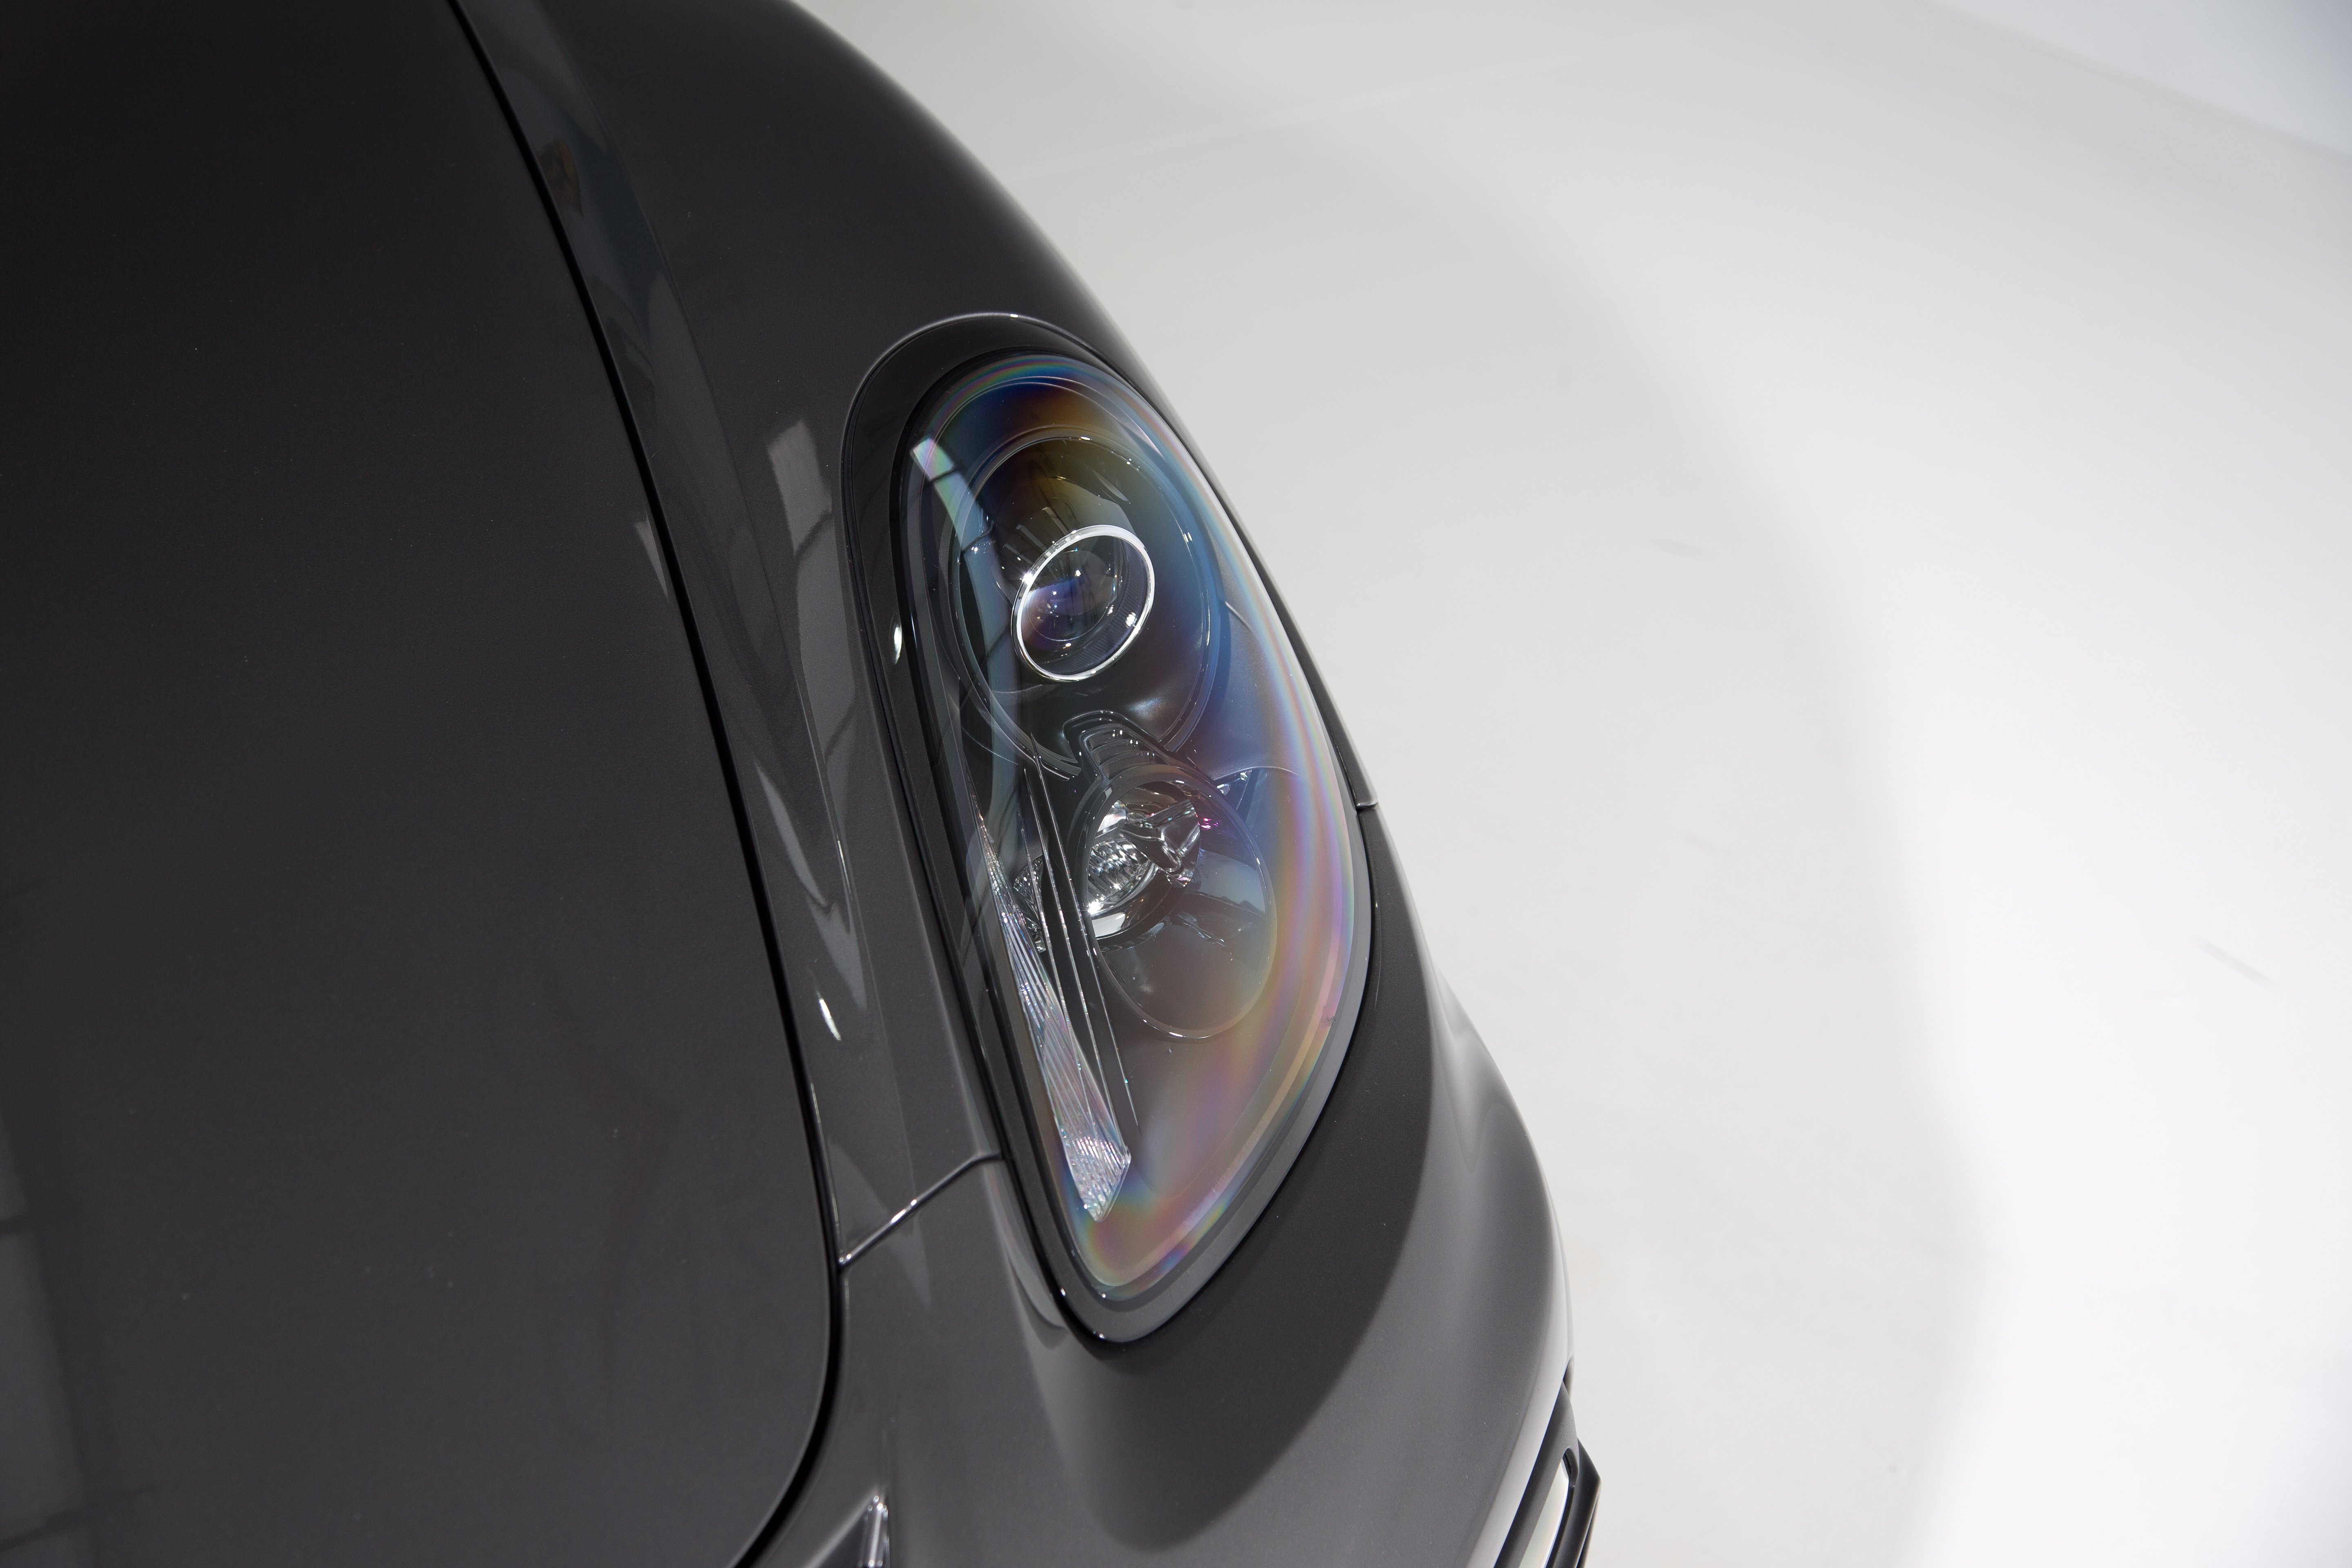
As for the type of headlights, they all pretty much affect the lens the same way. However, with halogen or “weaker” led lights, you may get some light diffusion in the photo without the use of a filter. This is affected by the lens or reflector type of the headlight. With a projector headlight lens, you are more likely to get glare in your photos due to the strength of its beam.
Tip #2 Knowing your Angles
“Shoot straight at the flattest surface on the headlight without getting your own reflection in the shot,” Lester said. “If you're wanting some sort of glare in the shot from the headlights, just below the cutoff would be best.”
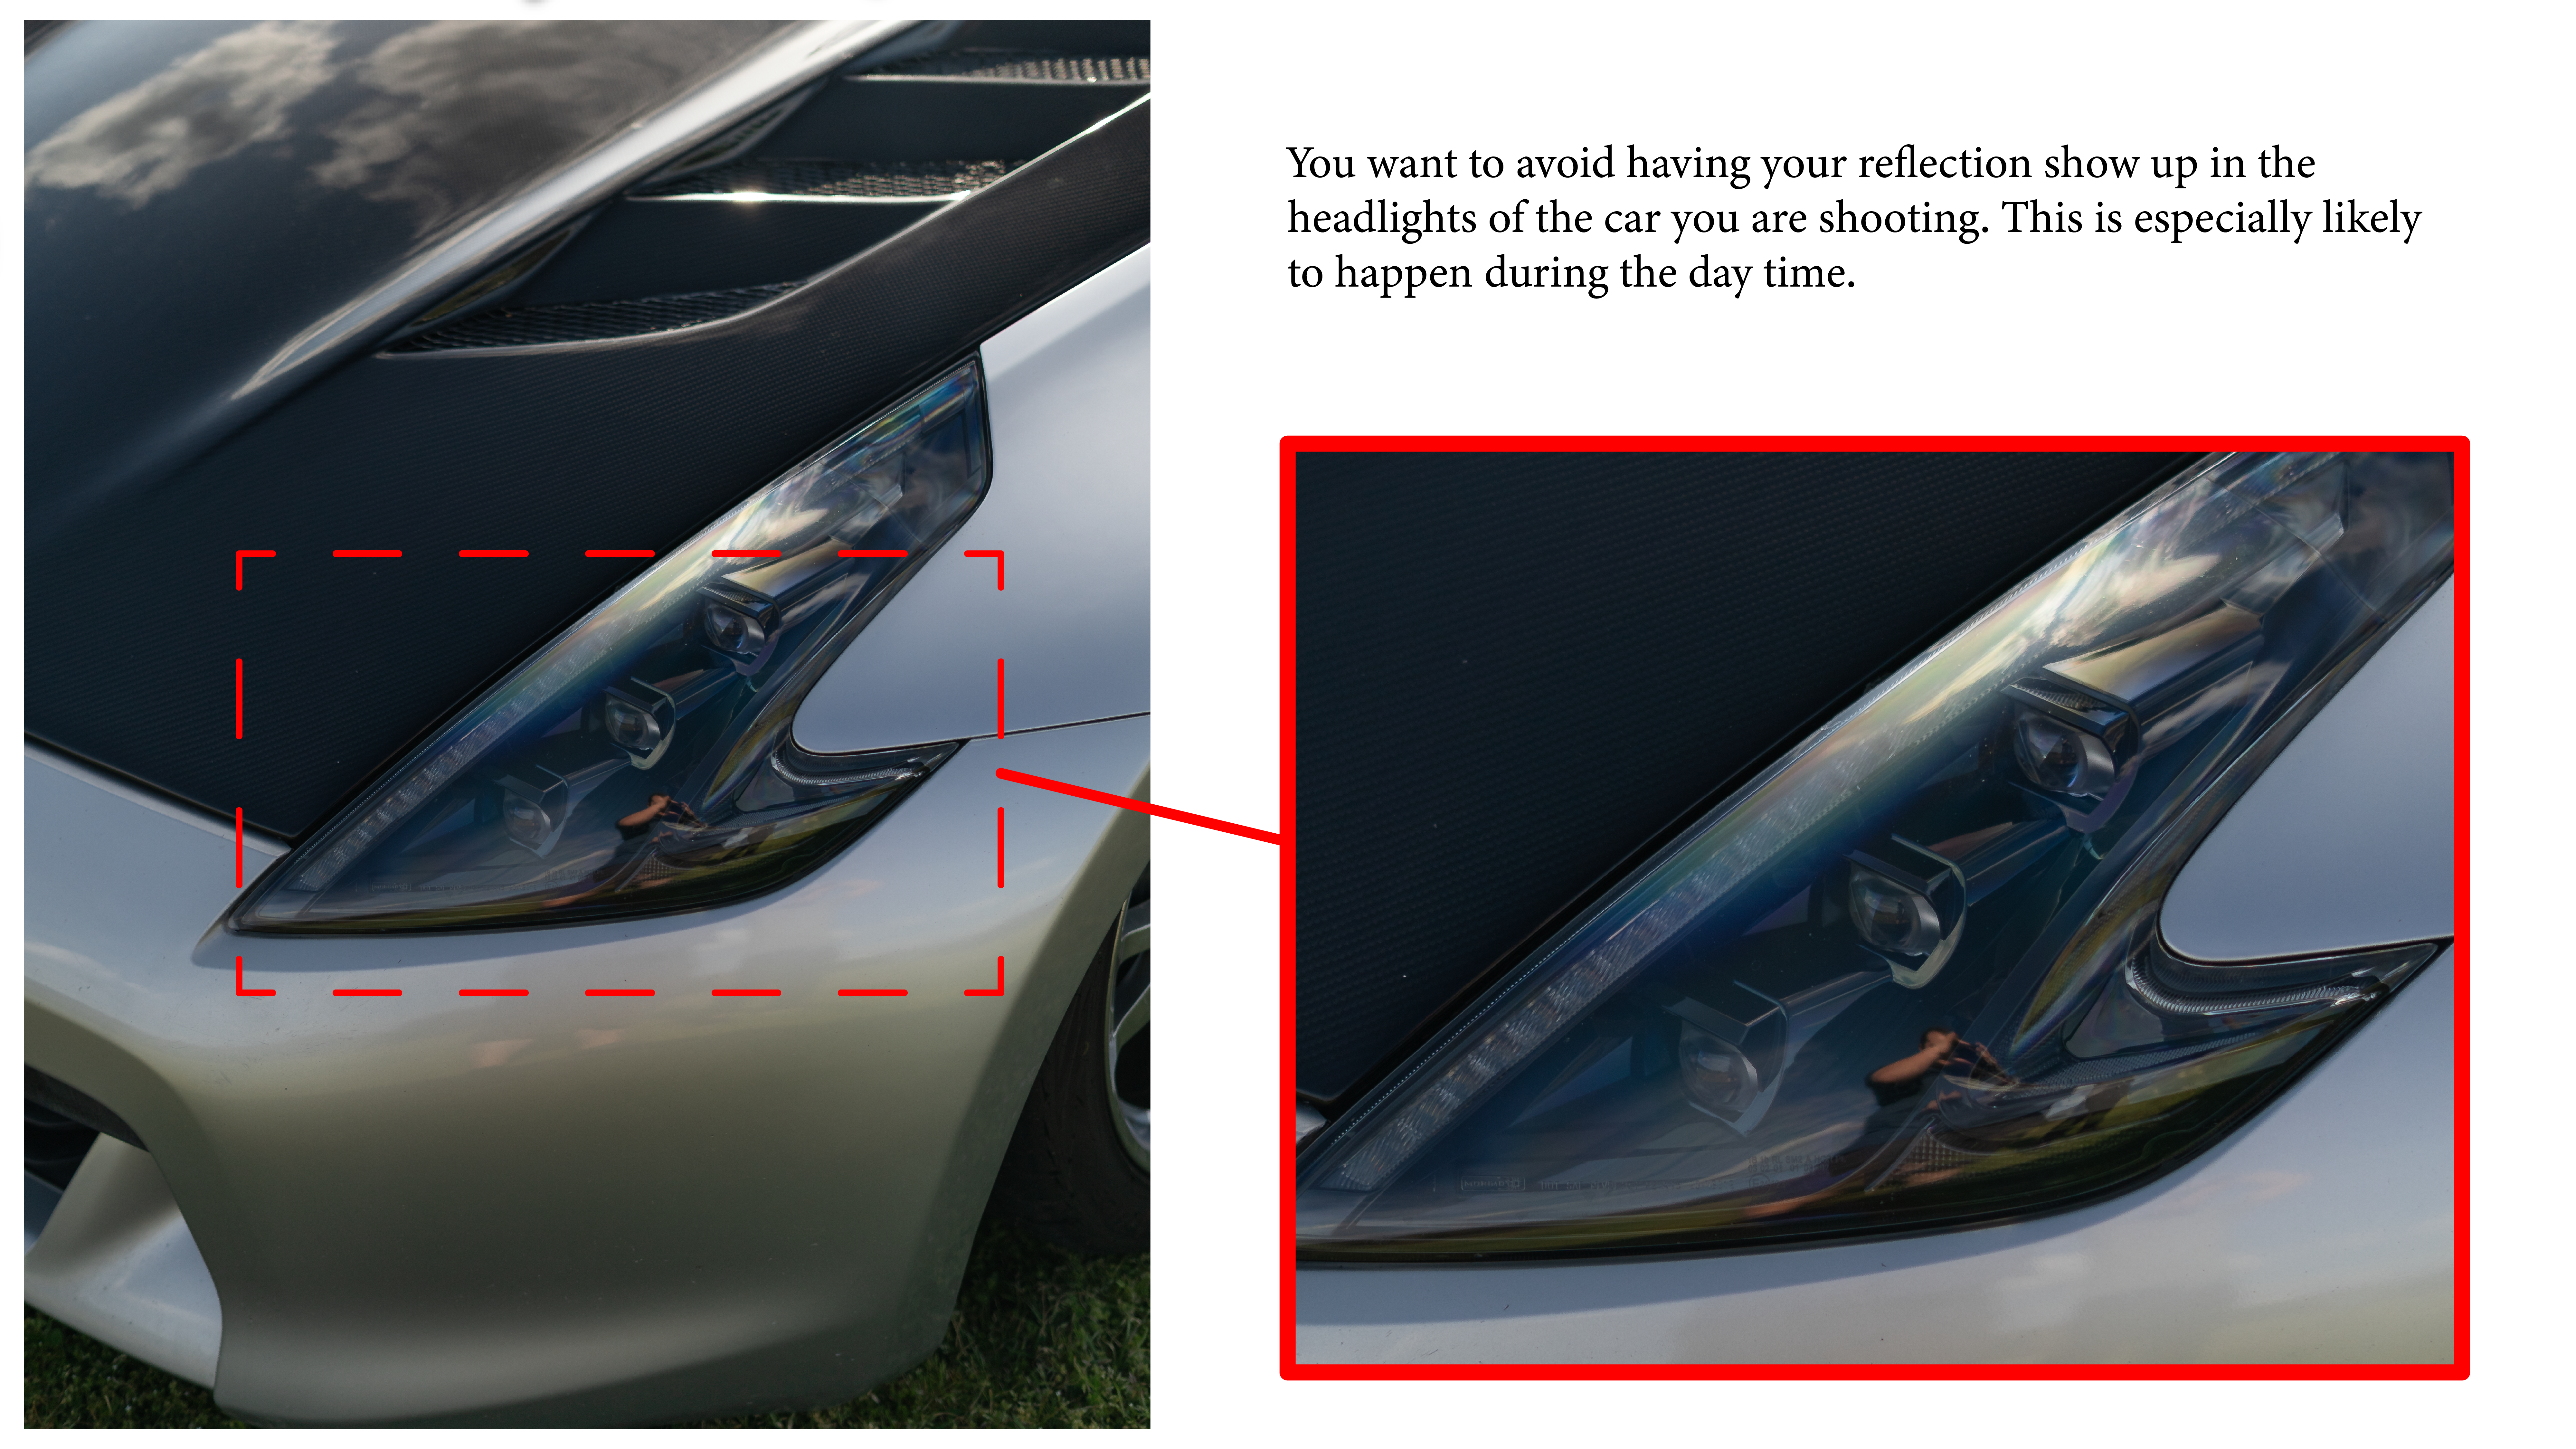
Few things are worse than catching a glimpse of yourself in the ‘photog-squat’ getting that photo. Getting a straight-on shot of the headlight will help you avoid showing your mug in the car lens reflection.
Furthermore, if you are wanting to catch a bit of glare from the lights, positioning your lens just below or above the beam cut-off lines will add some glare without being too intense. You can also use the same tactic by positioning yourself a little to the left or right of the headlight beam to achieve the same effect, Lester said.
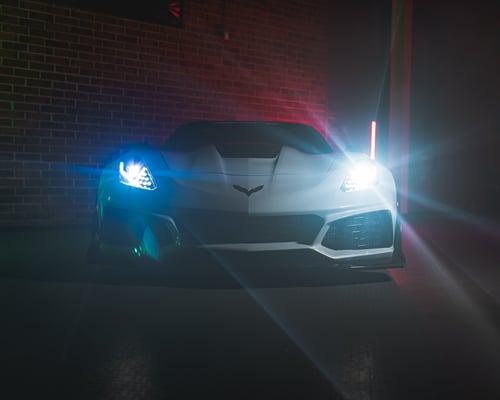
“Harsh angles like from the center of the vehicle to the passenger side don't usually fare well because it makes the headlight look distorted from the curvature of the vehicle,” Rodecker said. “When shooting close, either be cautious of your reflections or use a lens that has a longer focal length zoom (like a 70-200mm).”
Tip #3 Should I Use Any Photo Equipment for This?
We already mentioned the importance of a tripod, but there are two certain filters that help tremendously when shooting headlights and vehicles in general.
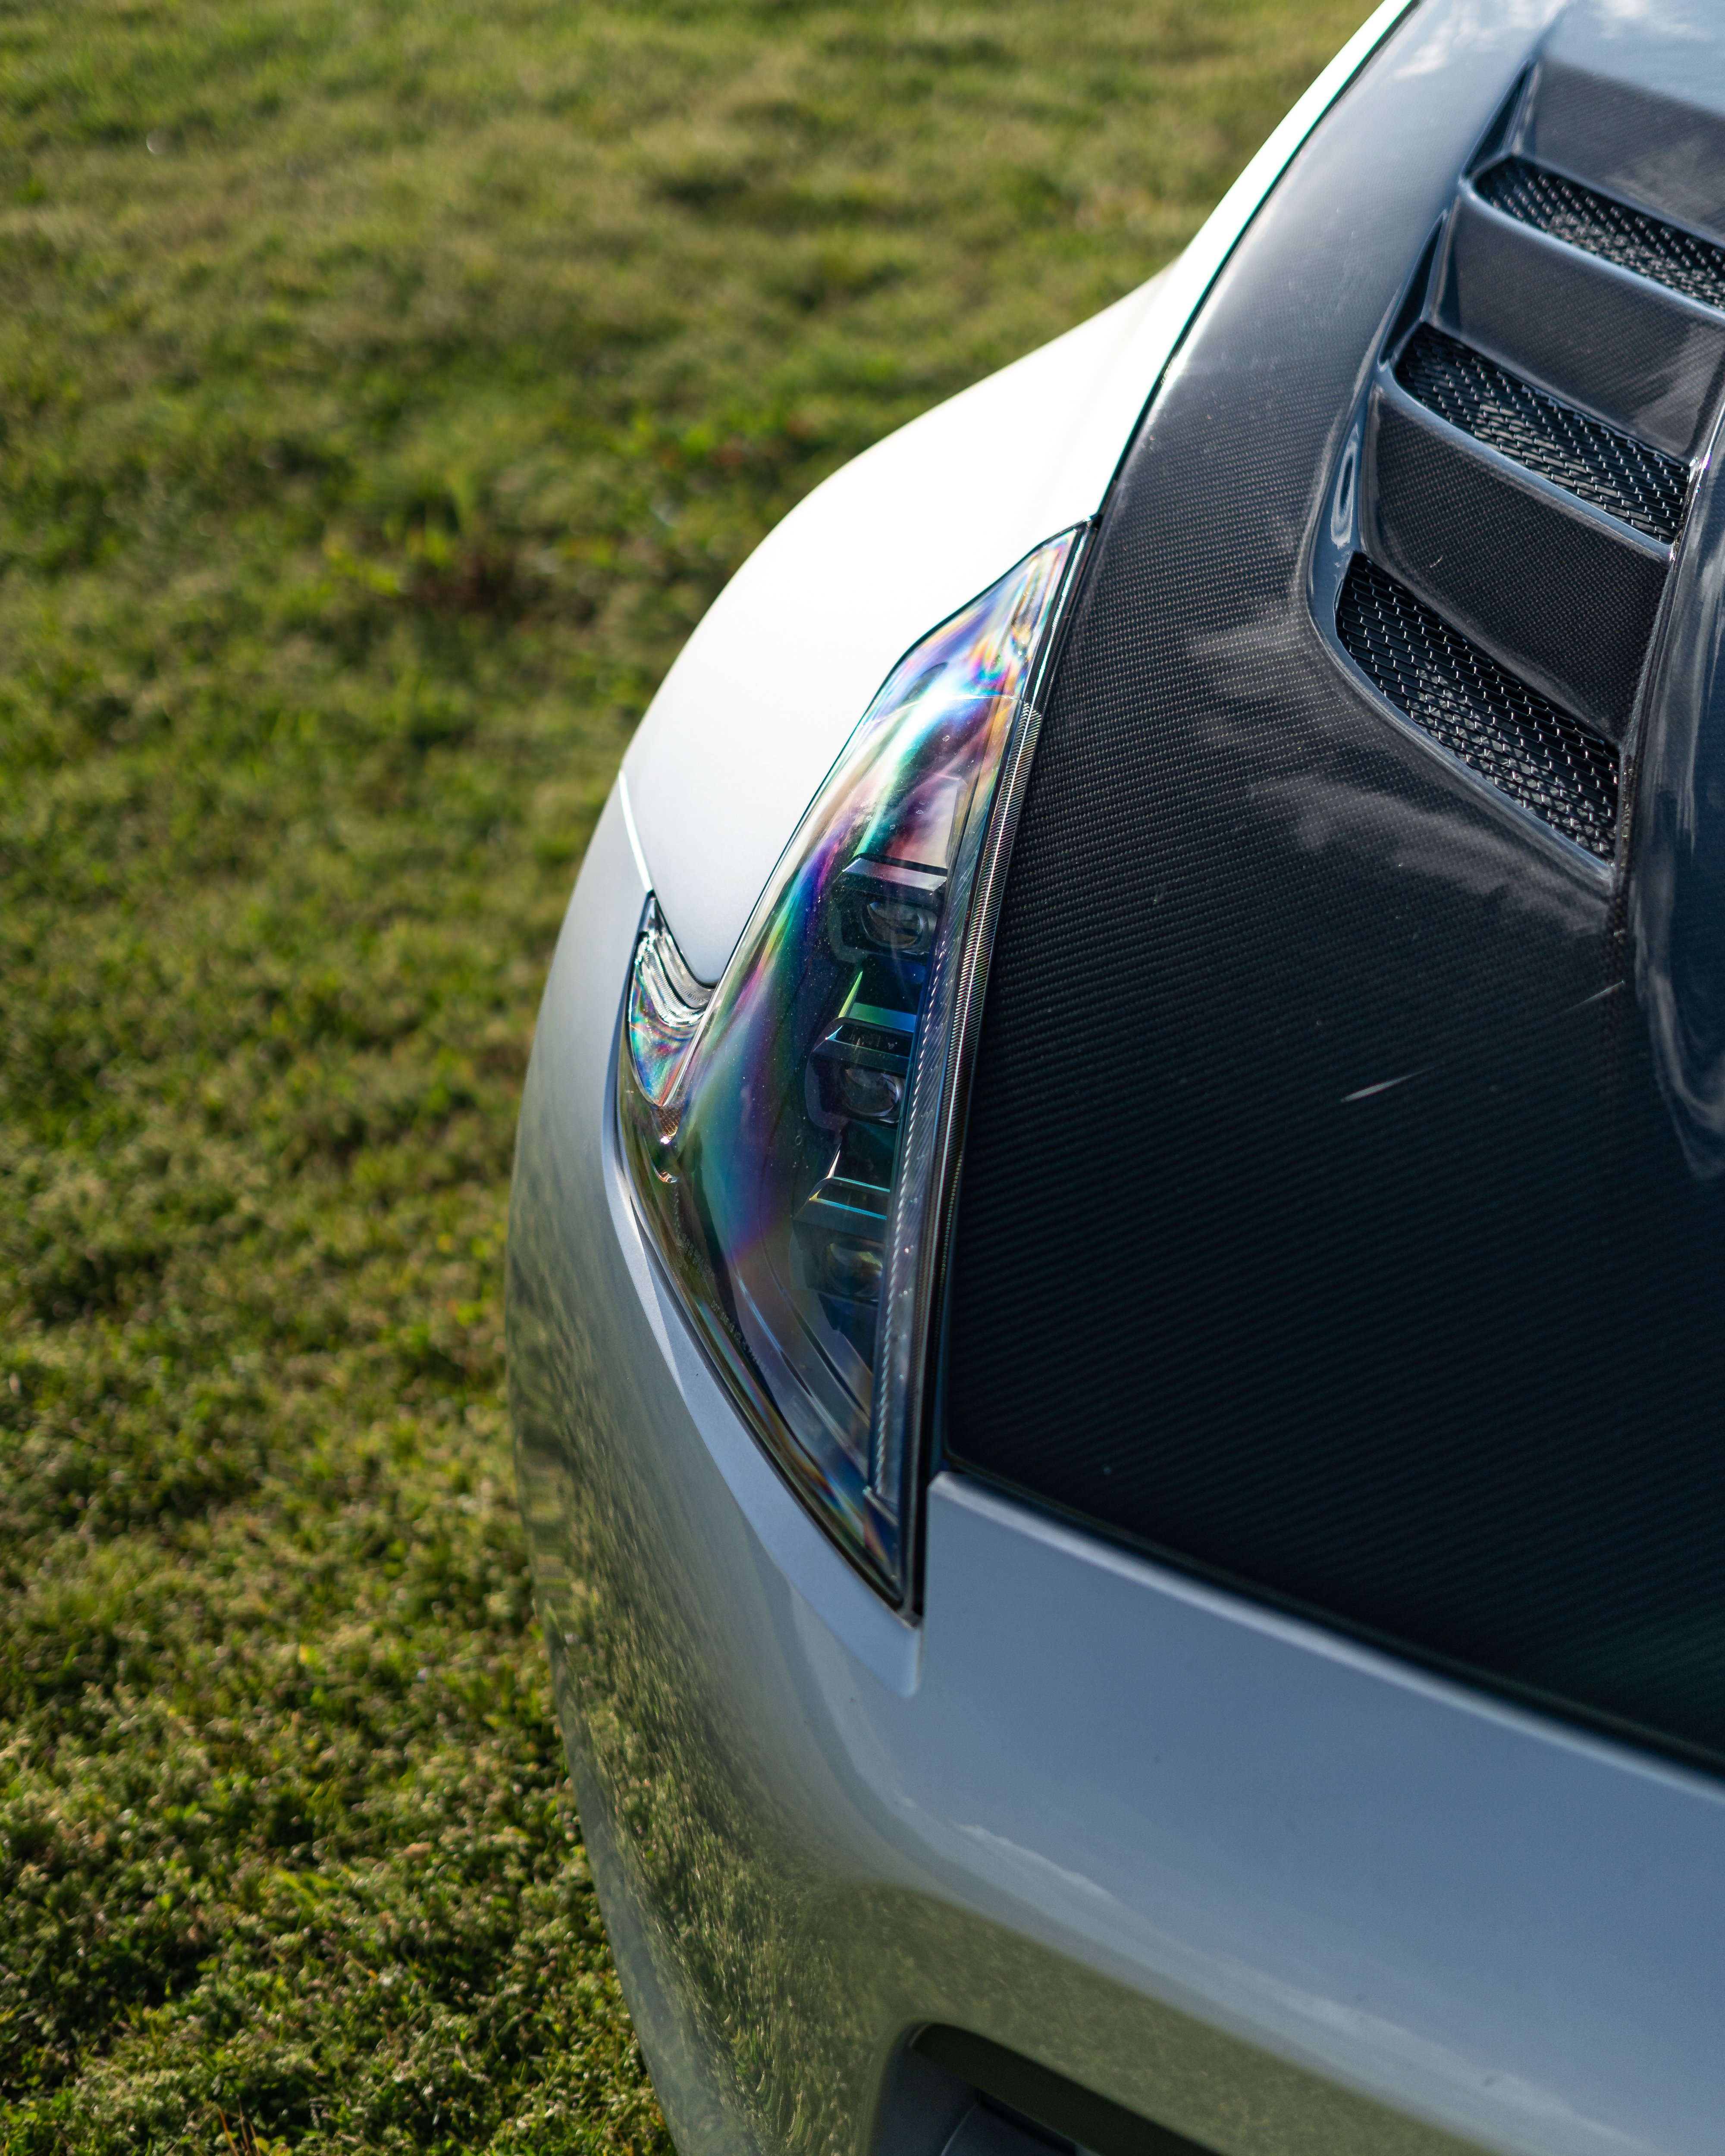
“A CPL (circular polarizer) is a must to reduce reflections - but be cognizant when using a CPL when directly at headlights when ON, because they can create glare depending on the brand of filter,” Rodecker.
| CPL Filter Rotated Correctly | CPL Filter Rotated Incorrectly |
 |
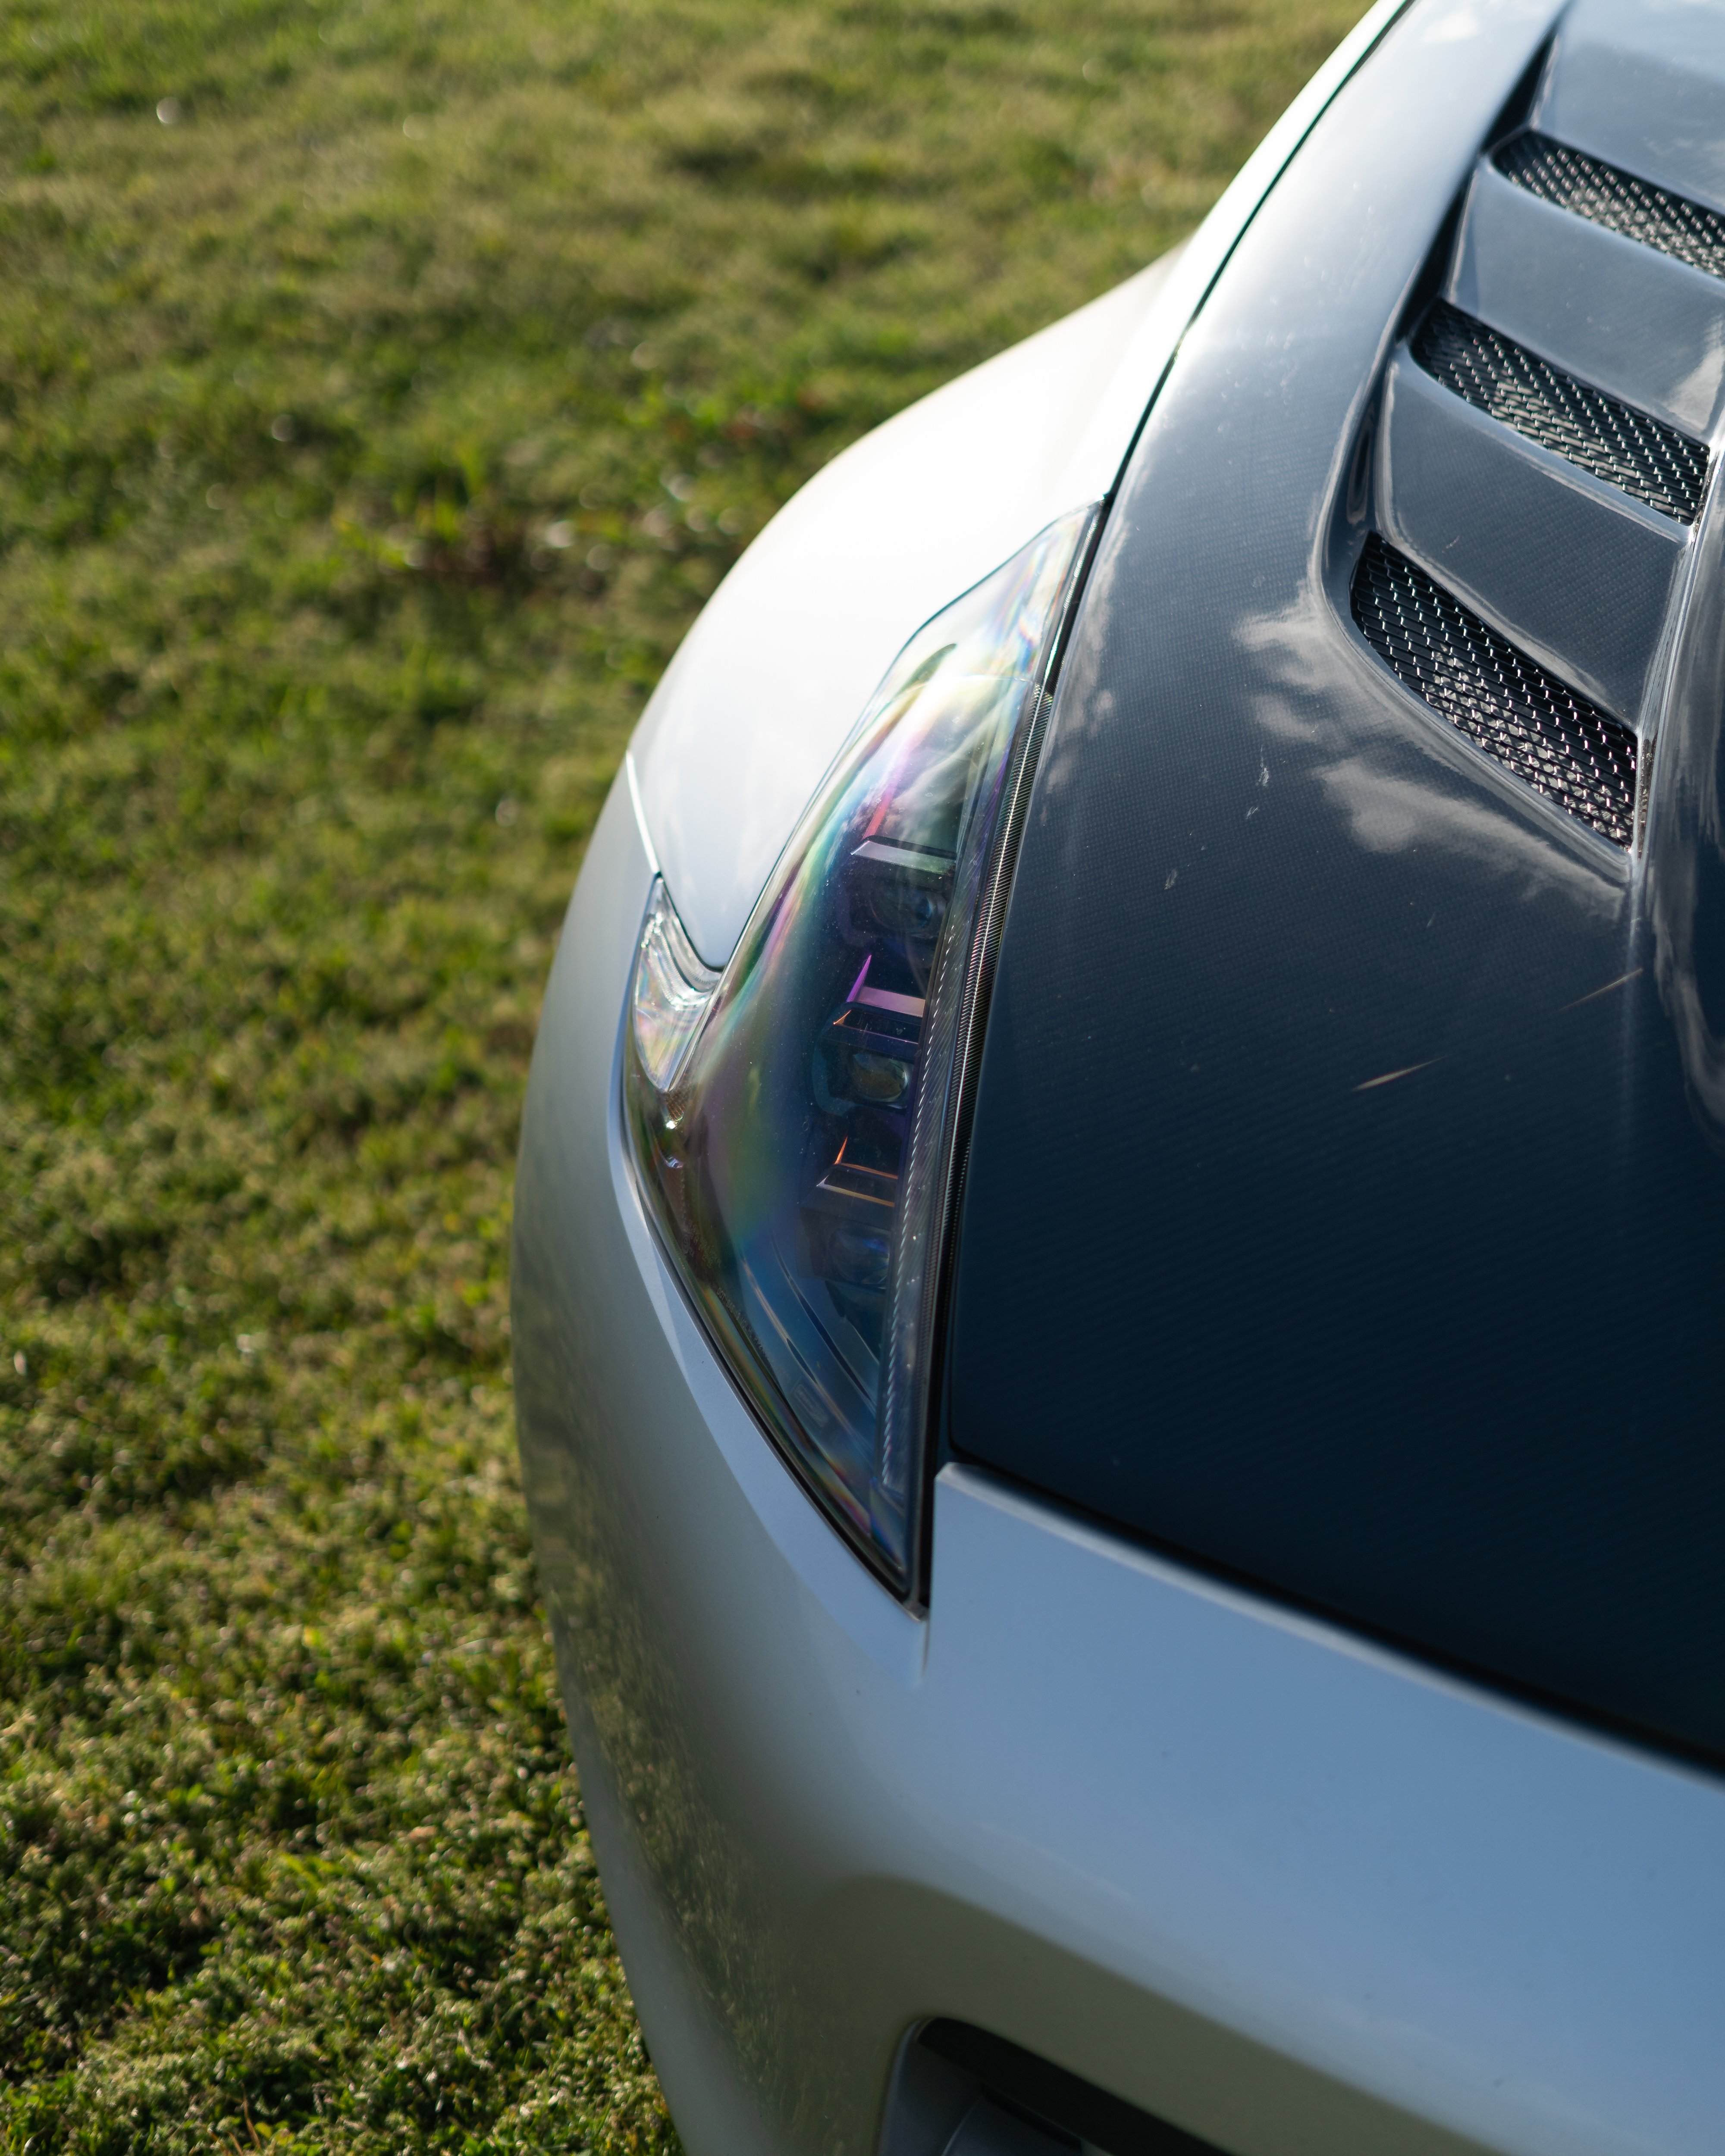 |
CPL filters will allow you to rotate it to get your desired effect. There is all the classic ND (neutral density) filter that will allow you to shoot at a lower F-Stop while shooting at a slower shutter speed. Variable ND filters also exist and allow you to adjust their density on the go.
“Constantly rotate your CPL to make sure you're cutting out as many reflections as possible,” Lester said. “If you can, set up a tripod and take multiple shots at different exposures to blend together later either as an HDR or blending them in Photoshop.”
Tip #4 Dealing with Lightbars
Particularly in the off-road sphere of automotive culture, lightbars are omnipresent (sometimes where they should not be, too). That being said, you need to be able to adapt to their immense light output.
In general, lightbars behave no differently than headlights. Just like headlights, they come in different beam patterns, and they can be predicted.
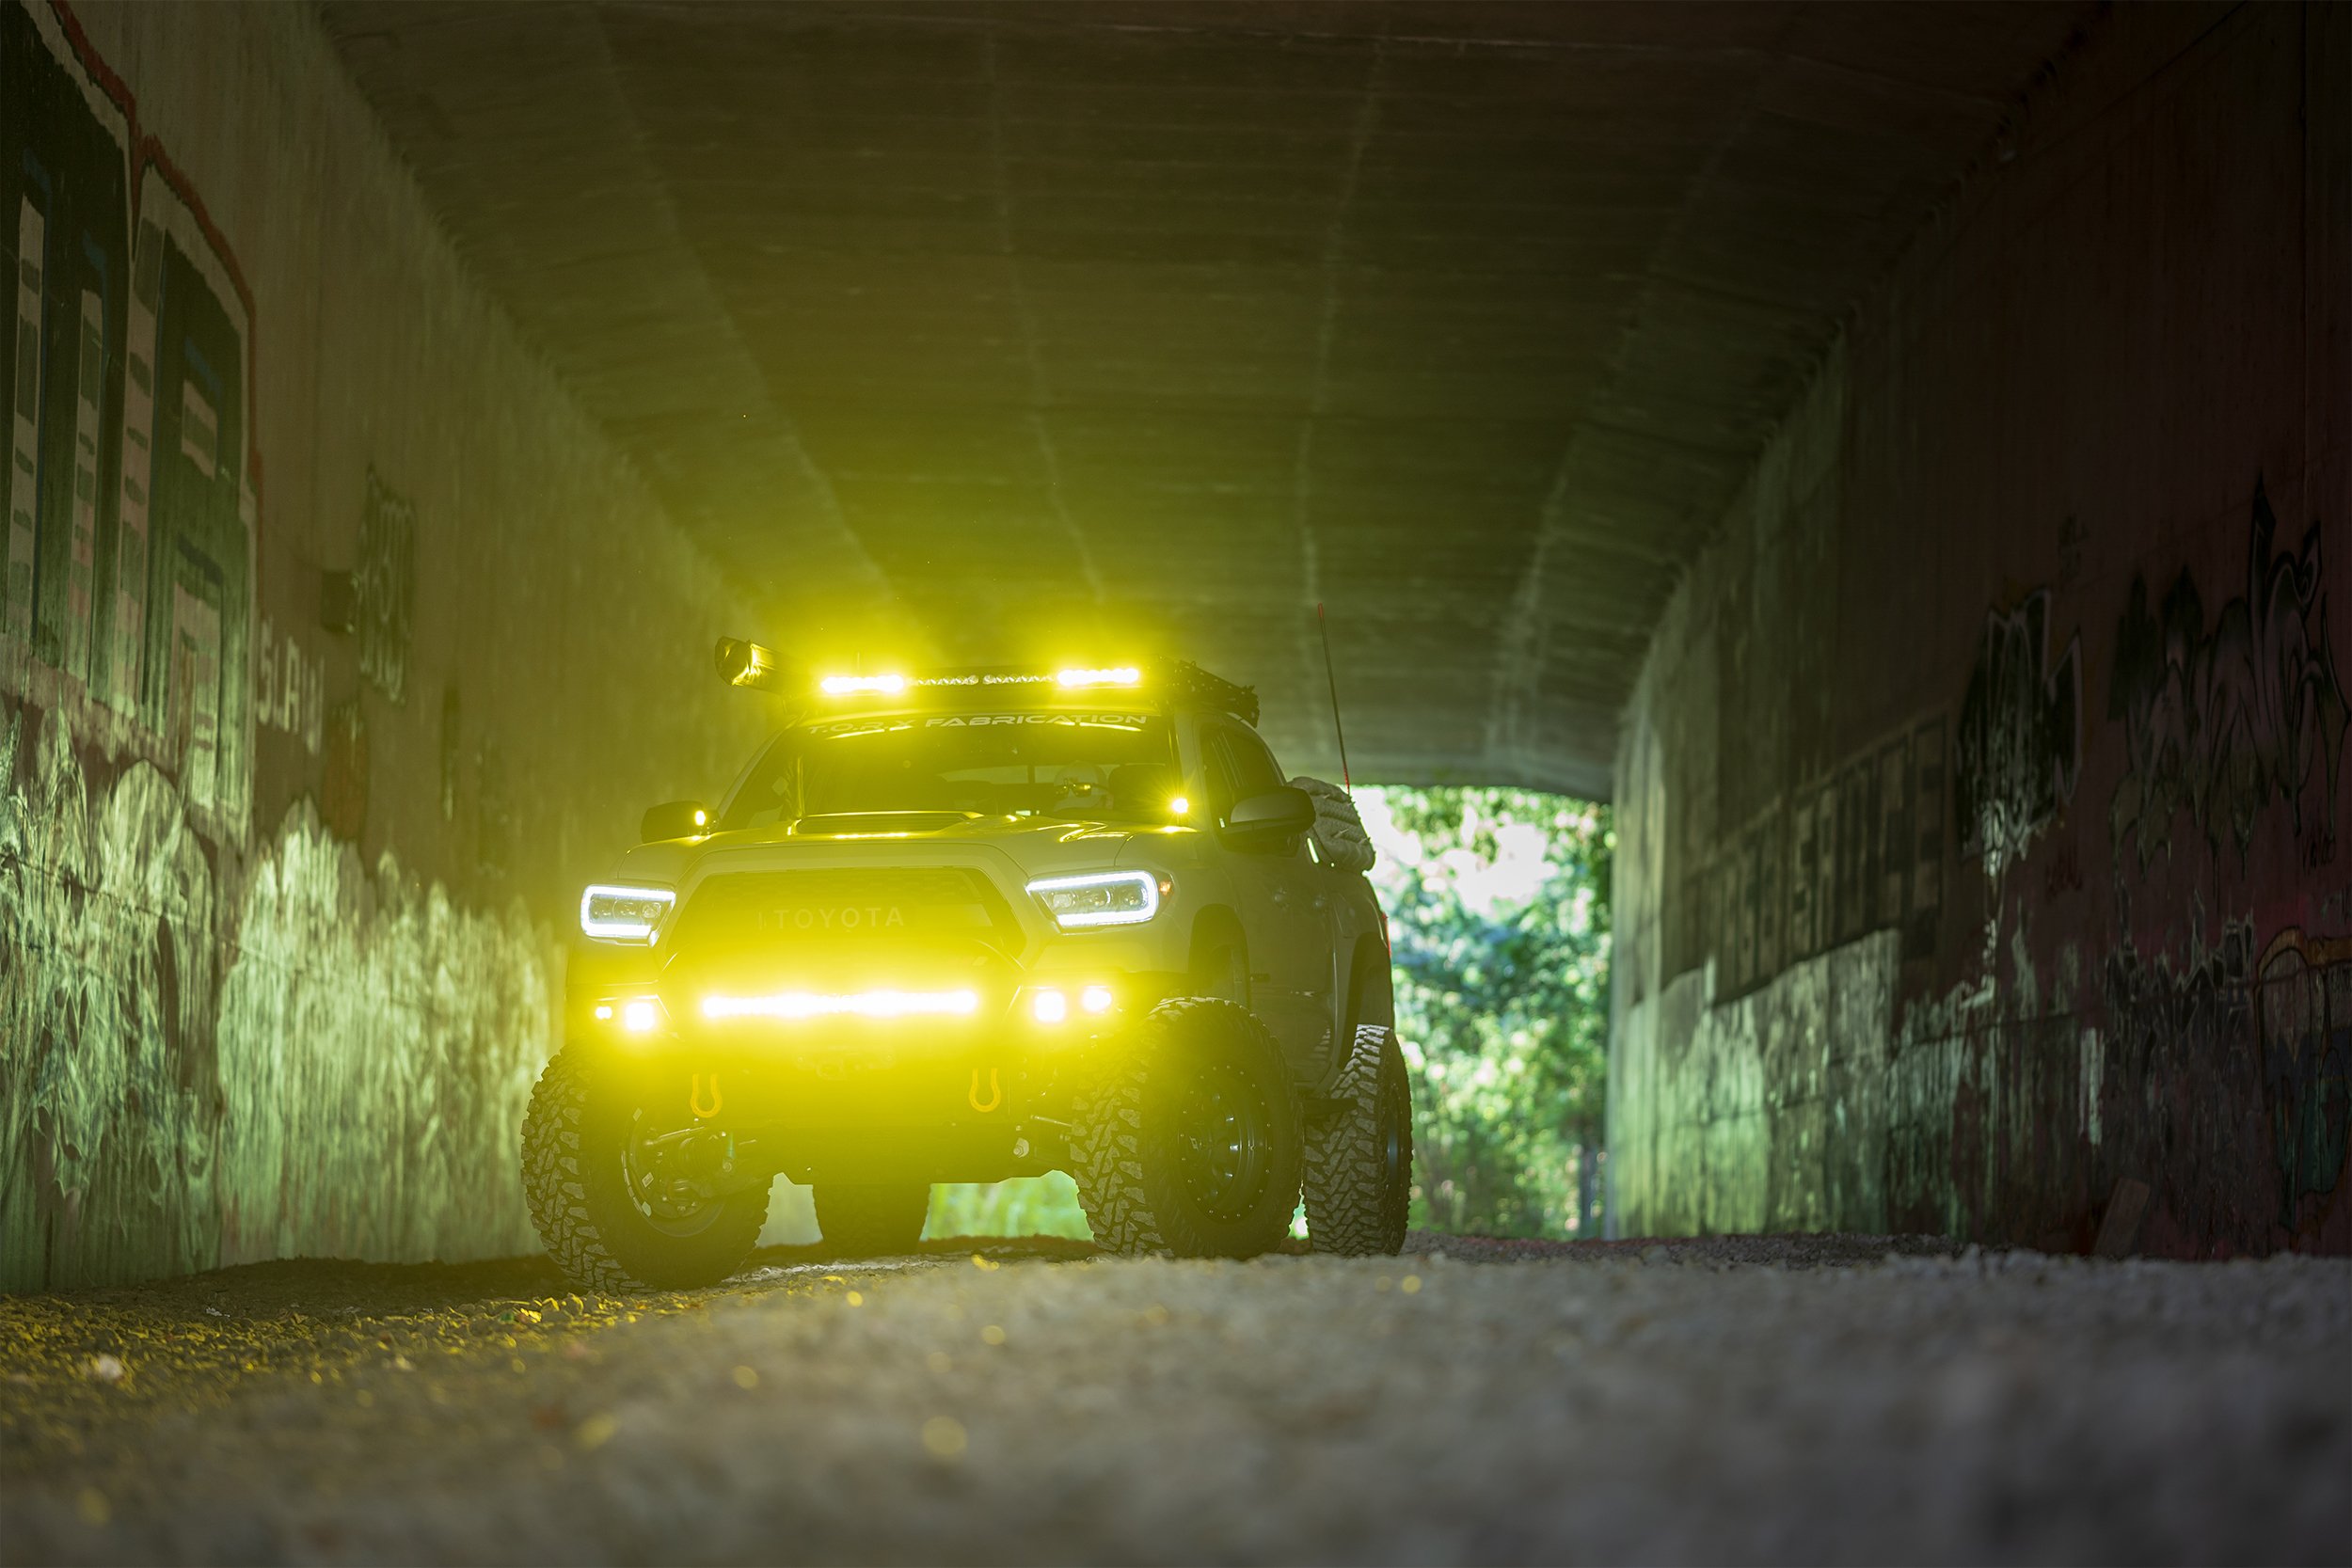
But you can always resort to shooting with multiple exposures, Lester said.
“Shooting them from the sides and lower angles helps all the light to show but not be completely blown out,” Rodecker said. “Again, shooting underexposed will help a lot more in post-editing when shooting light bars to help bring out details in the vehicle or surrounding area.”
Tip #5 Get with the Program(s)
We have talked briefly about editing software, and while you can do without them, they really give near-endless opportunities to improve your images. People often refer to Adobe Suite products like Photoshop and Lightroom, but there are a few healthy and better-priced alternatives out there.
Either way, it is important to be familiar with them so you can utilize the tools properly. If you are doing multiple exposures, then you will want to know how to properly “mask” images or how to use the software to create HDR (high dynamic range) images.
Before getting to that, you should know to “Play around with your settings and get used to shooting RAW and in manual mode,” Rodecker said. “Understand camera settings with how it affects light in the foreground, background, and on the subject itself.”
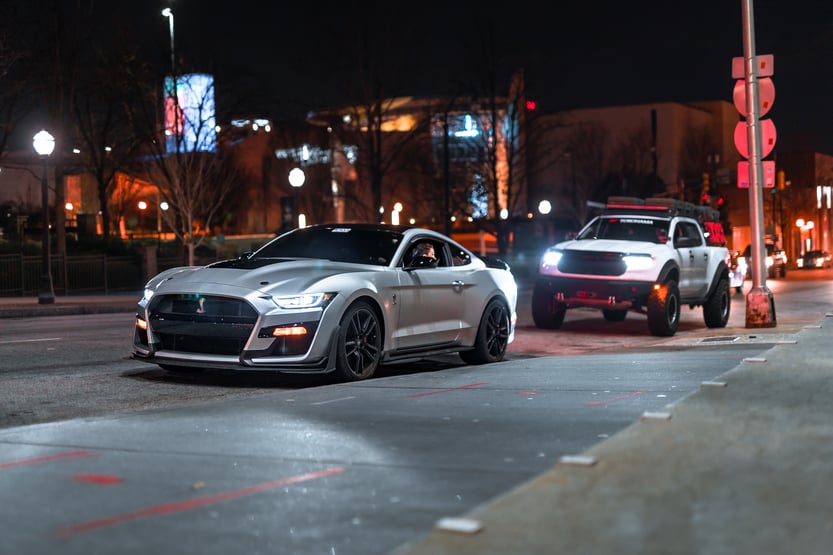
Knowing your camera and how it affects the final image is the key to unlocking the full capabilities of your camera and you as a photographer.
Conclusion
Now that you have a few pointers from some industry professionals, you will be well on your way to pristine shots of your beautiful headlights.
If you do not have any beautiful headlights, we have got you covered. We just discussed some of Morimoto’s best LED headlight housings in light of their kick-ass new promo video, and we also discussed what the best H11 LED bulb is for your car. Check out those articles and all sorts of other great content here on Better Automotive Lighting.
Be sure to drop us a comment and let us know what you think! Did we miss anything? Do you have any tips of your own? Let us know, we love to hear from you!


.png?width=300&height=87&name=logo%20(1).png)