The BEST LED Fog Lights for the 2015-2021 Subaru WRX STI Morimoto’s 4Banger
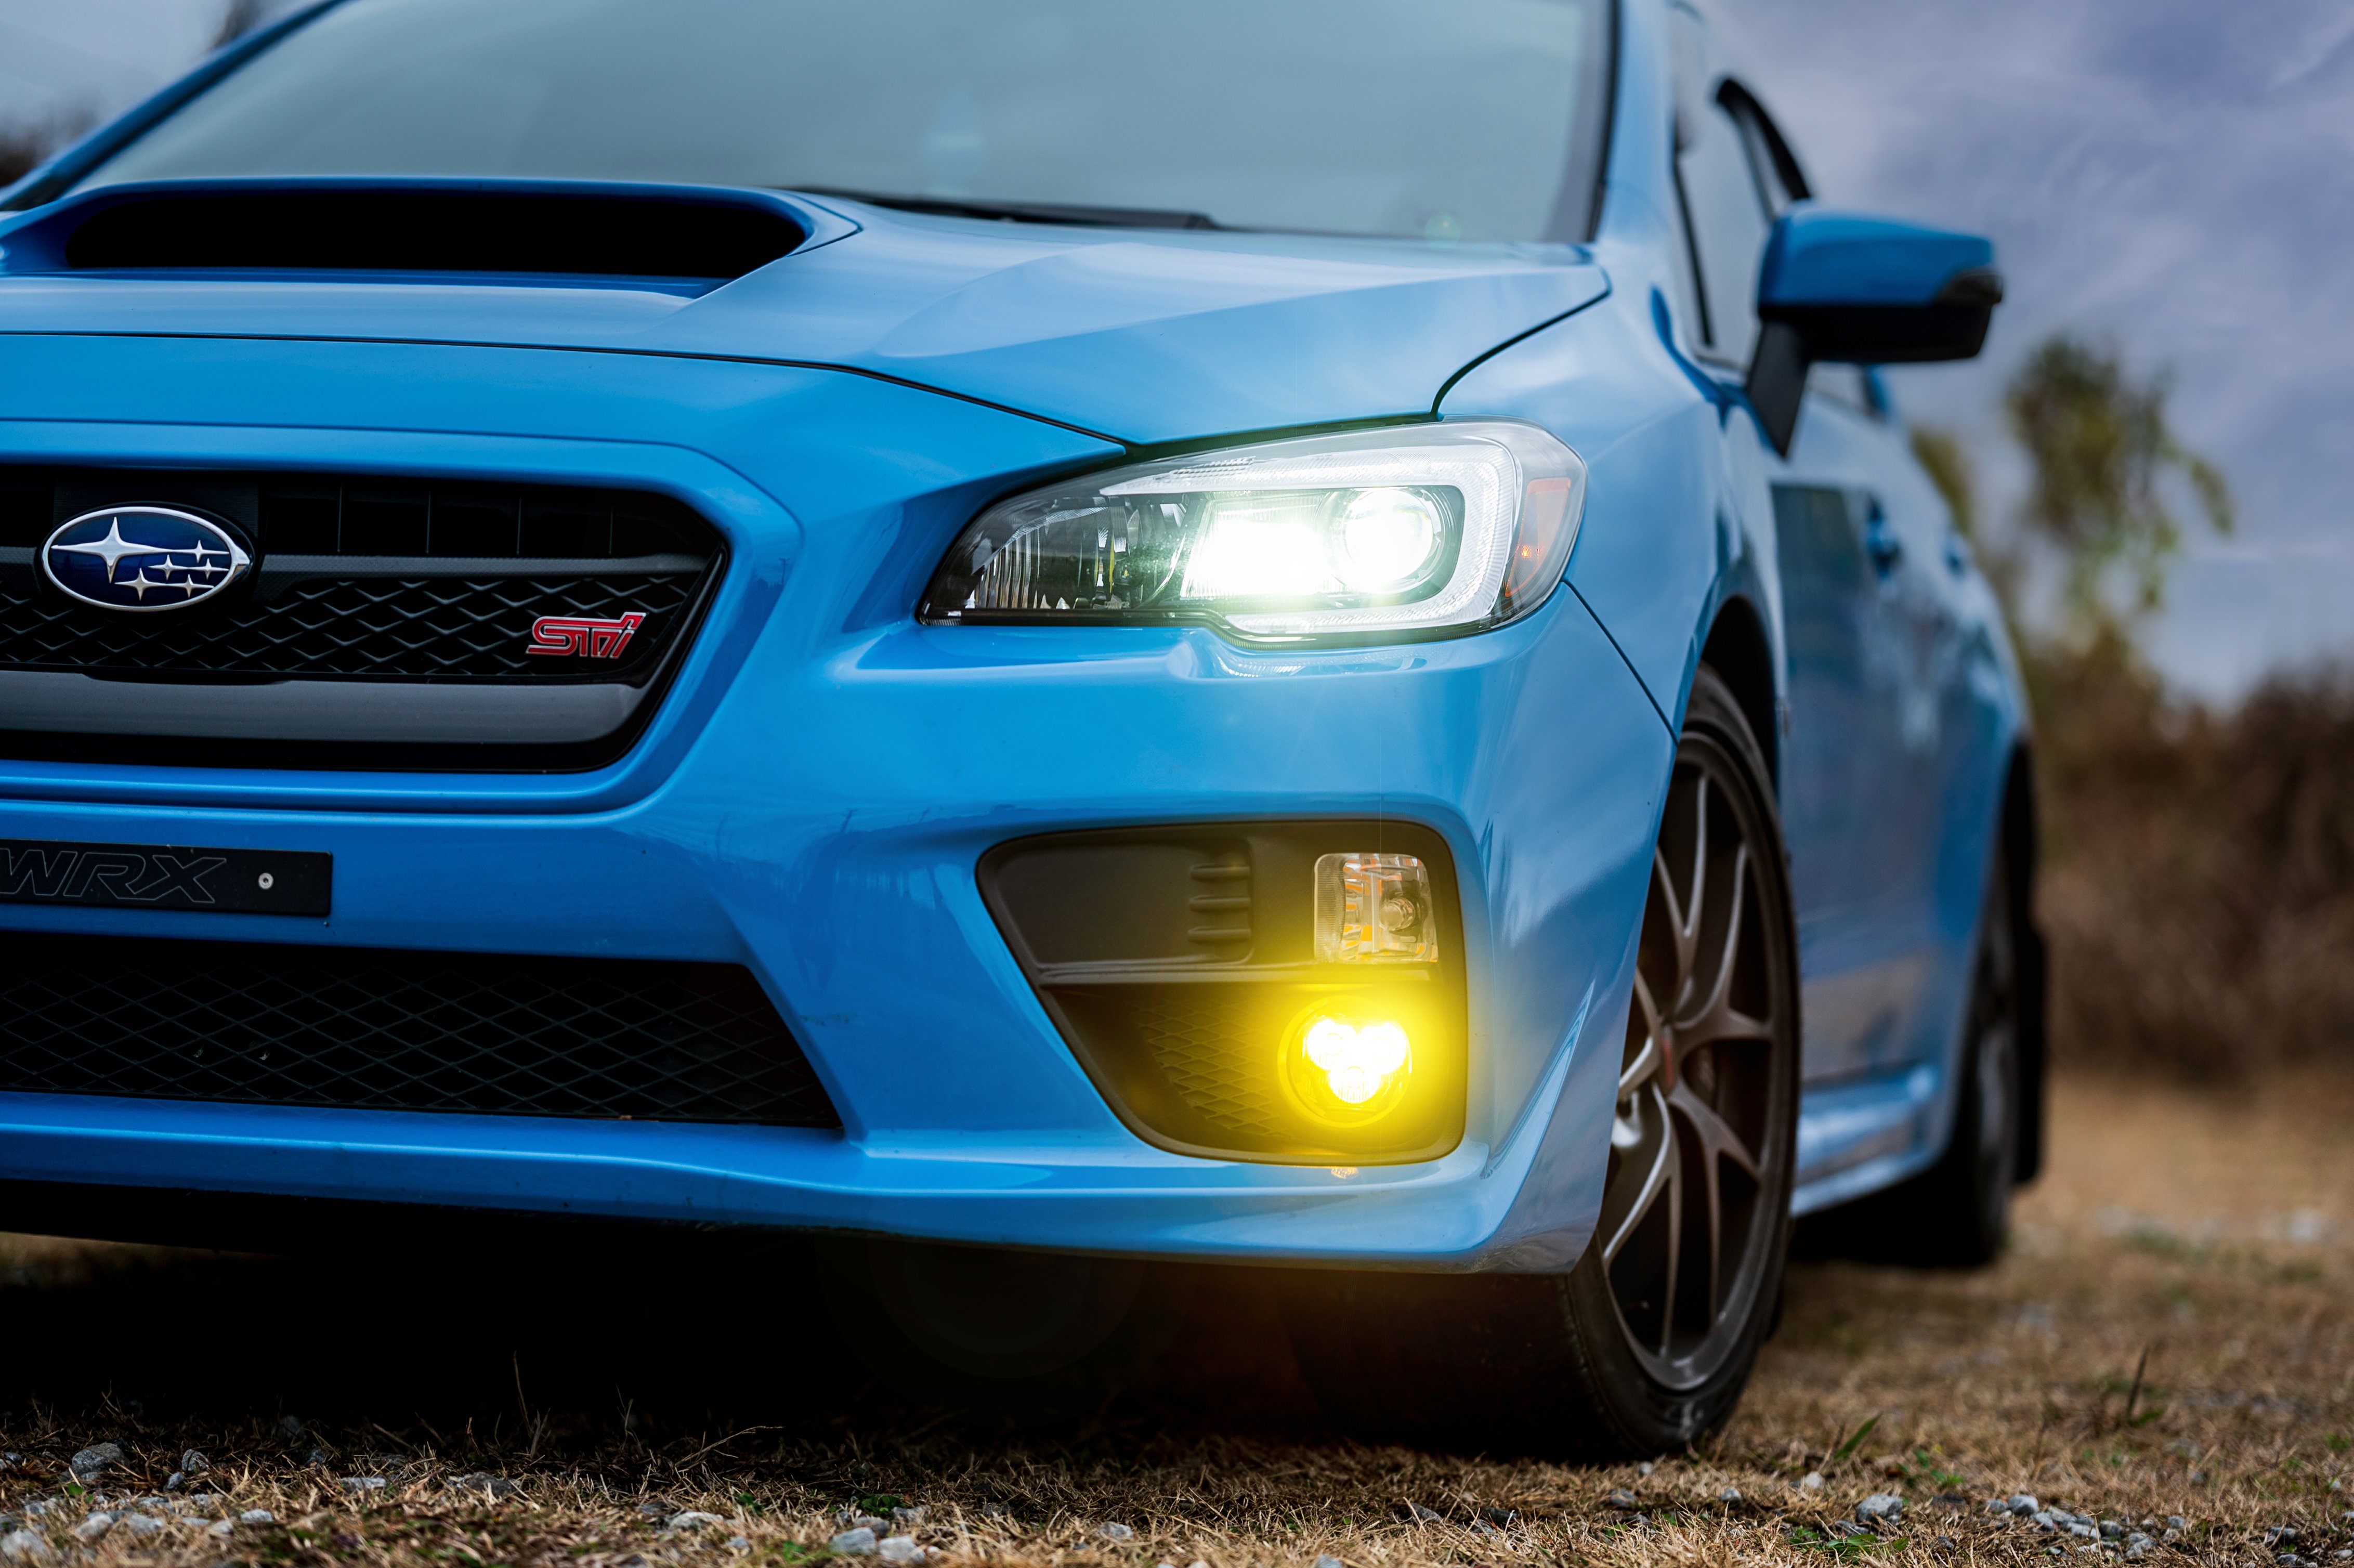
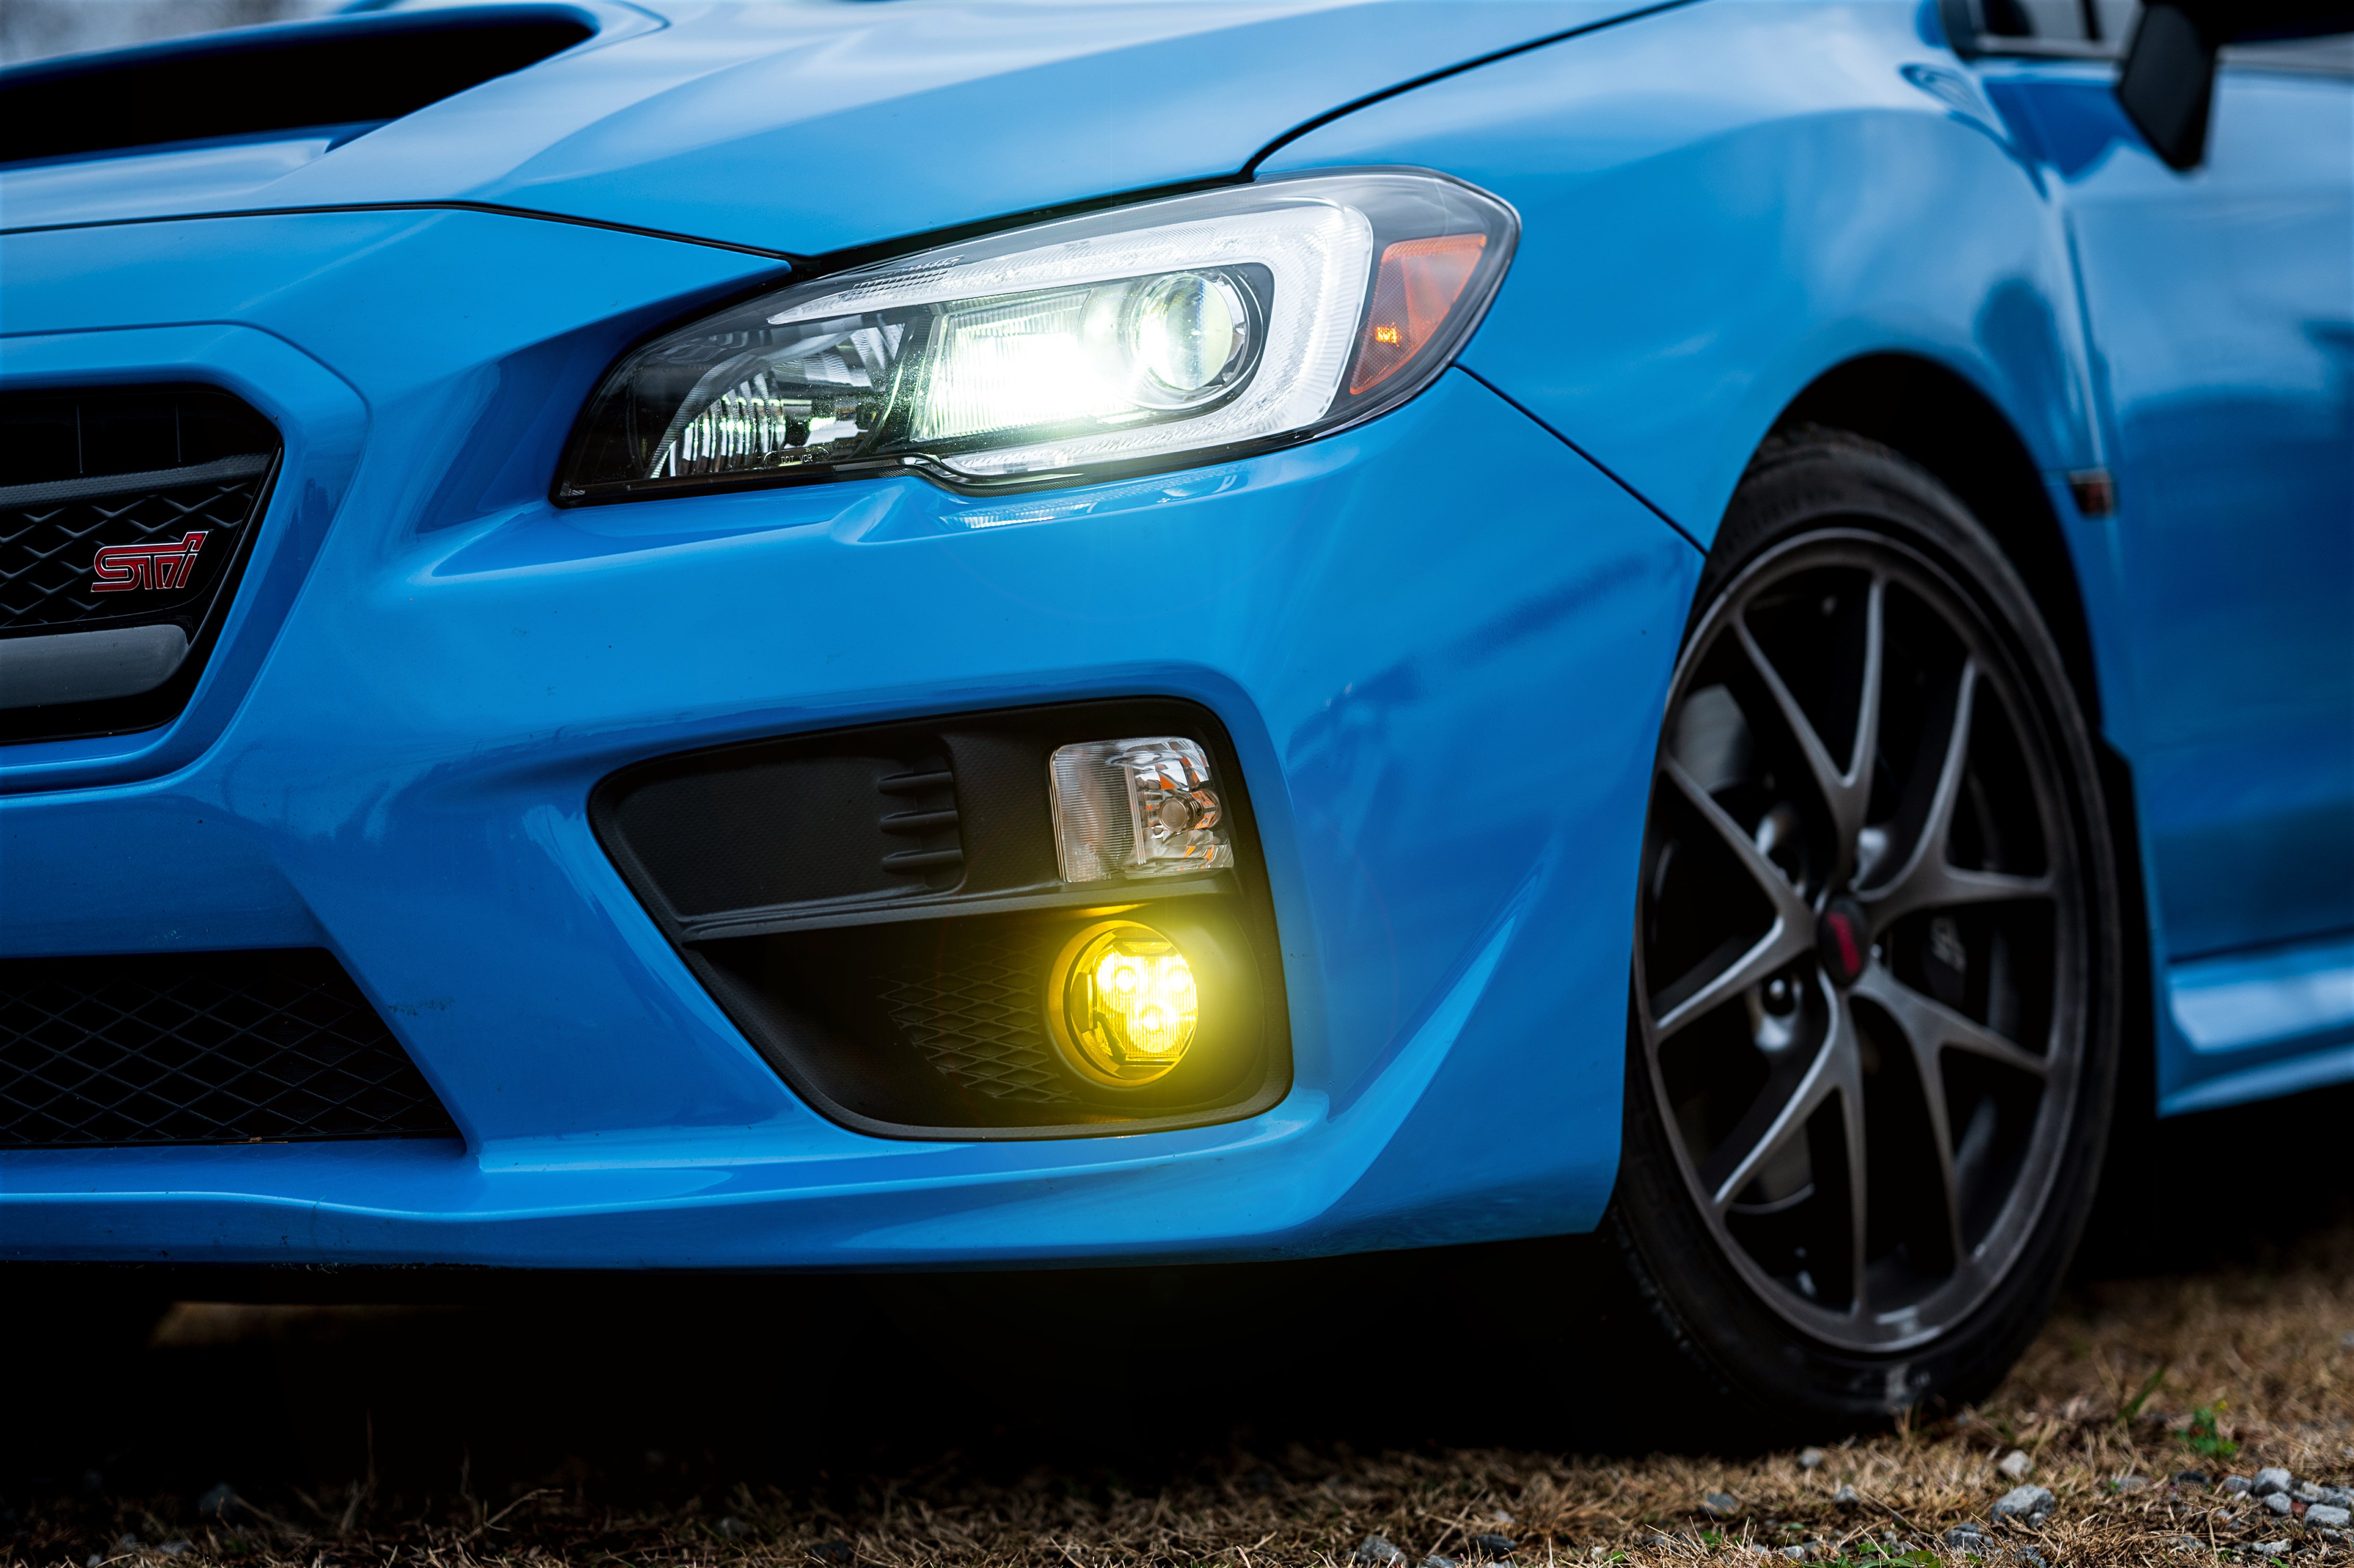
Take your 2015-2021 Subaru WRX/STI fog lights one step closer to McRae style with these Morimoto 4Banger LED pod lights. A stellar combination of performance, style, and versatility, the 4Bangers are sure to impress.

With the HXB wide beam just receiving SAE approval for road use, you can now run the most powerful LED pod light on the market in a fog light application. These fog lights are entirely plug-and-play thanks to the factory connectors and mounting solution that comes with the 4Banger pod lights.
ABOUT THE 4BANGERS
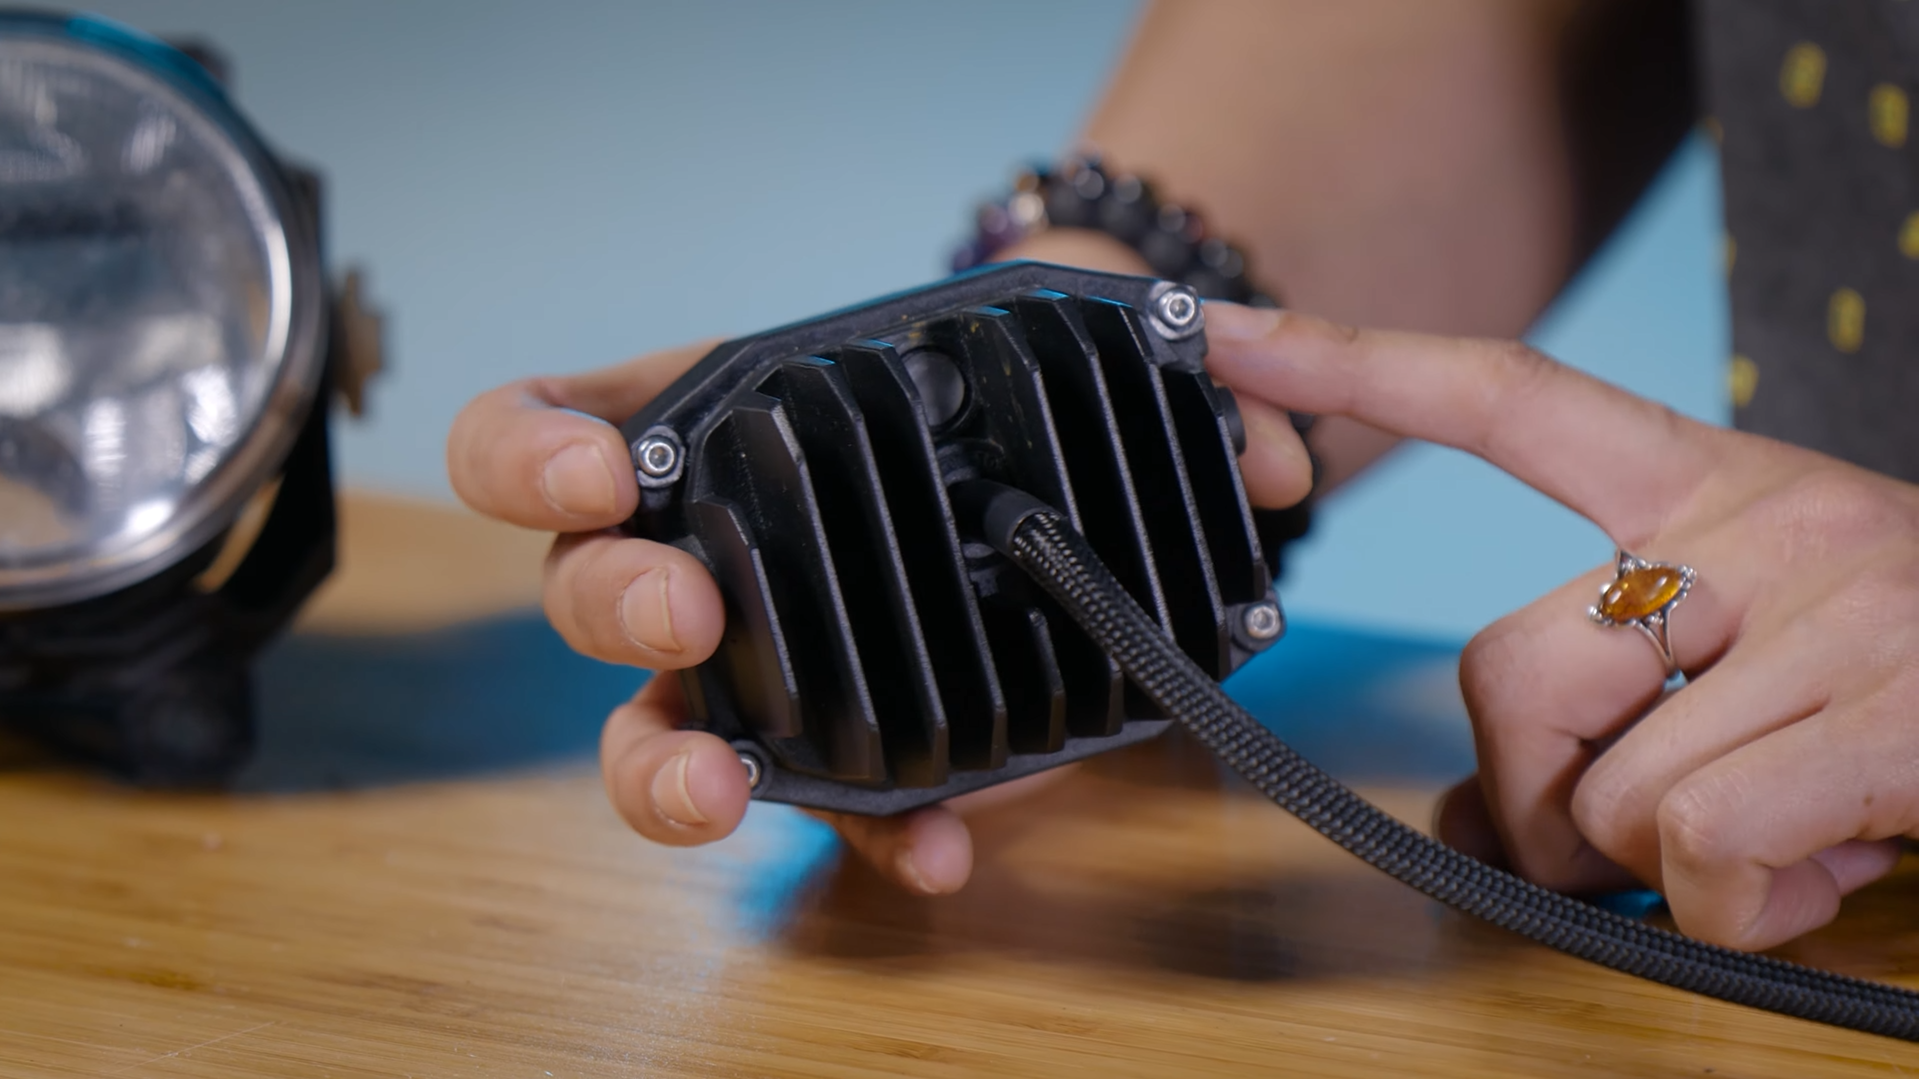
Available in two different trim levels, the Morimoto 4Banger LED Pod lights bring a mixture of design, output, and versatility to the LED pod light market. With the entry-level 4Banger NCS model, you get a Nichia LED chip spec for its output source. For the premium HXB model, an Osram HX Boost LED chip packs its punch behind the TIR optics, which can be found on both models.
As we mentioned before, the fitment of these pod lights is insane. There are a number of vehicle-specific mounts so that your 4Bangers do not look like they have just been tacked on your car. Modifications on your car need to look natural, and these mounts do just that.
Beam Patterns
The NCS and HXB models both come in three different beam patterns: combo (driving), wide (fog/SAE), and spot. The most popular among the three will likely be the wide beam pattern. This can ideally be used in a fog light application and with the NCS is legal for road use when aimed at -3°.
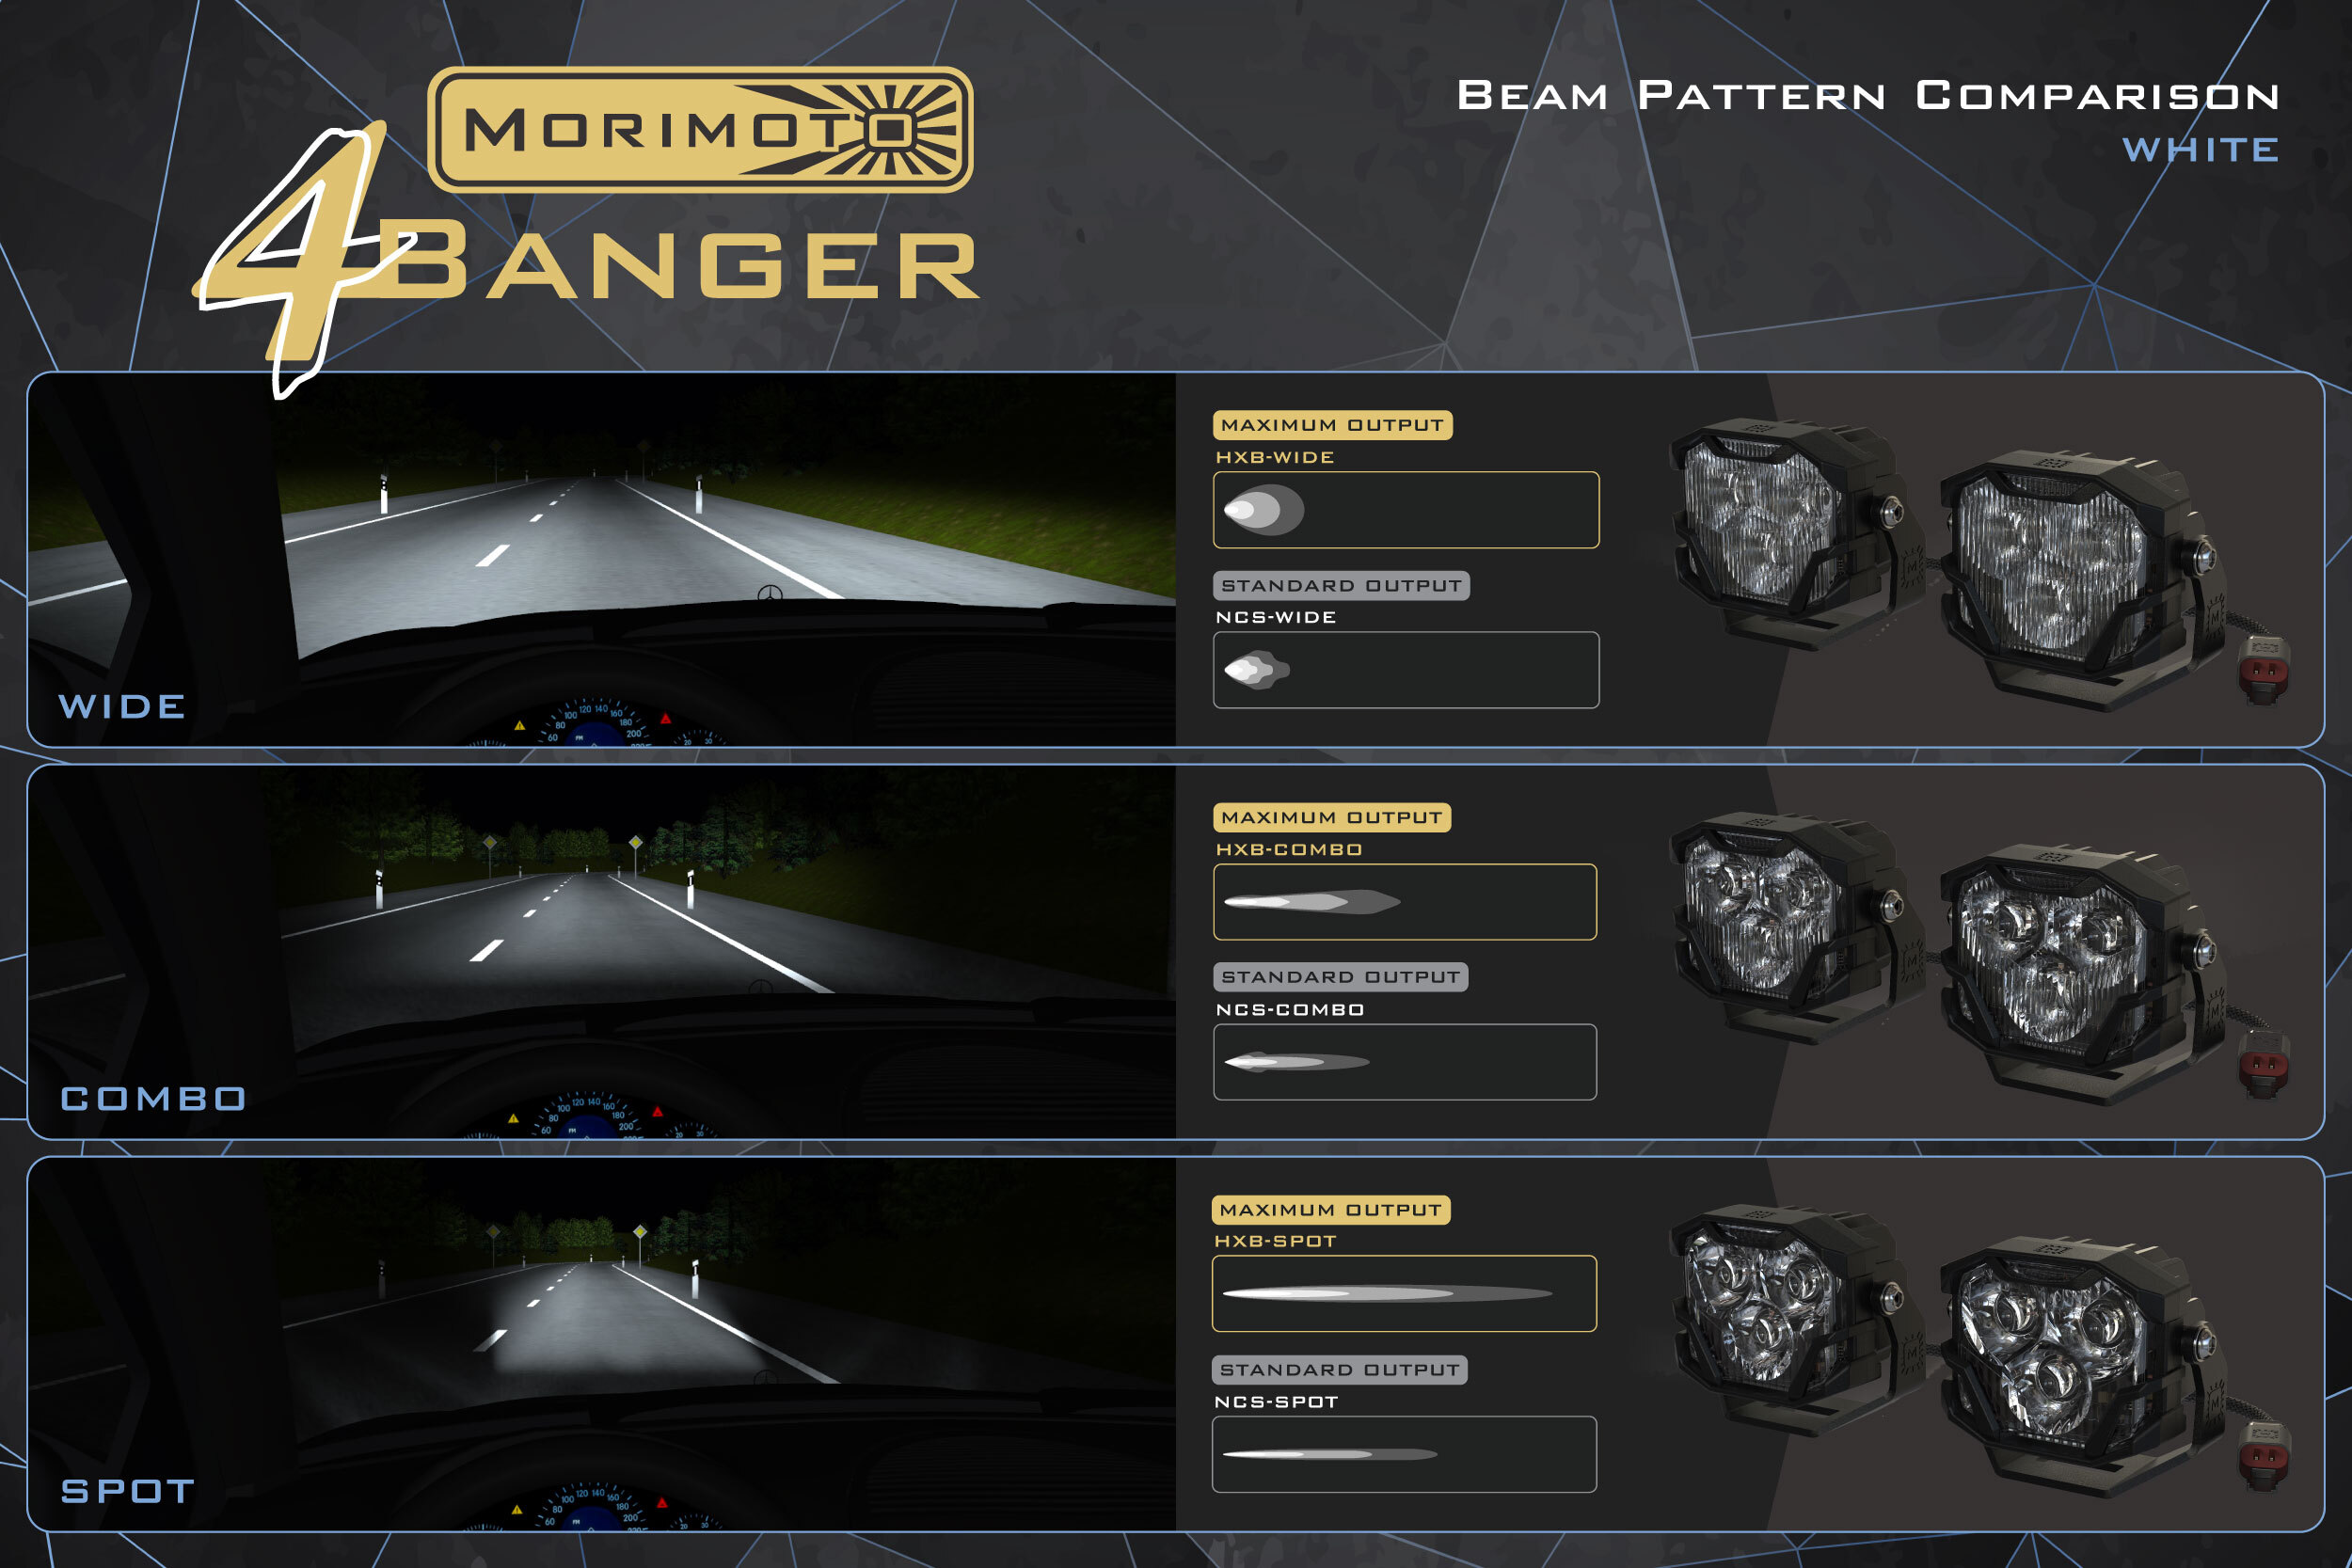
The combo or driving pattern is useful when it comes to off-roading and will likely be a favorite of that crowd. The same can be said about the spotlight beam pattern which is almost exclusively meant for an off-road application.
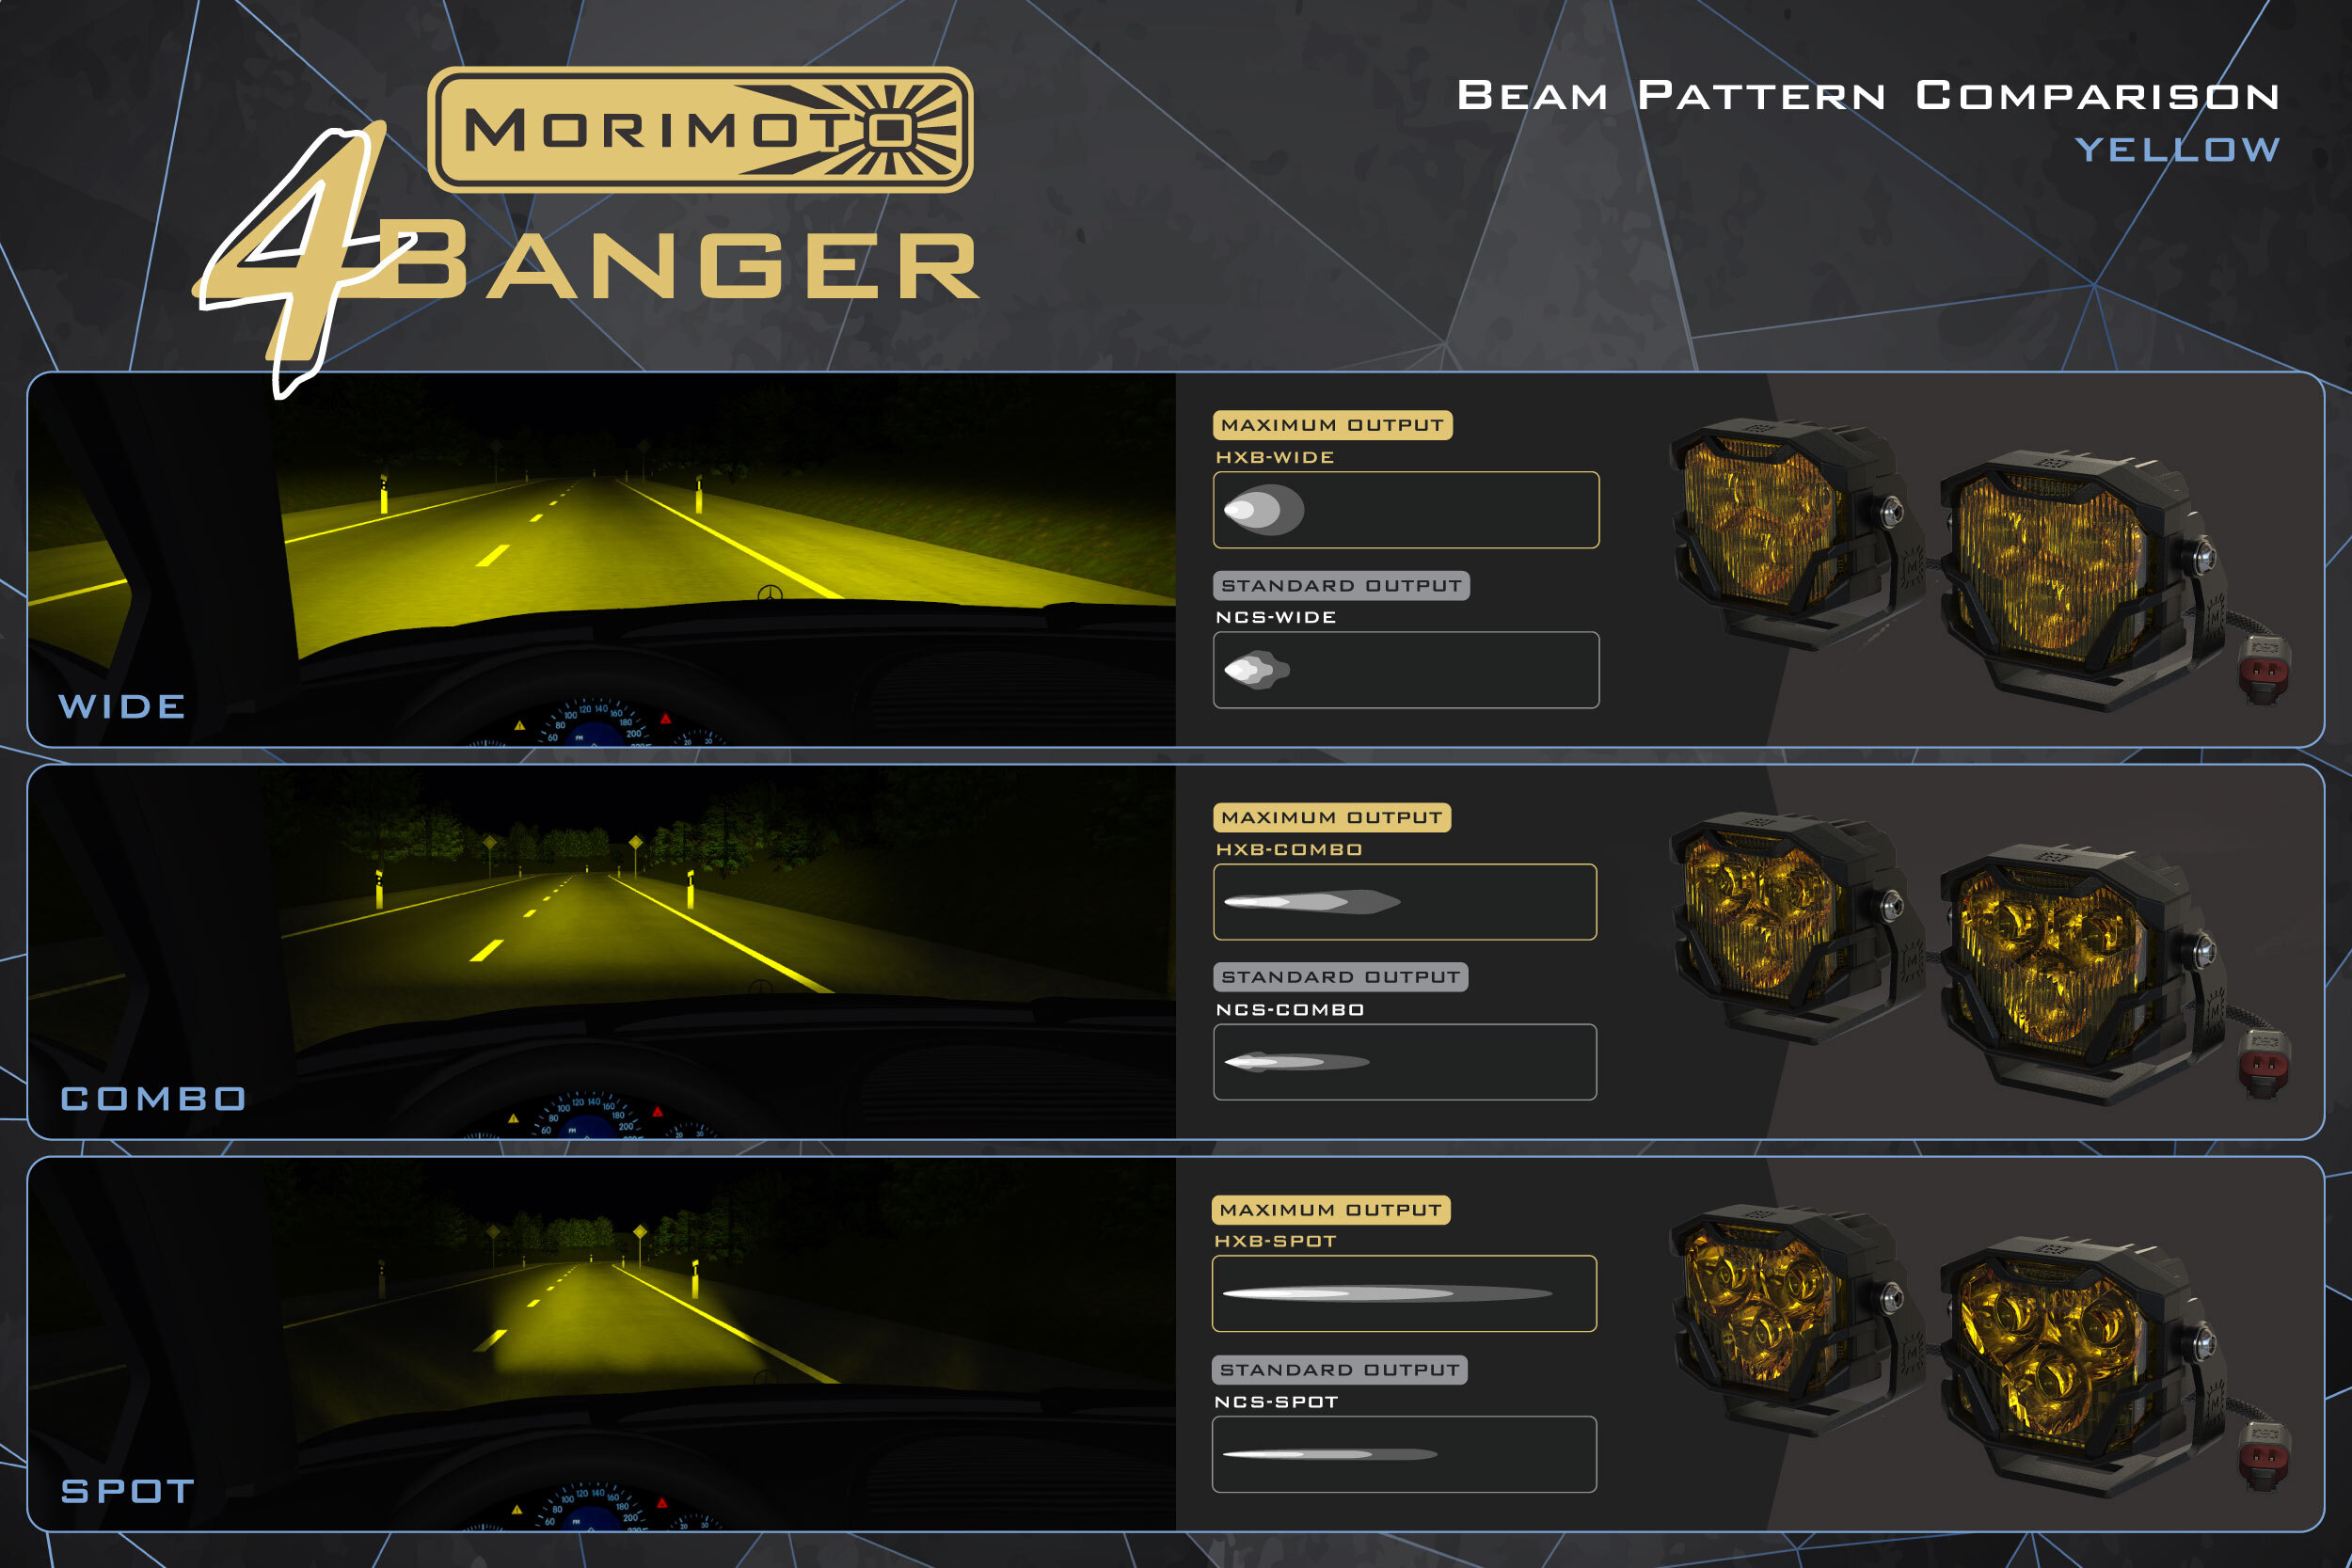
Color Options and Optics
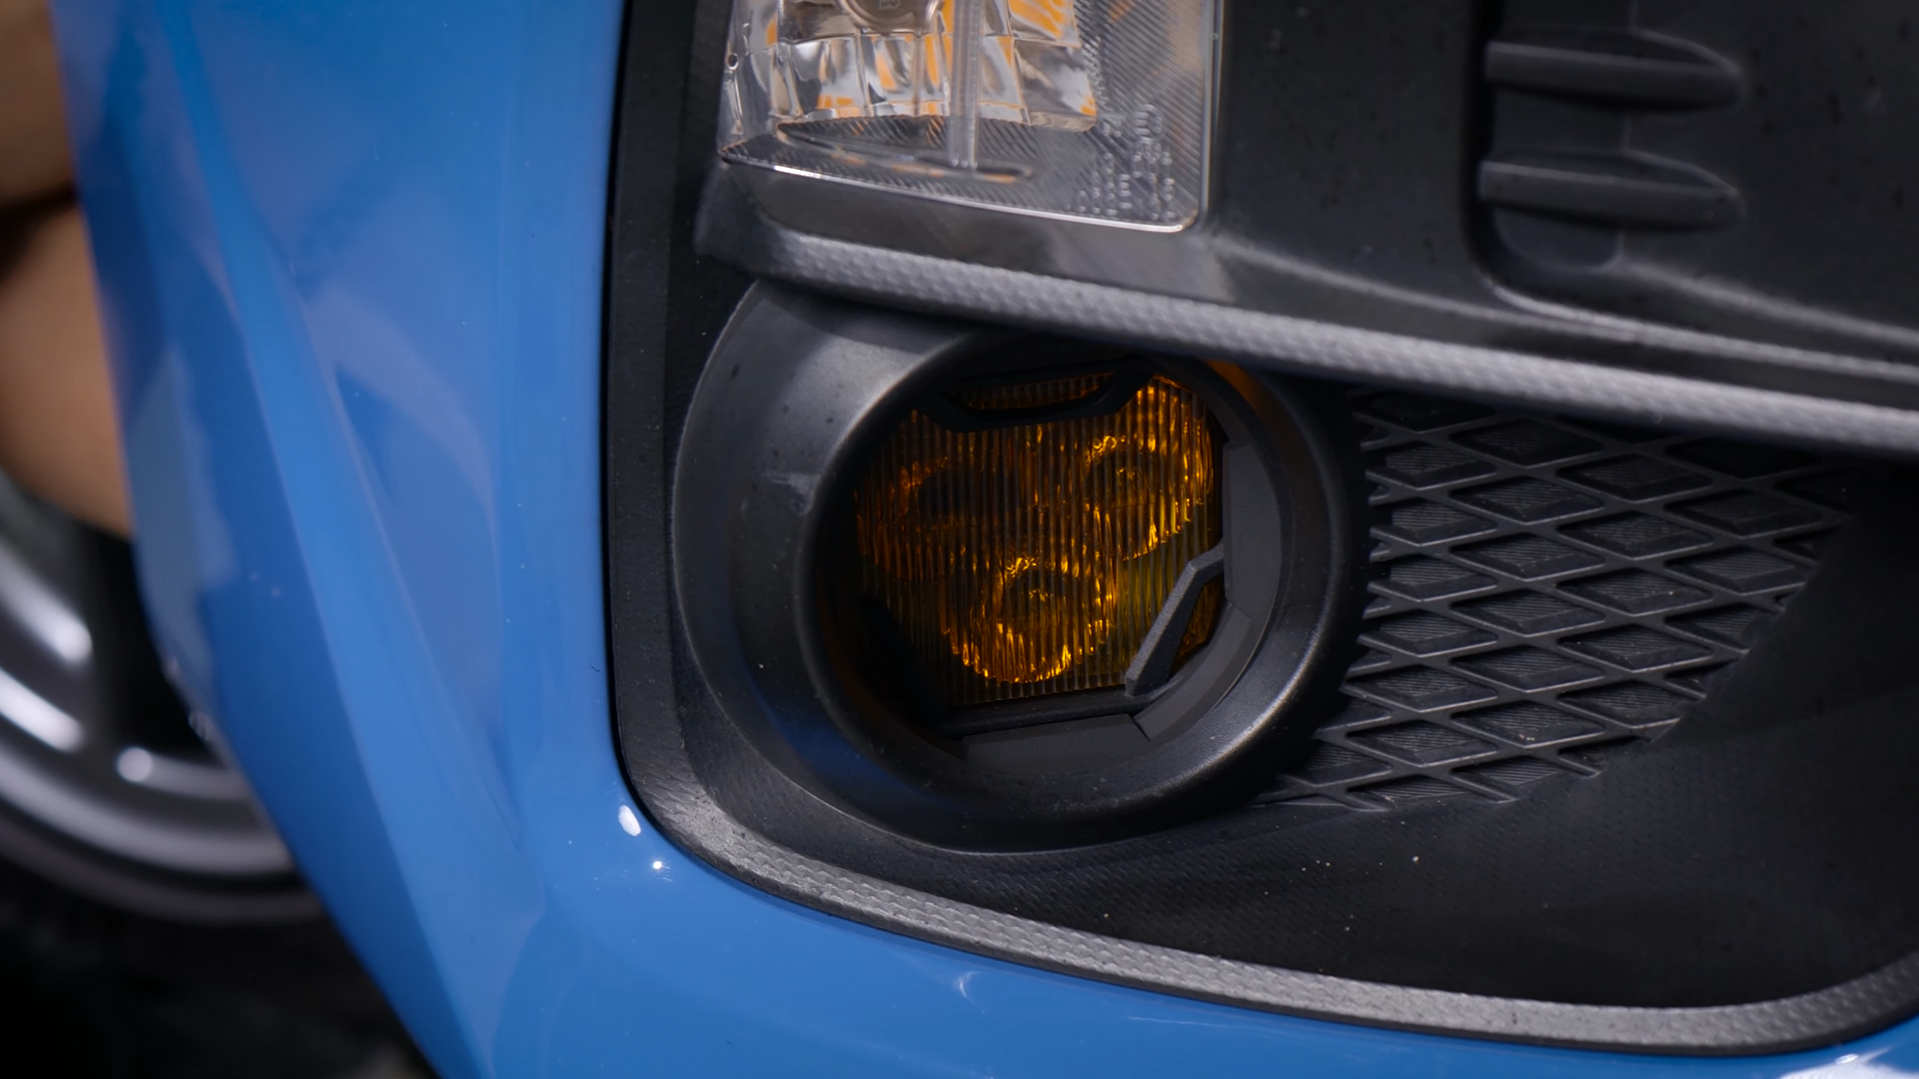
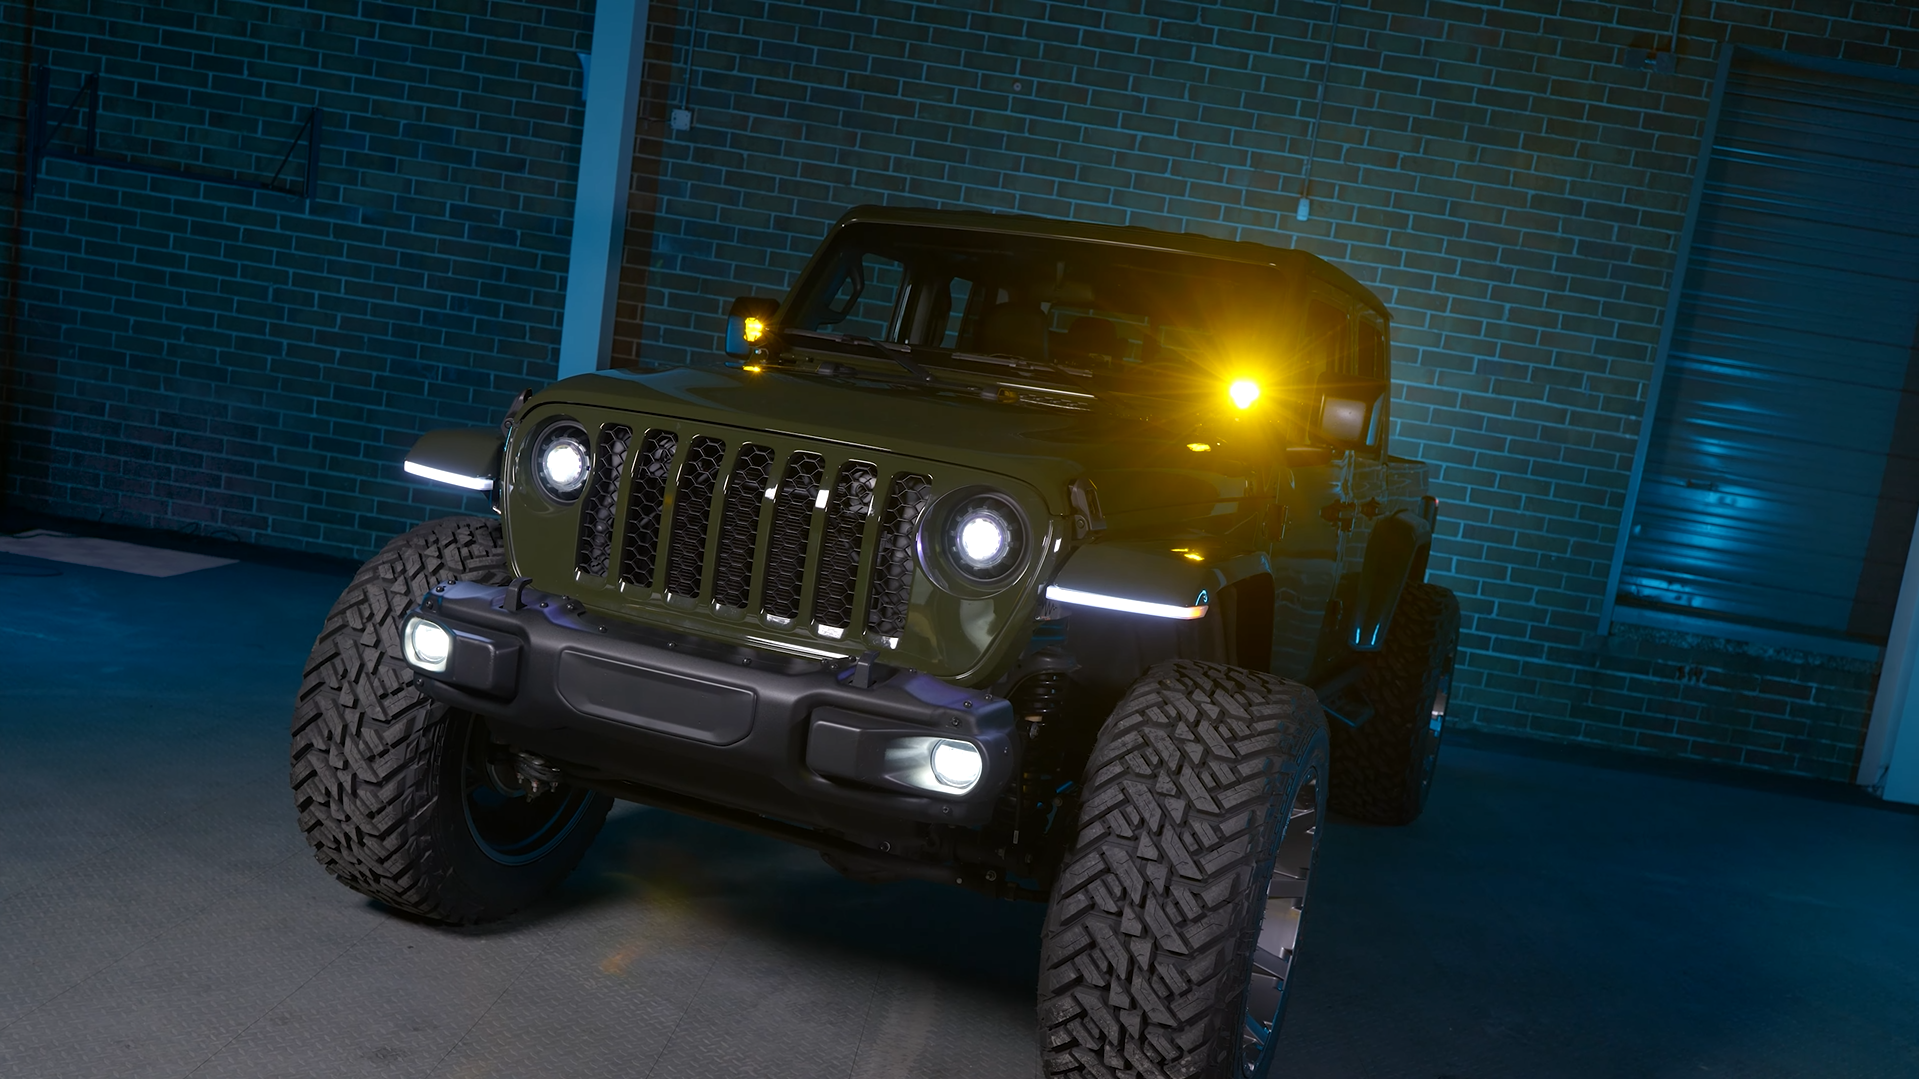
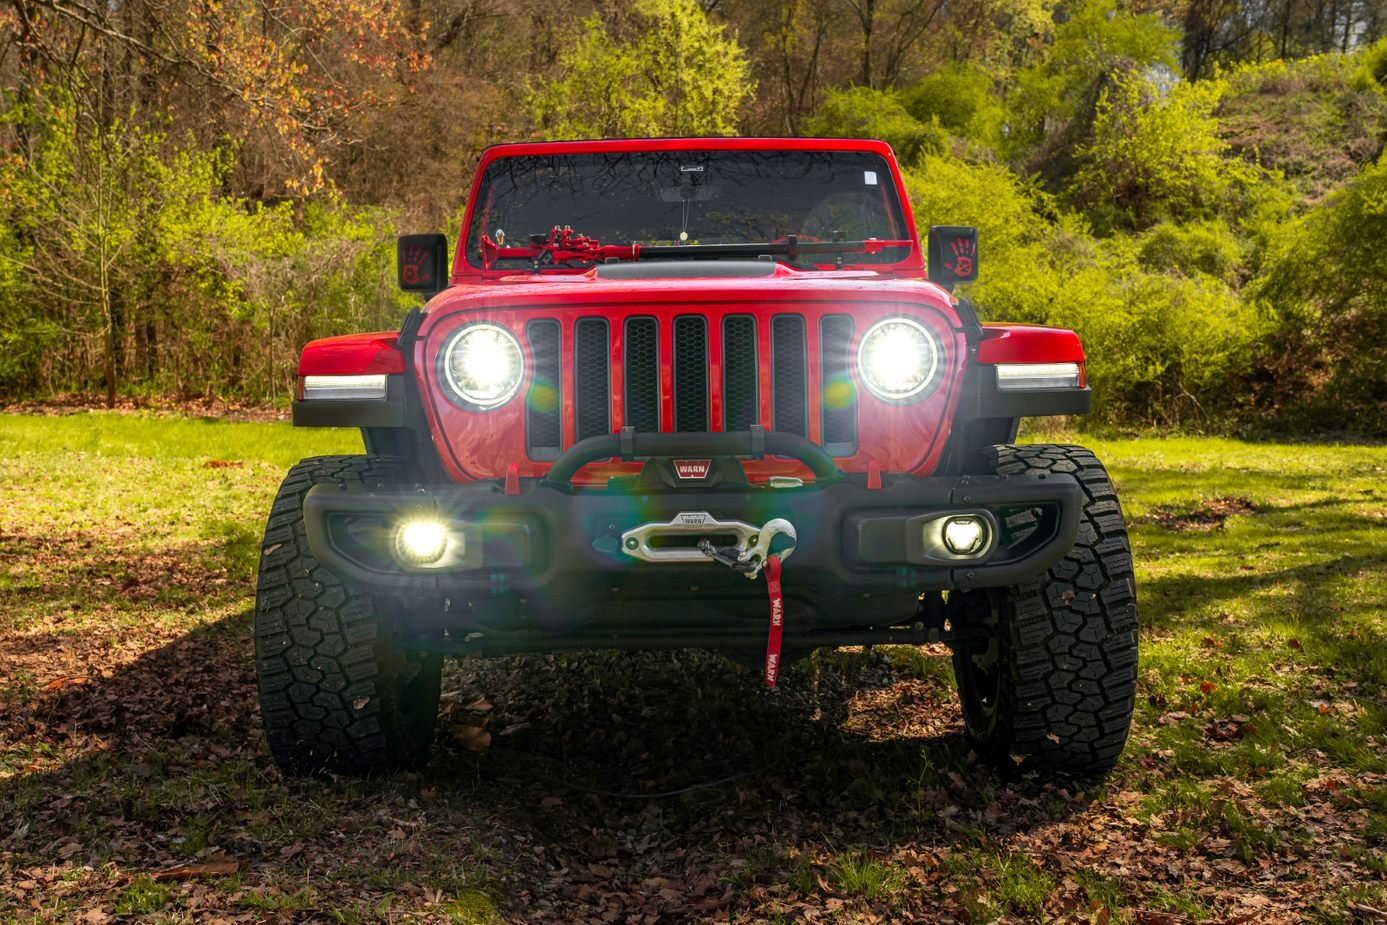
Additionally, each of those beam patterns for both the NCS and HXB models can be purchased with a white or yellow beam pattern.
If you choose to go with the yellow NCS model, you will be using a Nichia true-yellow LED chip with a yellow-filtered lens. This is in contrast to the HXB model that uses a white Osram chip with a yellow-filtered lens. To compare the output between the HXB white and yellow options, you will lose roughly 30% of your brightness when you switch from the premium white HXB 4Banger to the premium yellow HXB.
Speaking of the lenses, the TIR optics we mentioned before, stands for Total Internal Reflector. Essentially, rather than having the LED chip within the 4Banger Pod light, the lens optic creates the individual beam patterns.
INSTALL
Tools Needed for the Job:
Phillips Screwdriver
Pry Tool (optional)
Bracket Assembly
Begin by assembling the 4Banger bracketry. Remove the top two bolts and place the metal bracket over the holes. Then install the two long screws from the 4Banger kit in place of the existing screws.
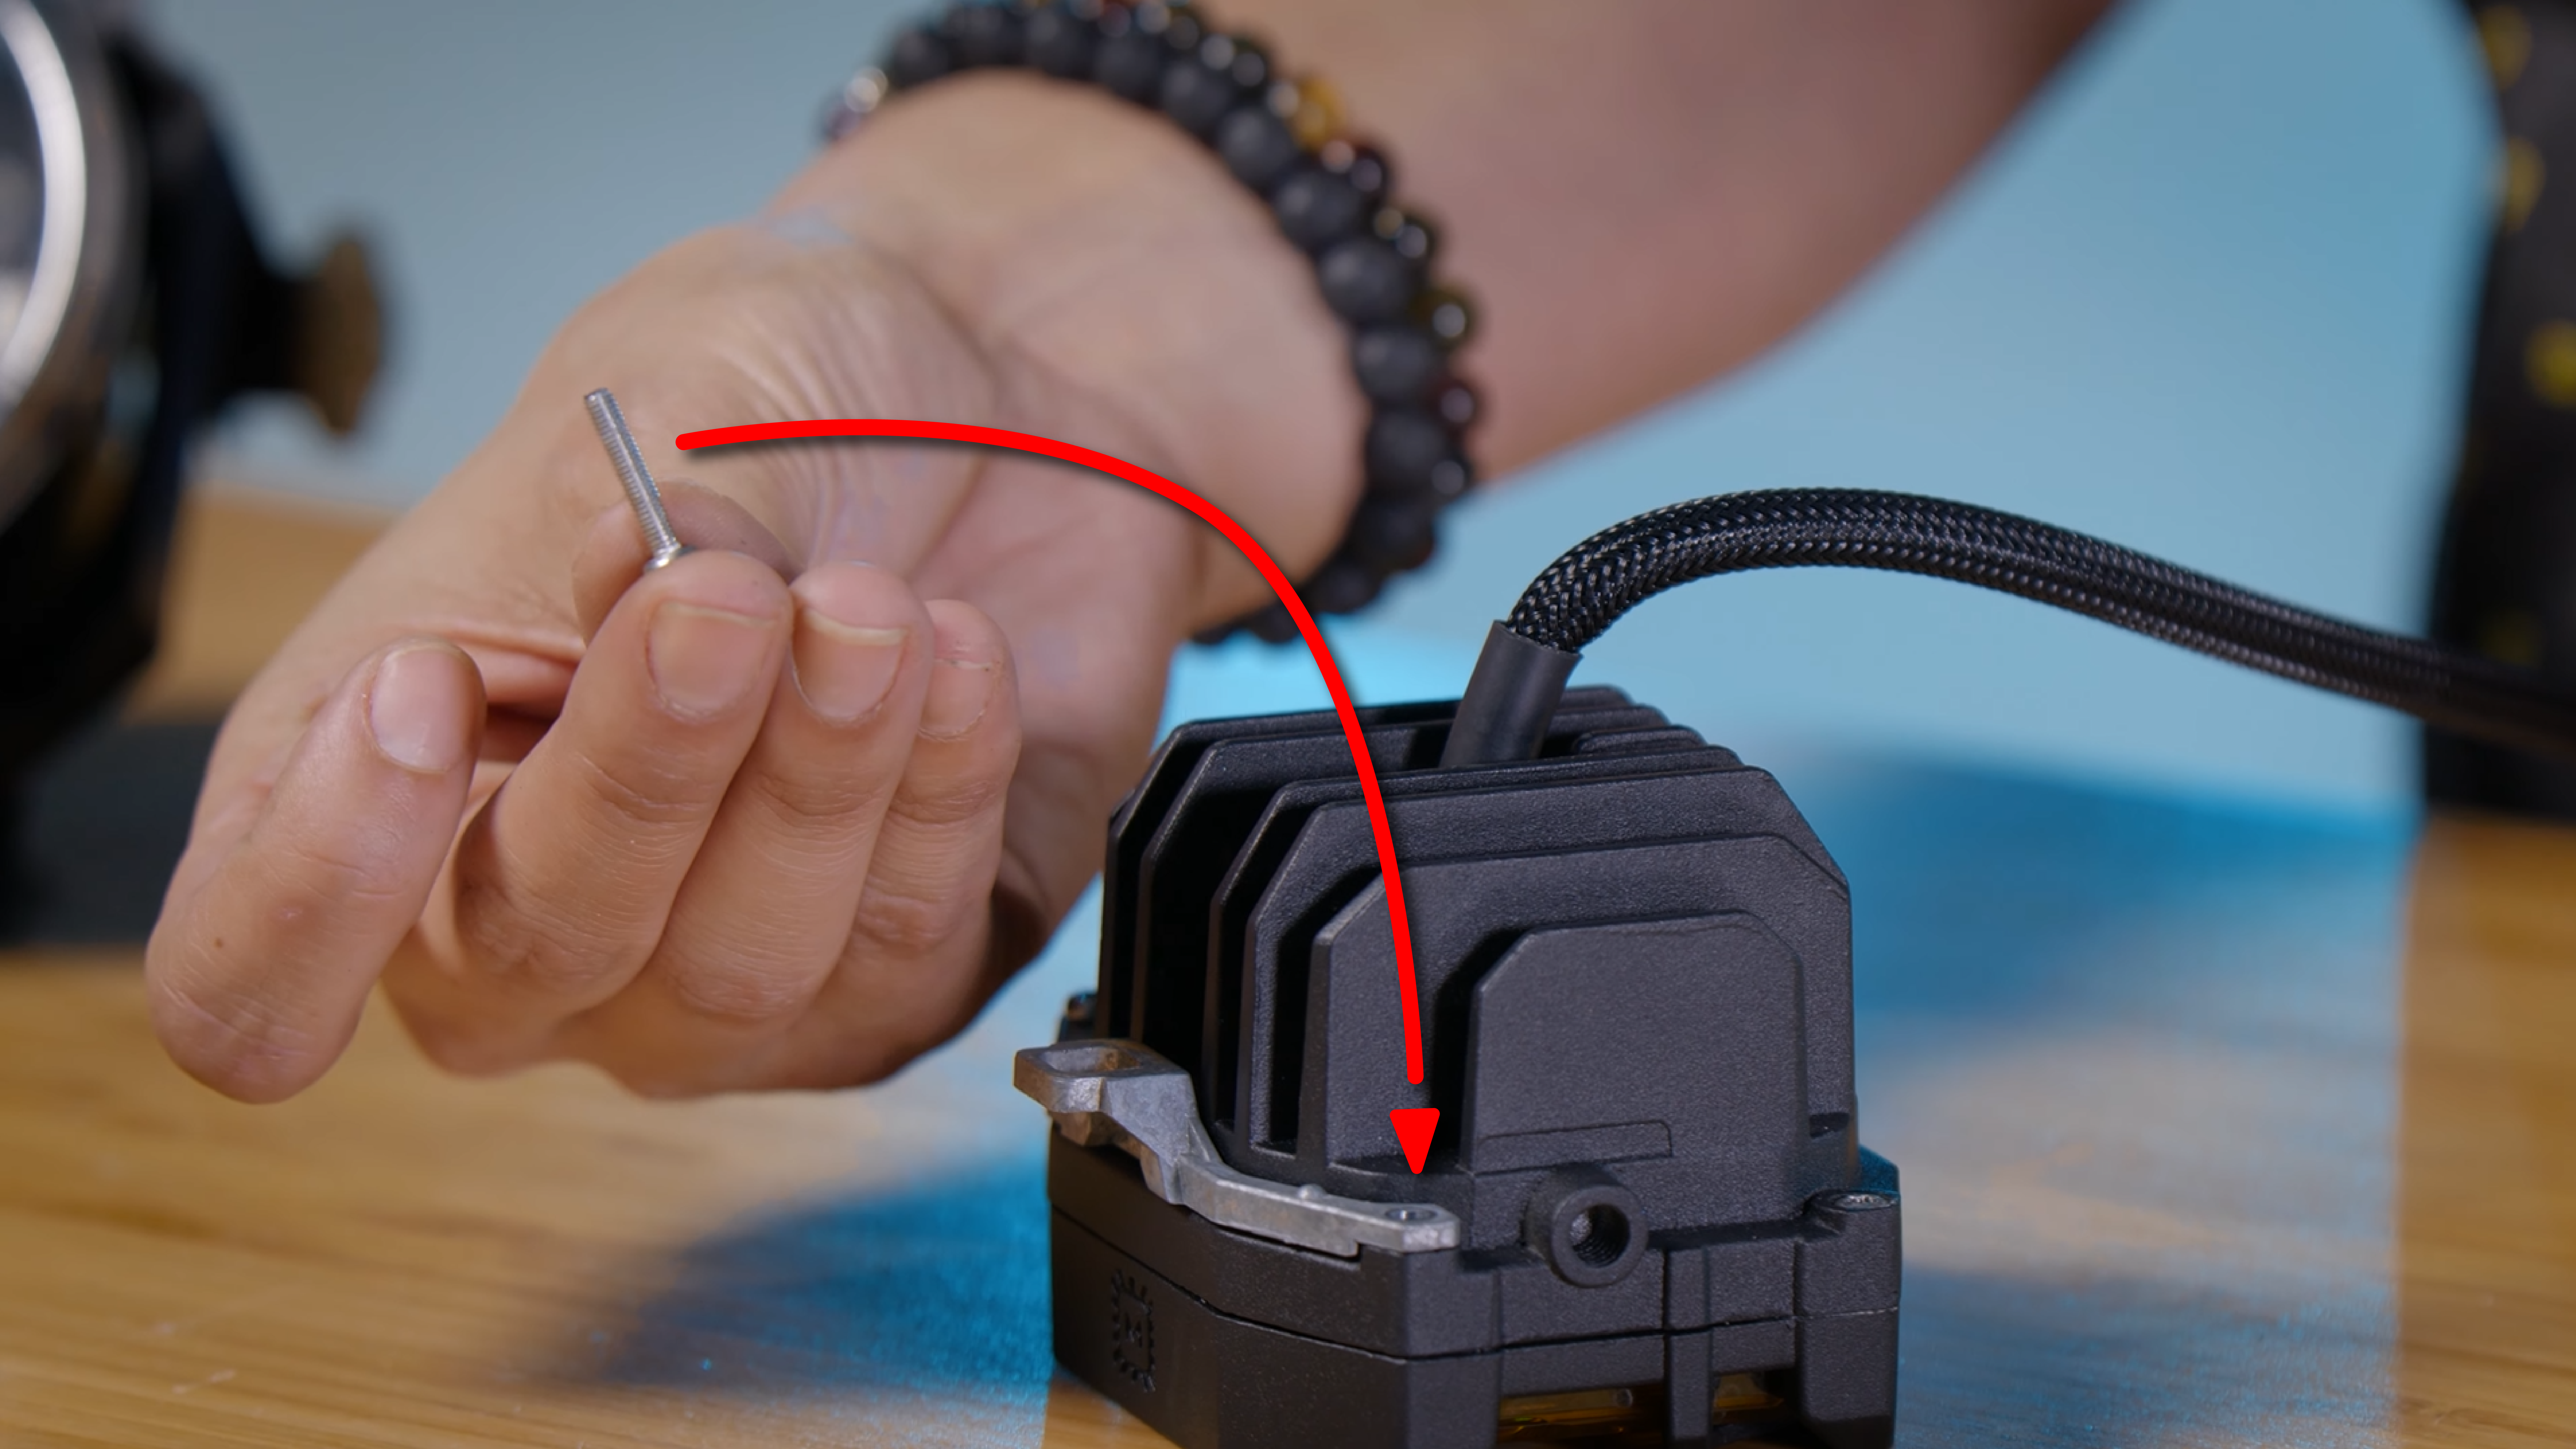
Then, take the plastic piece and install it into the peak of the bracket. This is where your adjustment screw will go.
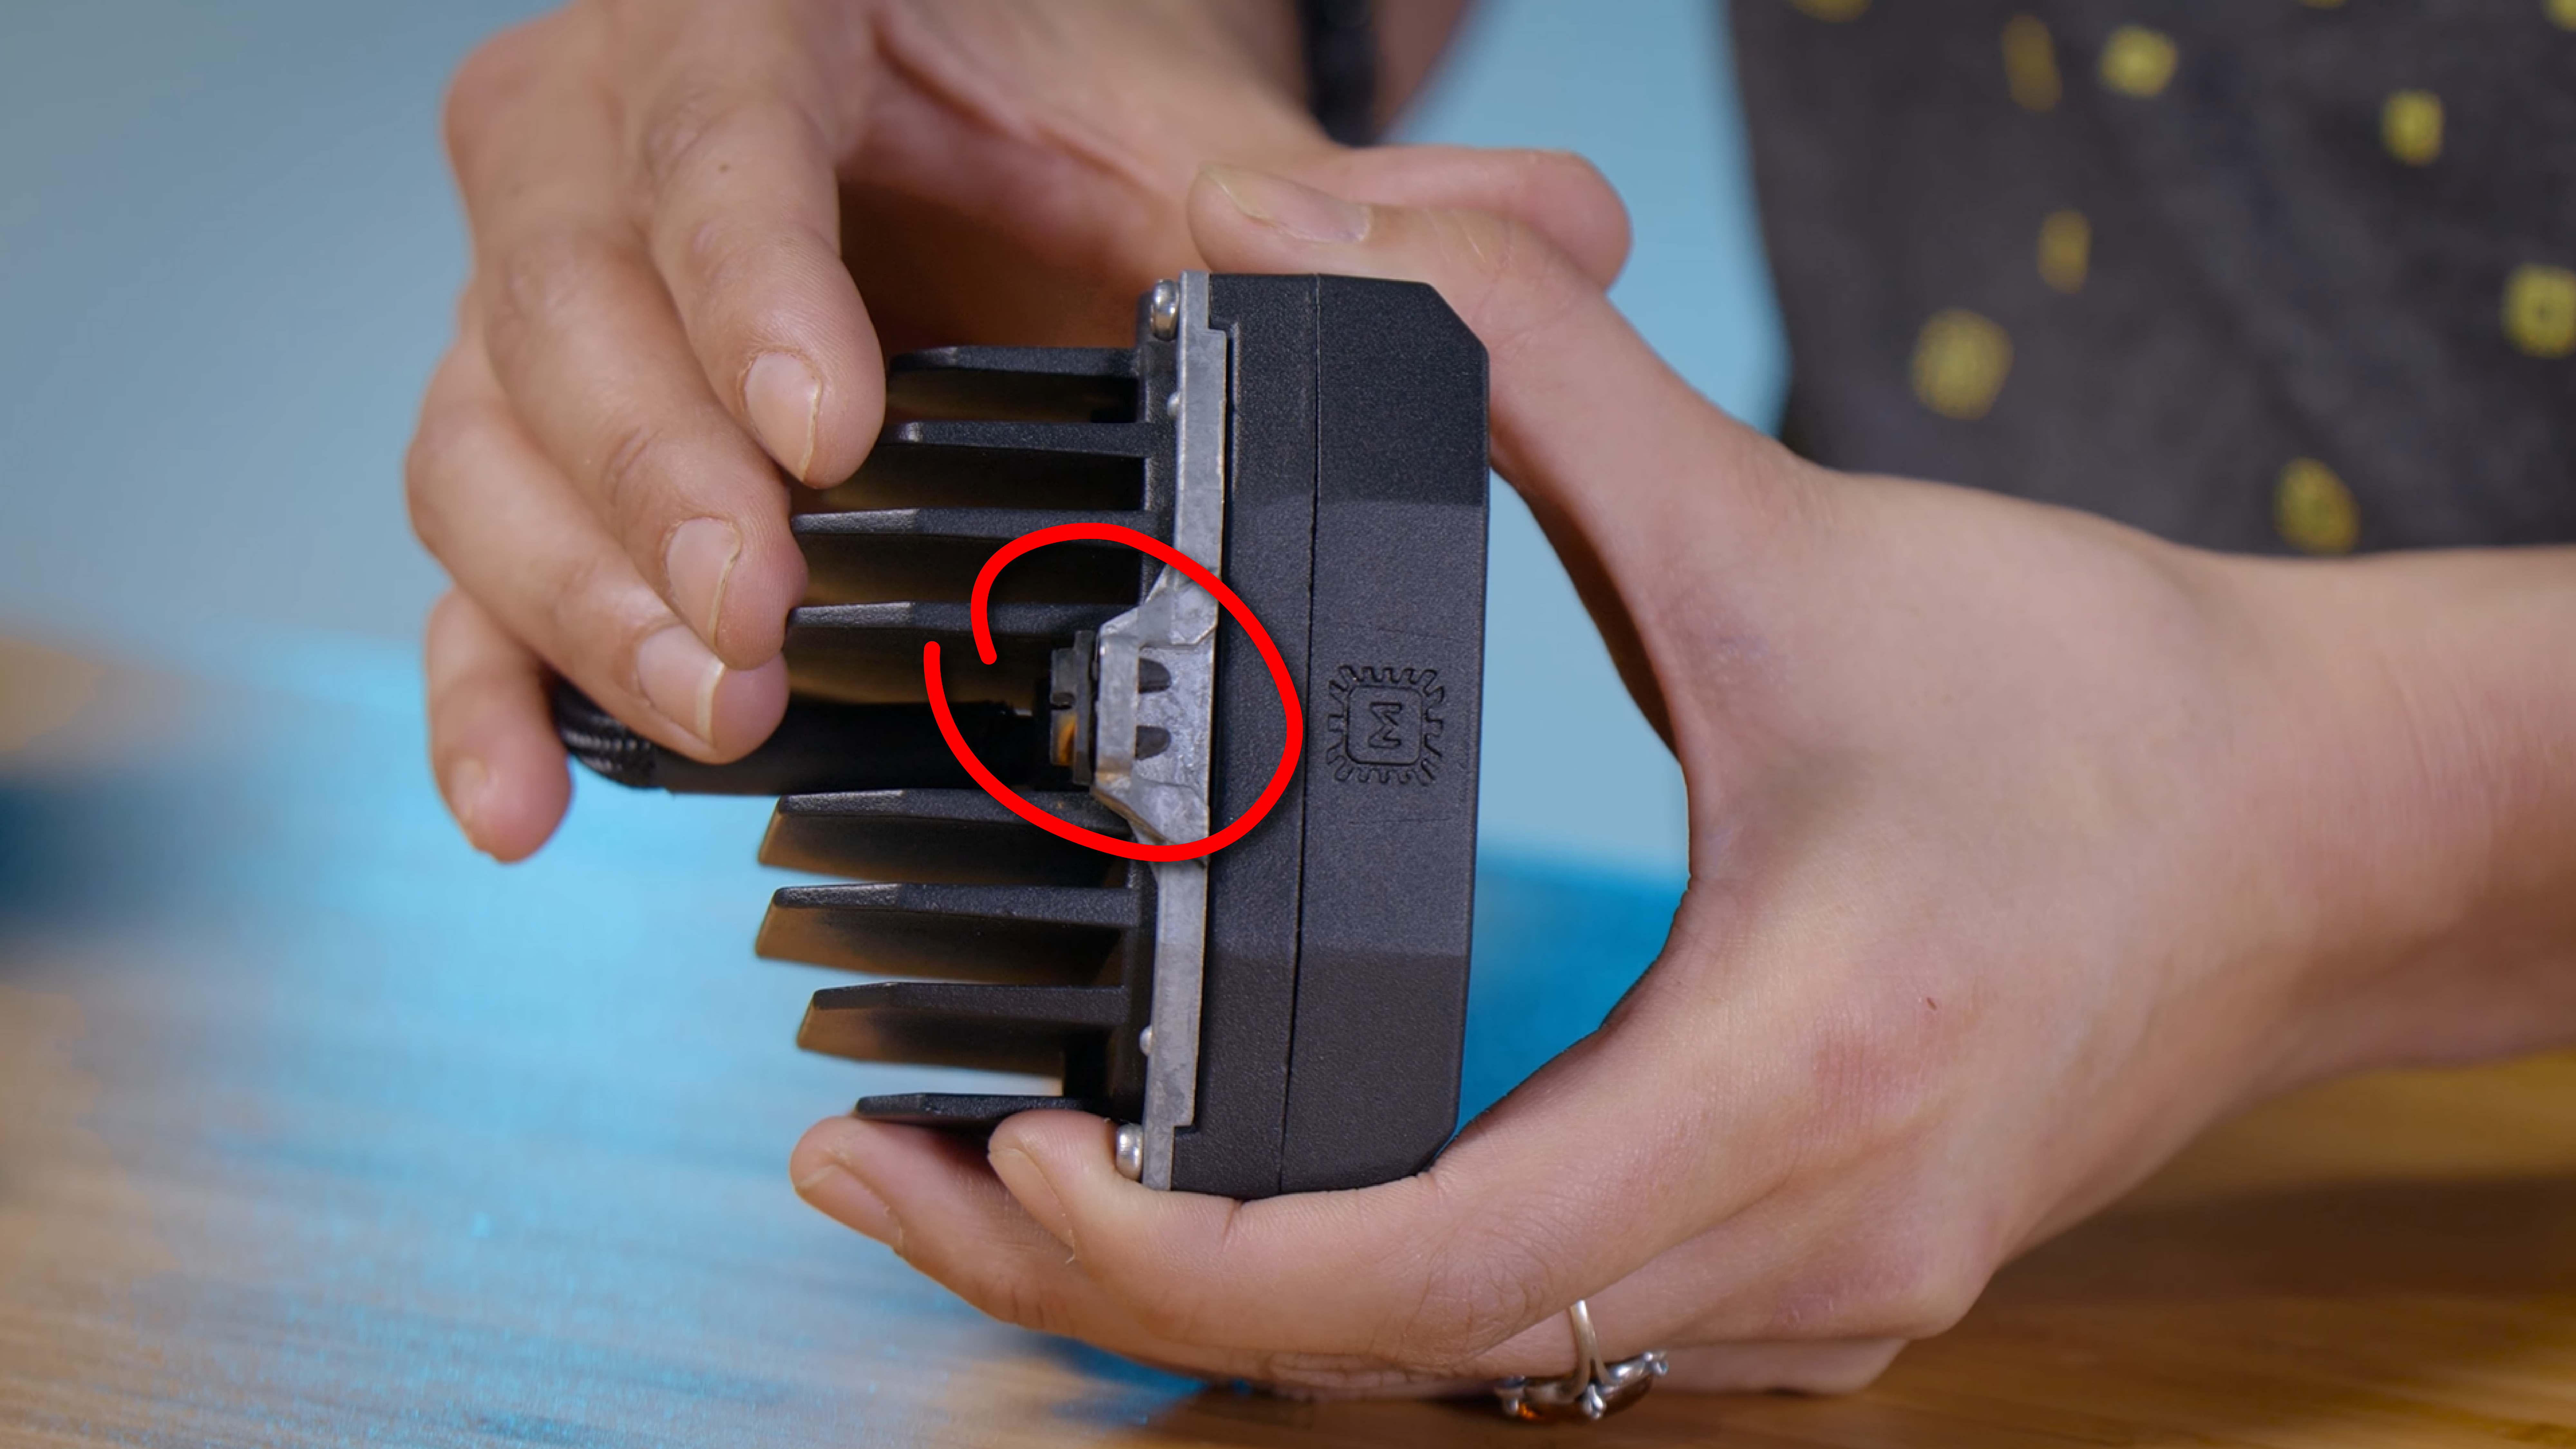
Then, slide the mounting bracket and run your 4Banger through it wire-first. Line the bracket with the plastic piece and with the two side holes on the 4Banger. When in place, you will hear a slight click.
Take the four small screws and install them on the sides of the 4Banger to screw the bracket into place.
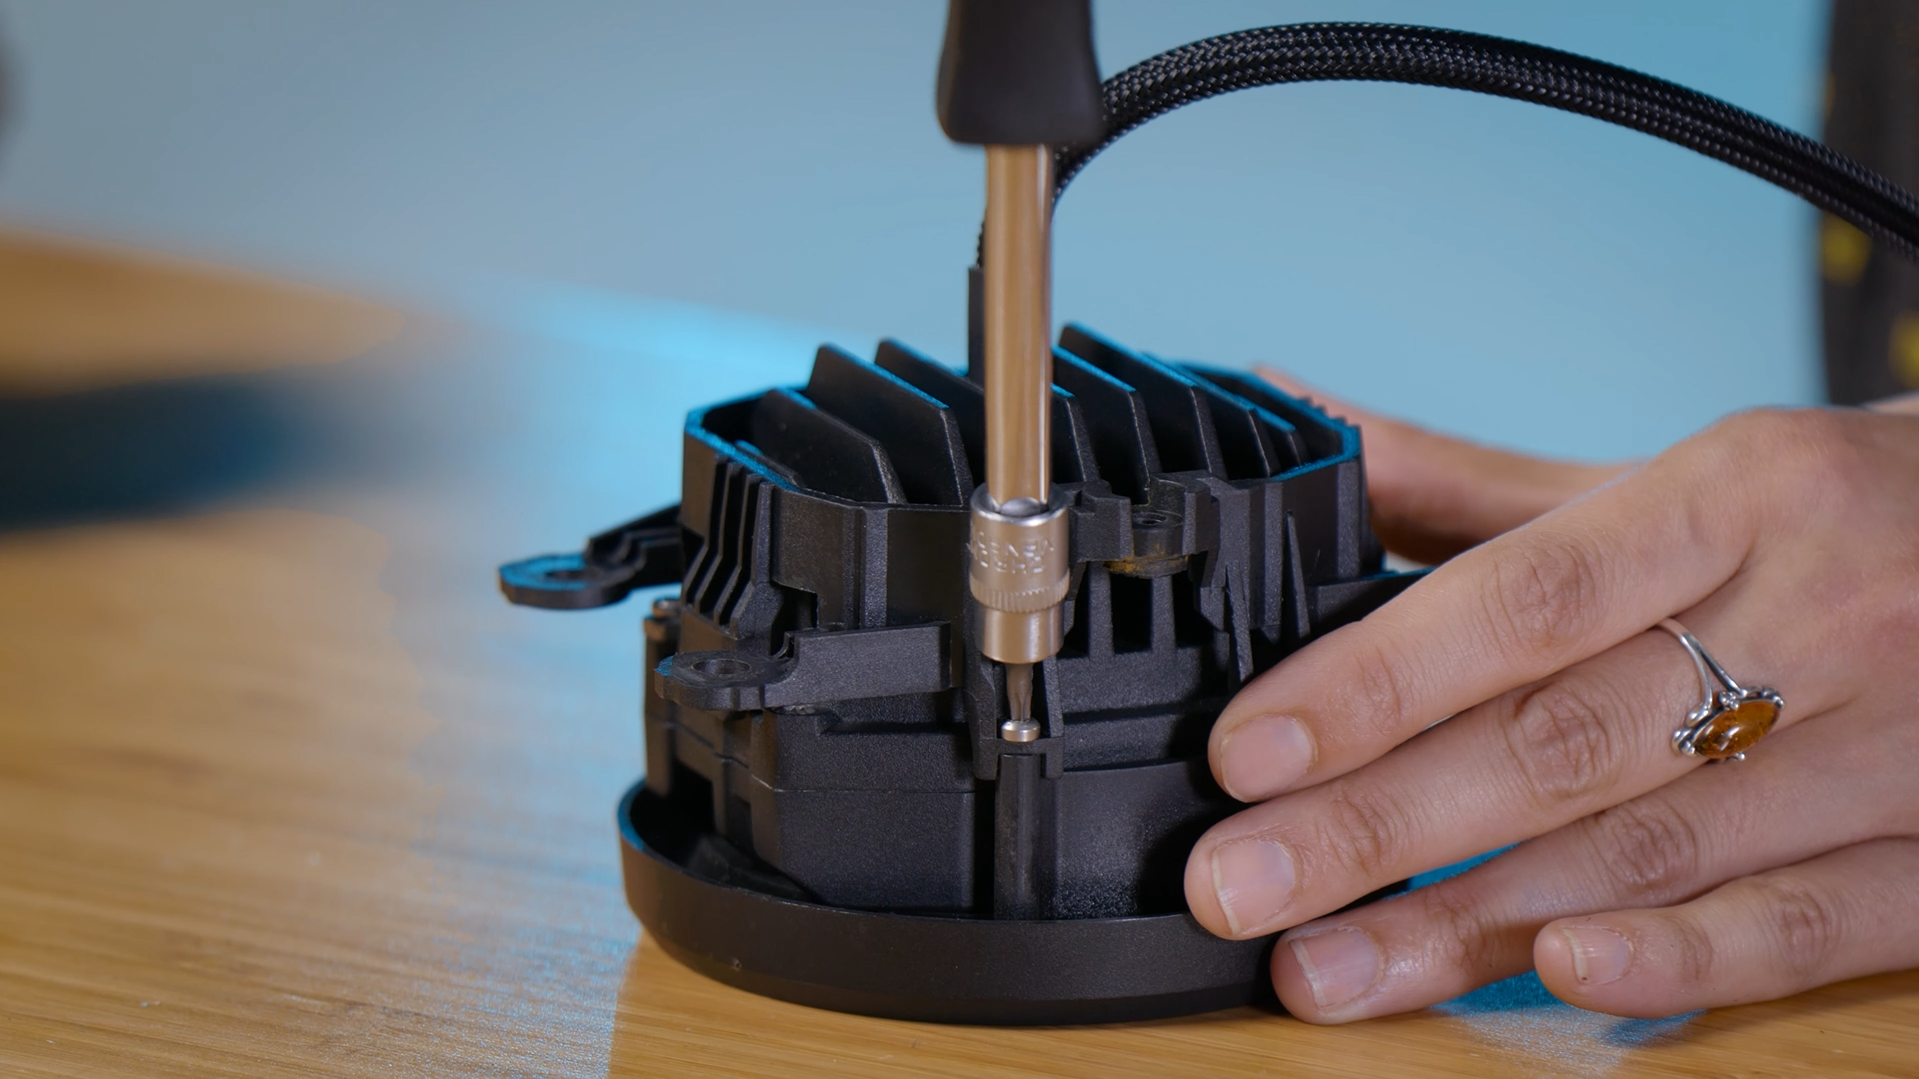
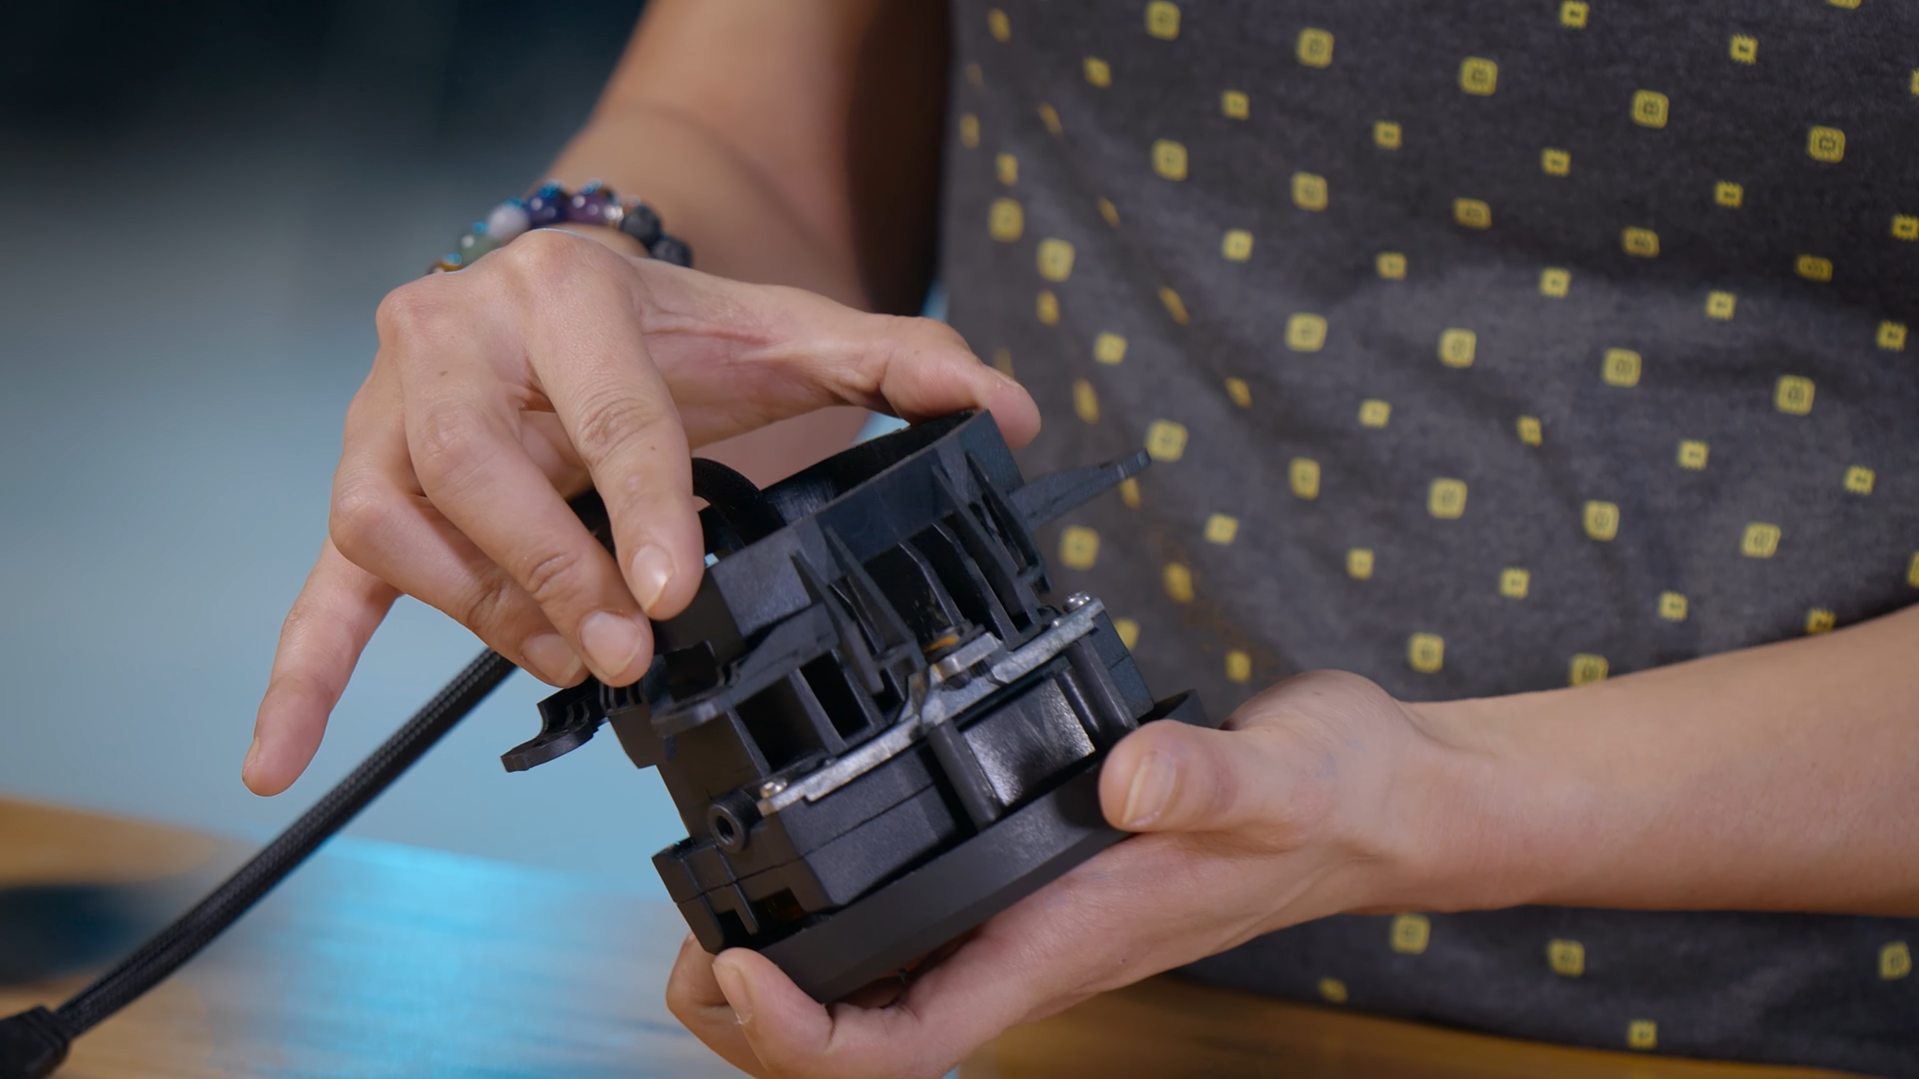
You can then insert the spring and adjustment screw through the bracket and into the black adjustment piece. Do not tighten the screw all the way down. This will be used to adjust the direction of your 4Banger.
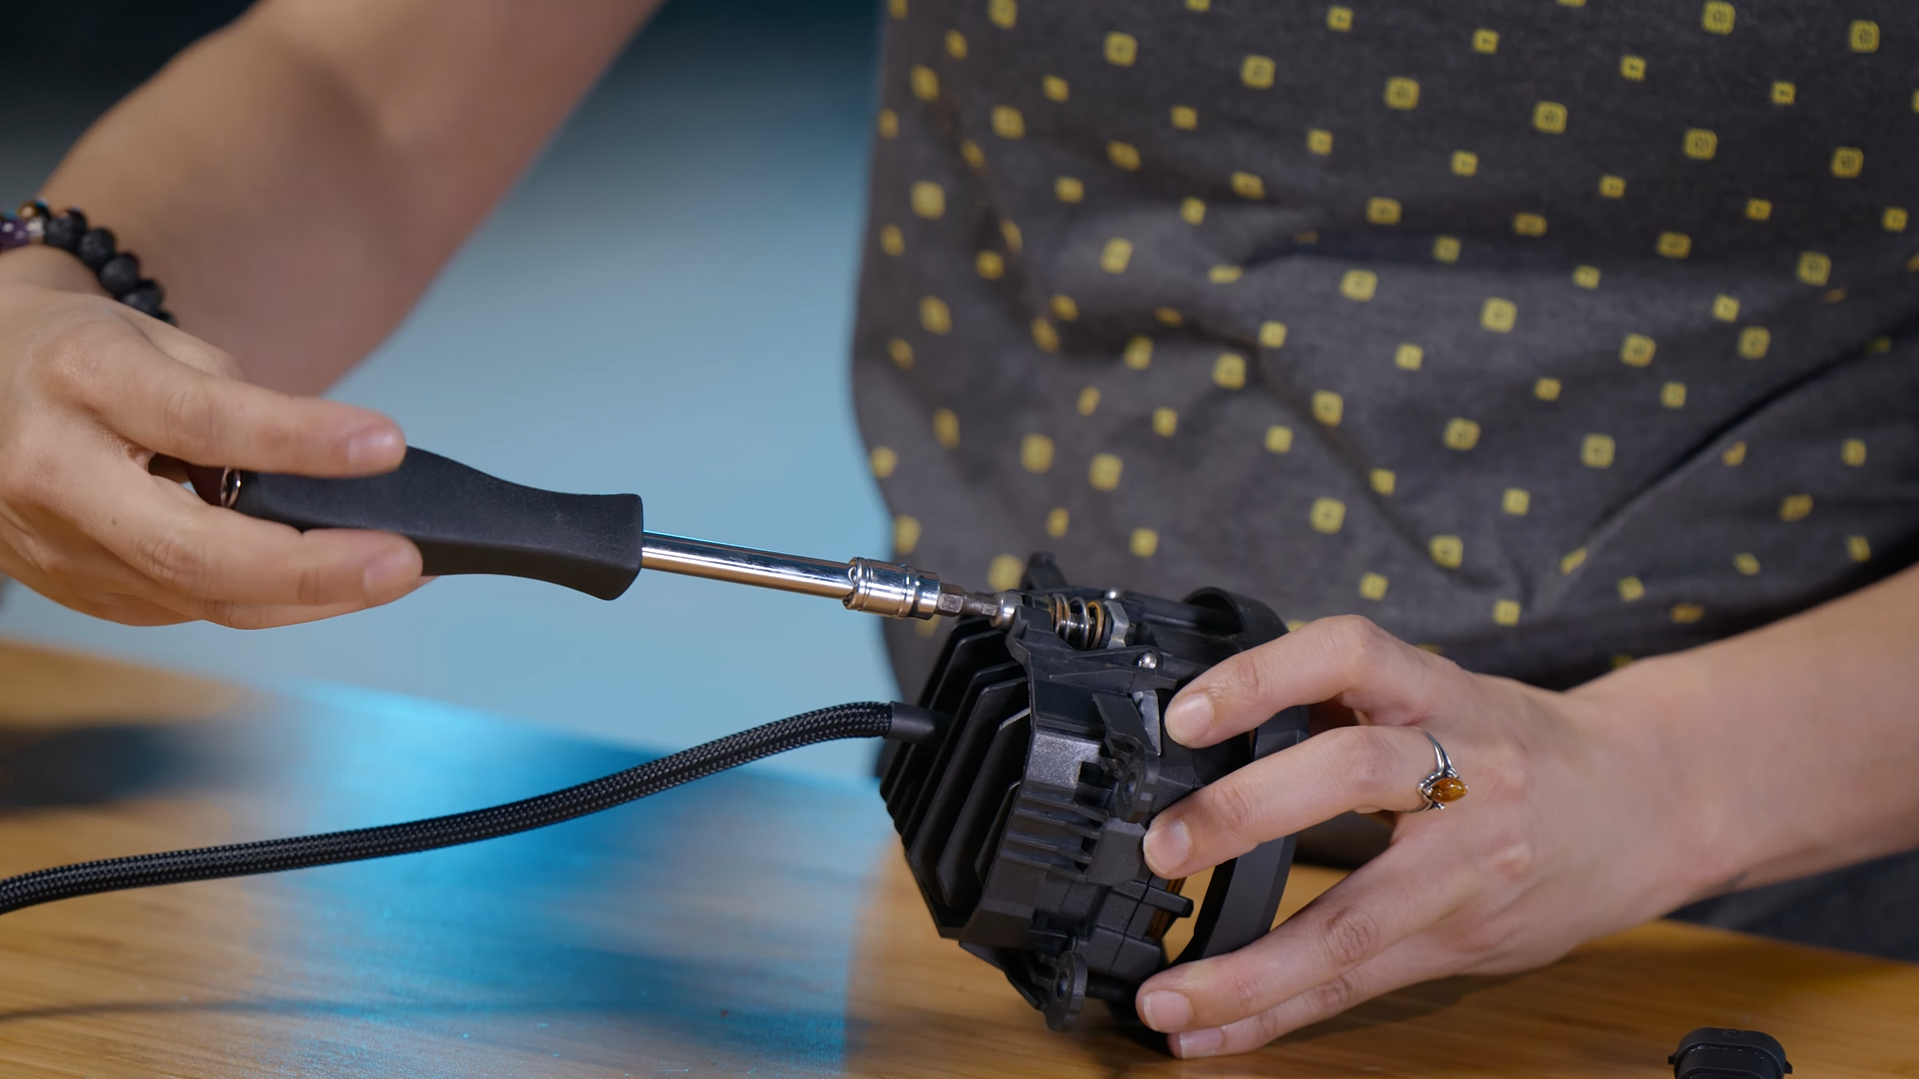
Lastly, plug in the accessory harness so your 4Banger can plug into your vehicle’s fog light connector.
4Banger Fog Light Install
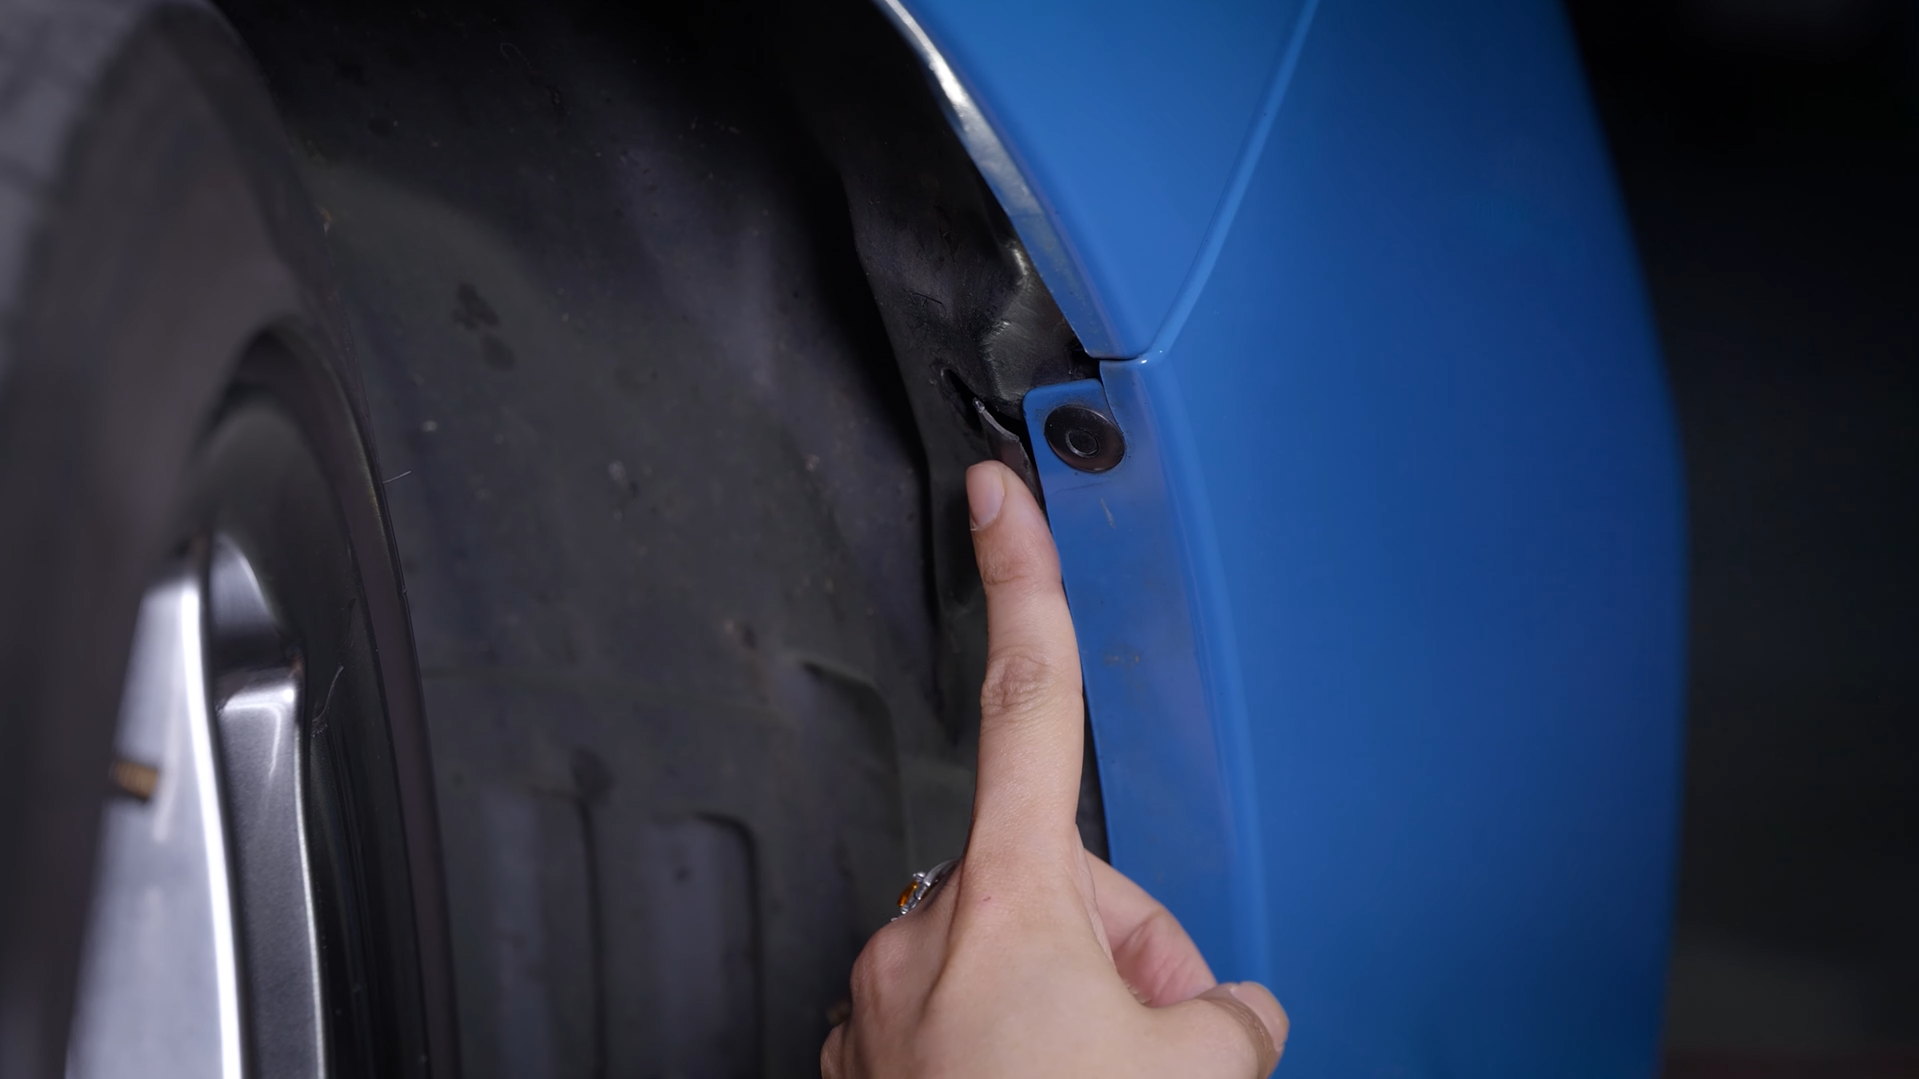
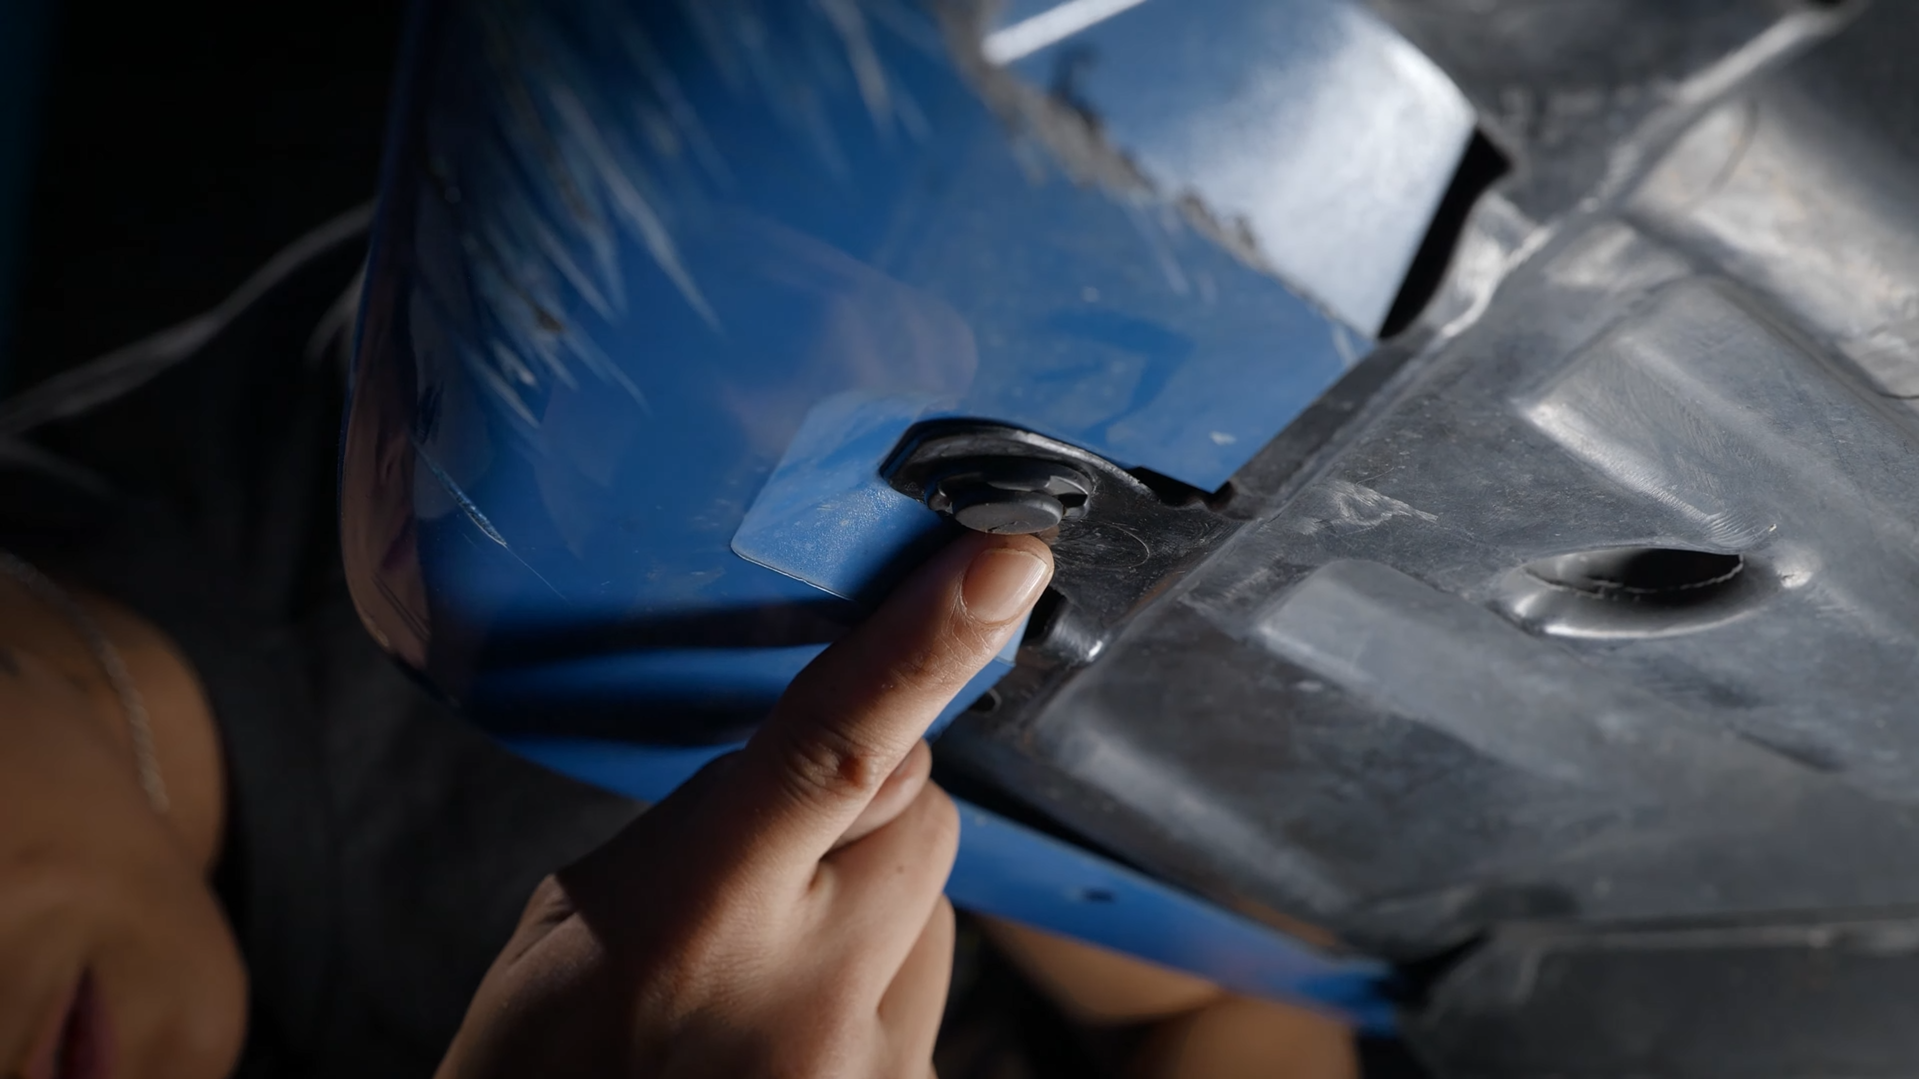
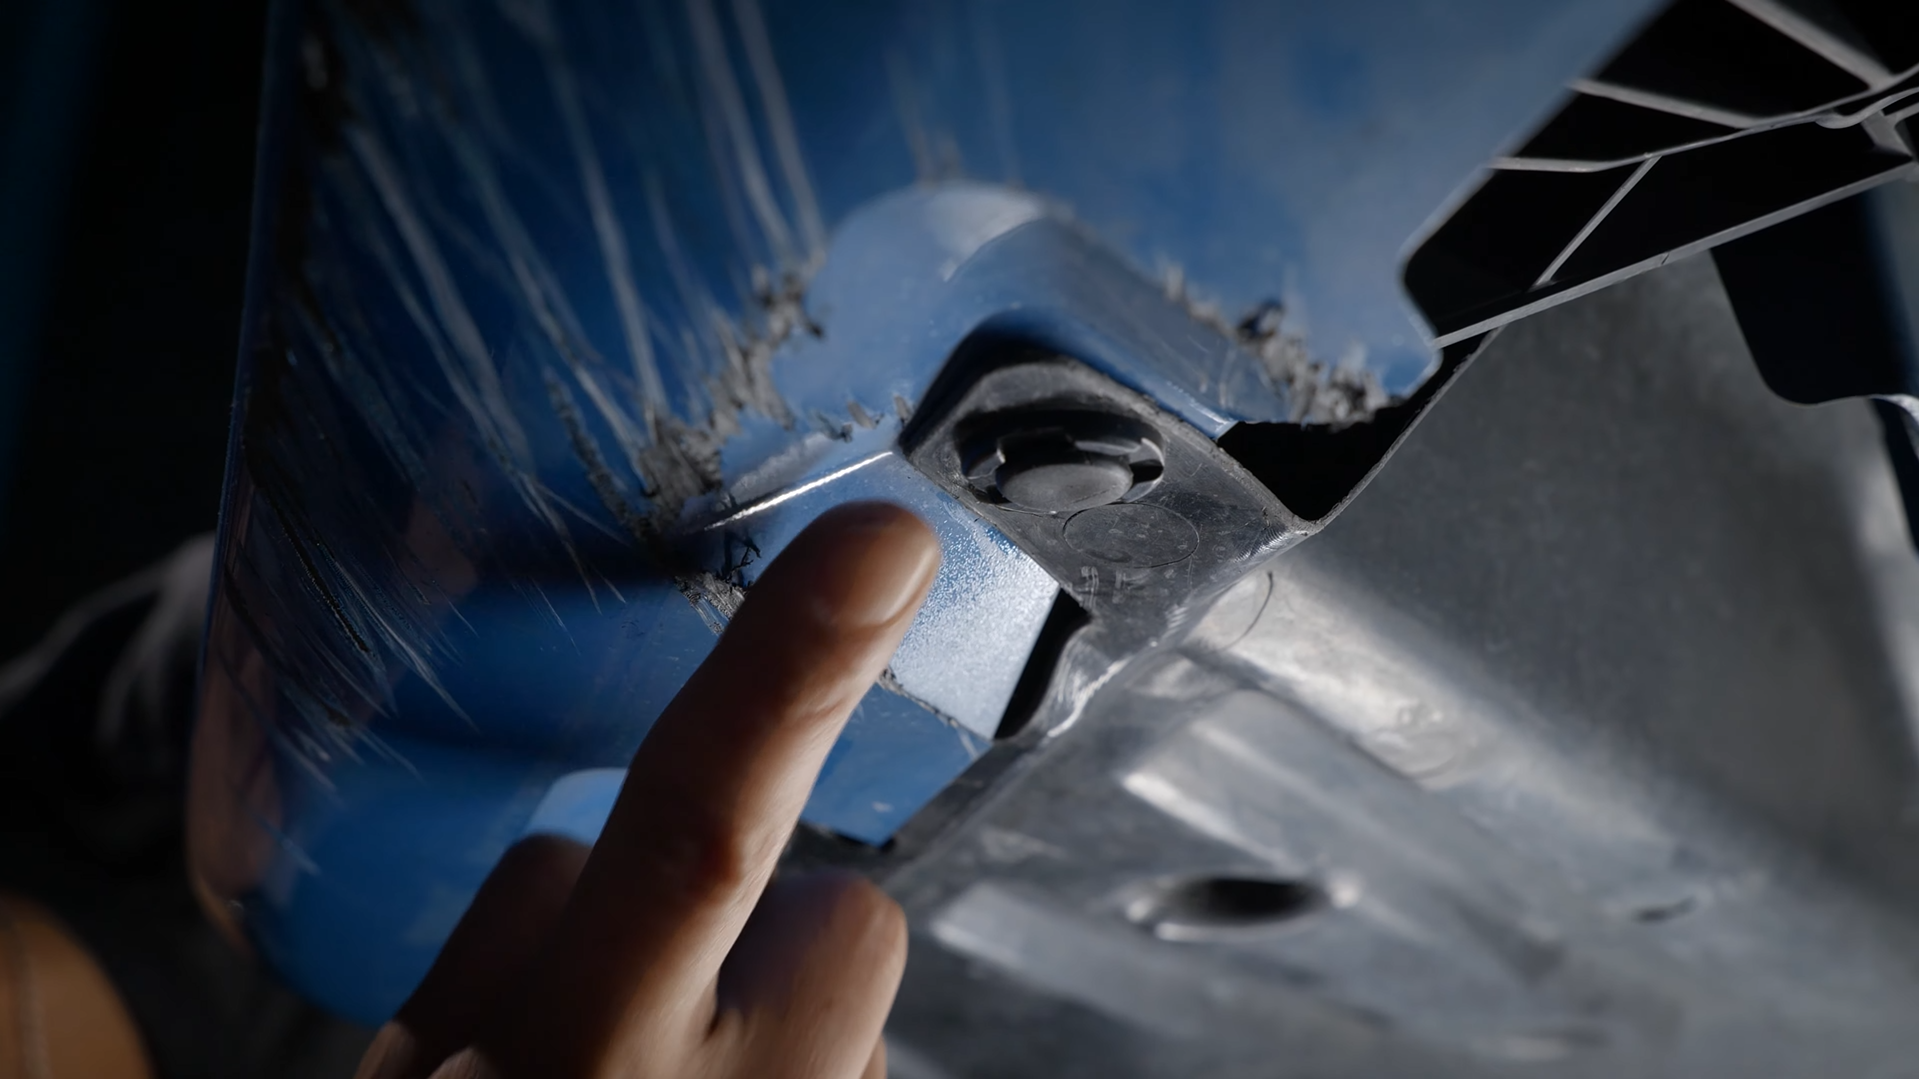
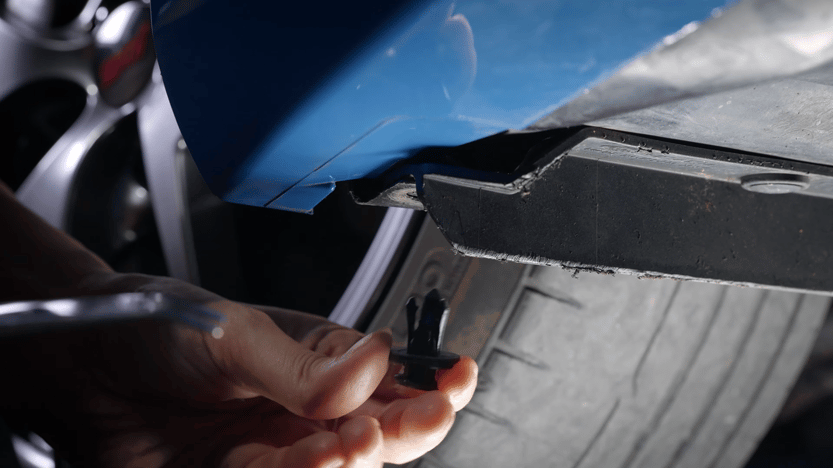
Go to your wheel well, and remove the interior plastic tab, NOT the one on the body of the car. Then, remove the three push tabs underneath the bumper. This will allow you to peel back your fender liner.
 |
 |
Take a Phillips Screwdriver and remove the two bolts on the rear of the OEM Subaru fog light assembly. You can maneuver your fog light out of the bumper mount. We removed ours from the bottom of the car because there was more clearance to do so.

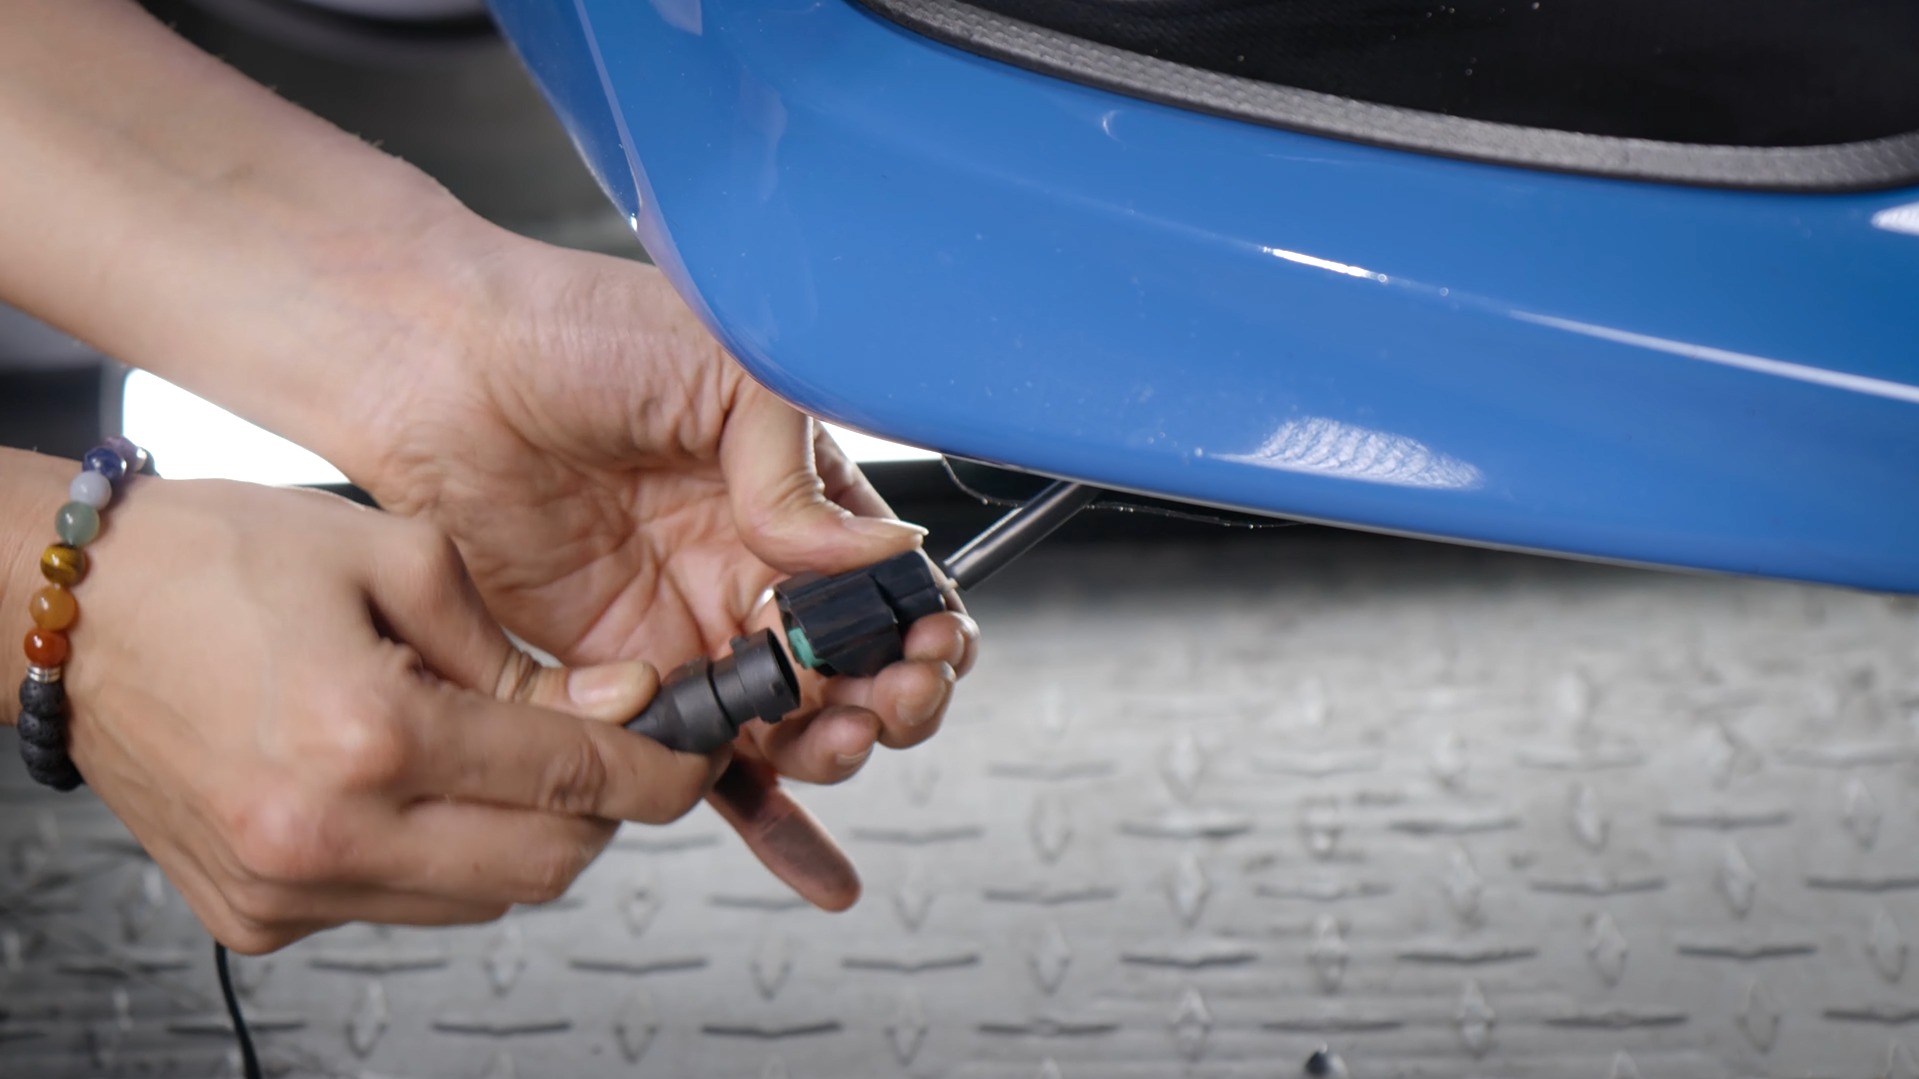
Make sure to unplug the fog light connector.
Grab your 4Banger assembly the reconnect the OEM fog light connector to the 4Banger.
Then slide your 4Banger into place and reinstall the OEM screws with a Phillips screwdriver.
Repeat for both sides.
Before buttoning your Subaru’s front bumper back up, be sure to test your lights and aim them properly for a fog light application.
CONCLUSION
Congratulations on your new set of Morimoto 4Banger LED Pod Lights! Your Subaru WRX or STI will be the king of the streets or trails with these installed.
Morimoto’s first entry into the off-road lighting category. The 4Bangers blew us away in respect to their quality, design, and performance. This leaves us wondering what else Morimoto could have in store for this market segment in the future.
Until then, keep an eye out on this space for any future Morimoto product releases and more! If you have any questions about the 4Banger, drop us a comment below or contact Morimoto’s customer support through their contact form at the bottom of their home page.


.png?width=300&height=87&name=logo%20(1).png)