If you have a mount for your car or truck that’s designed for end-cap style light bar mounts, but you want to use a Vision X LED Light Bar there is a solution! Vision X invented a really nice low-profile mounting system that works by adding “feet” to a track system below the light bar and there’s nothing on the end caps. If you need to mount your Vision X light bar on the end caps you need the End Cap Mounting Kit sold here, just make sure you get the right one for your light bar!
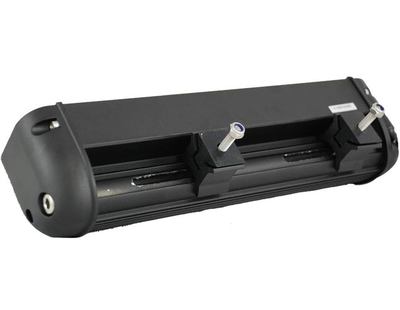
This is how Vision X LED light bars normally mount. With feet underneath the bar on a rail system. This style will not work with most aftermarket offroad bumpers or roof mount bracket kits.
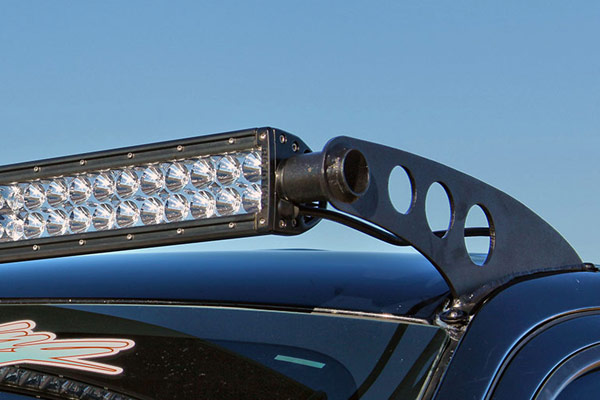
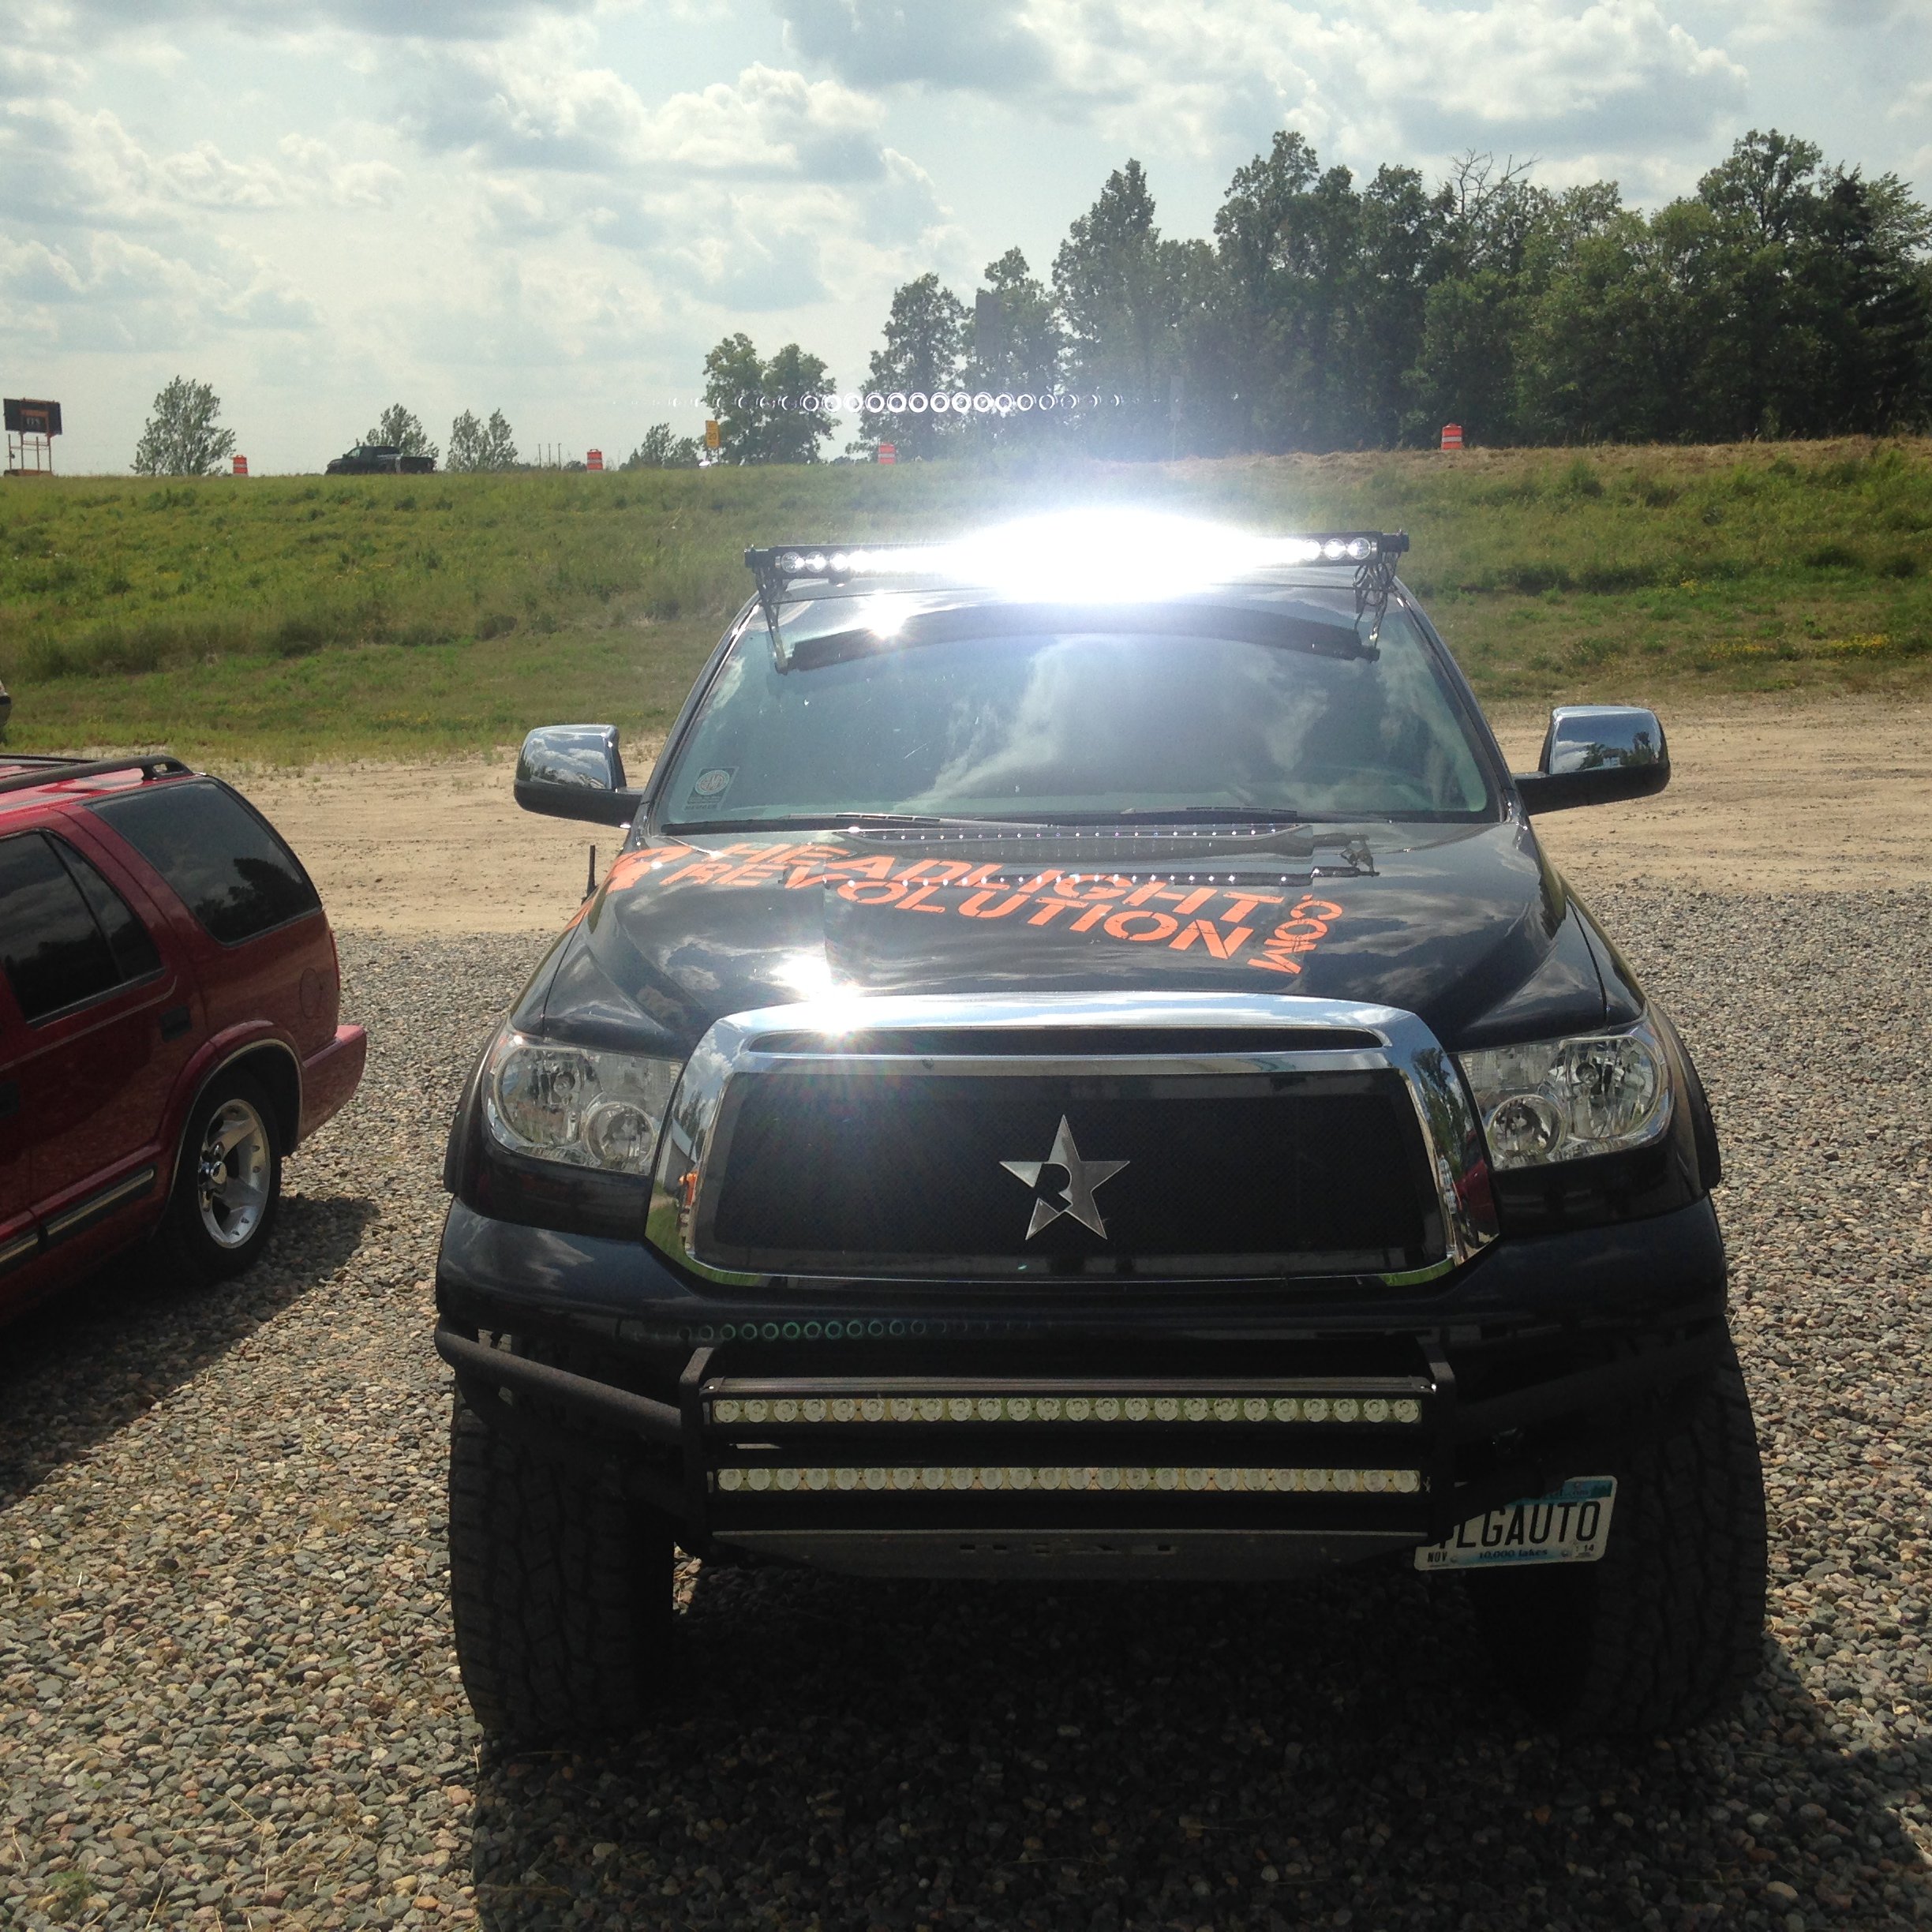
Many light bars use end-cap mounts with a stud coming out to attach to the vehicle. If your light bar mount is designed for this style of light bar but you want to use Vision X you need to add the end-cap mounting kit.

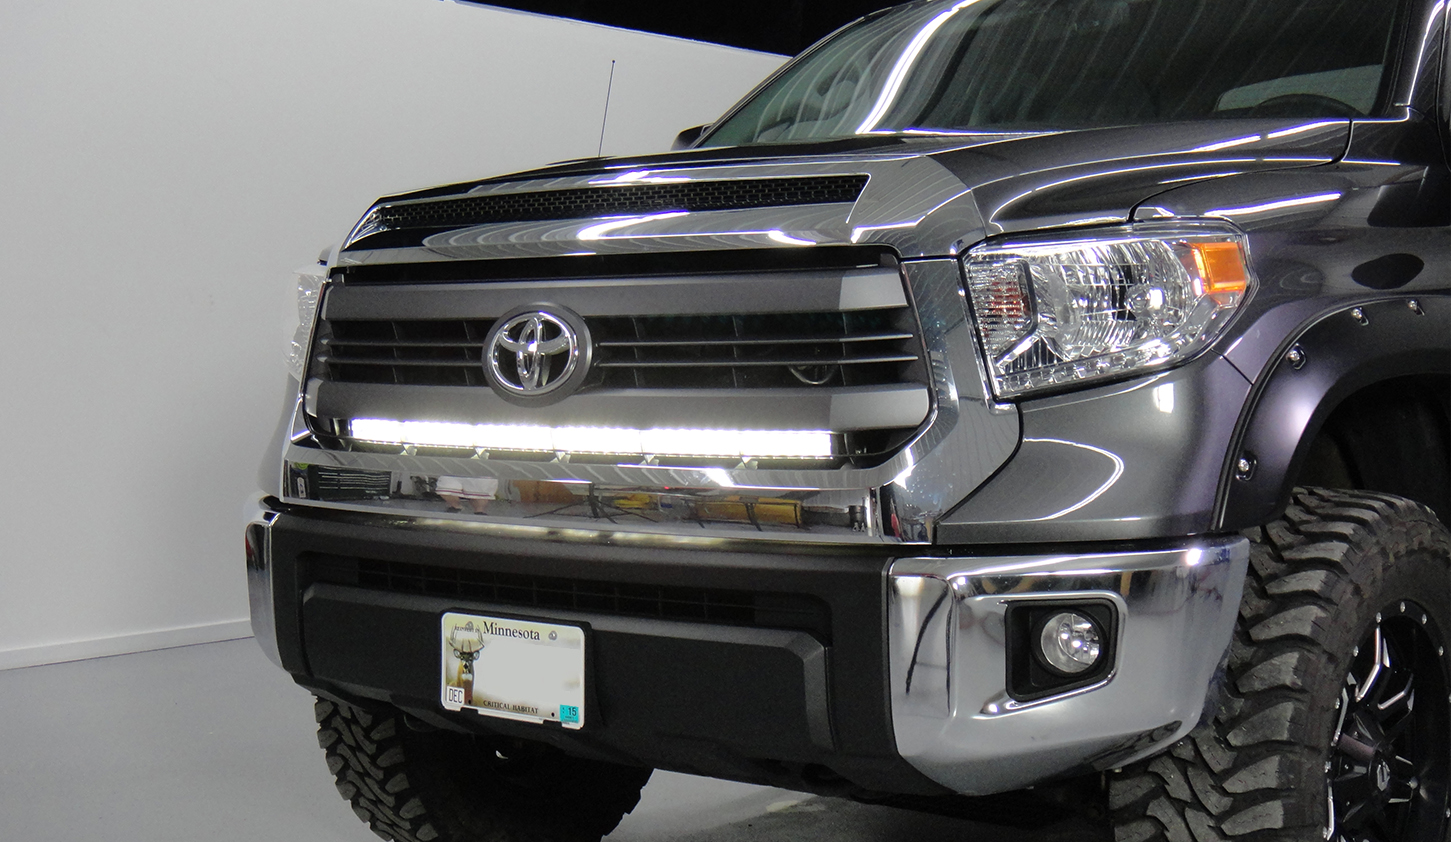
Vision X makes 3 different end-cap mounting kits so you can transform Vision X LED offroad light bars into end-cap mounting styles to work with popular light bar mounting products like grilles, bumpers and roof mounts.
First Step: Choose the appropriate mounting kit for your application:
XIL-LPECM works with the new XPI series light bars (e.g. XPI-27M) and also works on the Low-Pro Xtreme LPX Series (e.g. XIL-LPX3910) LED light bars.
XIL-PECM works with PX series (e.g. XIL-PX9040) and EP series light bars(e.g. XIL-EP1220).
XIL-ECM works with the standard Xmitter series LED light bars like XIL-400 or XIL-120.
Second Step: Remove the 2 allen head bolts on each bottom corner of the light bar. These bolts are the larger ones that hold the rod in place that passes through the entire body of the light bar. That rod holds the mounting feet in place for the traditional mounting method. DO NOT remove the end cap to take the rod out. You will likely not be able to re-seal the light bar properly and you will void your warranty! When the one allen-head bolt on each side of the bar is removed, that’s where your end cap mounting kit will go: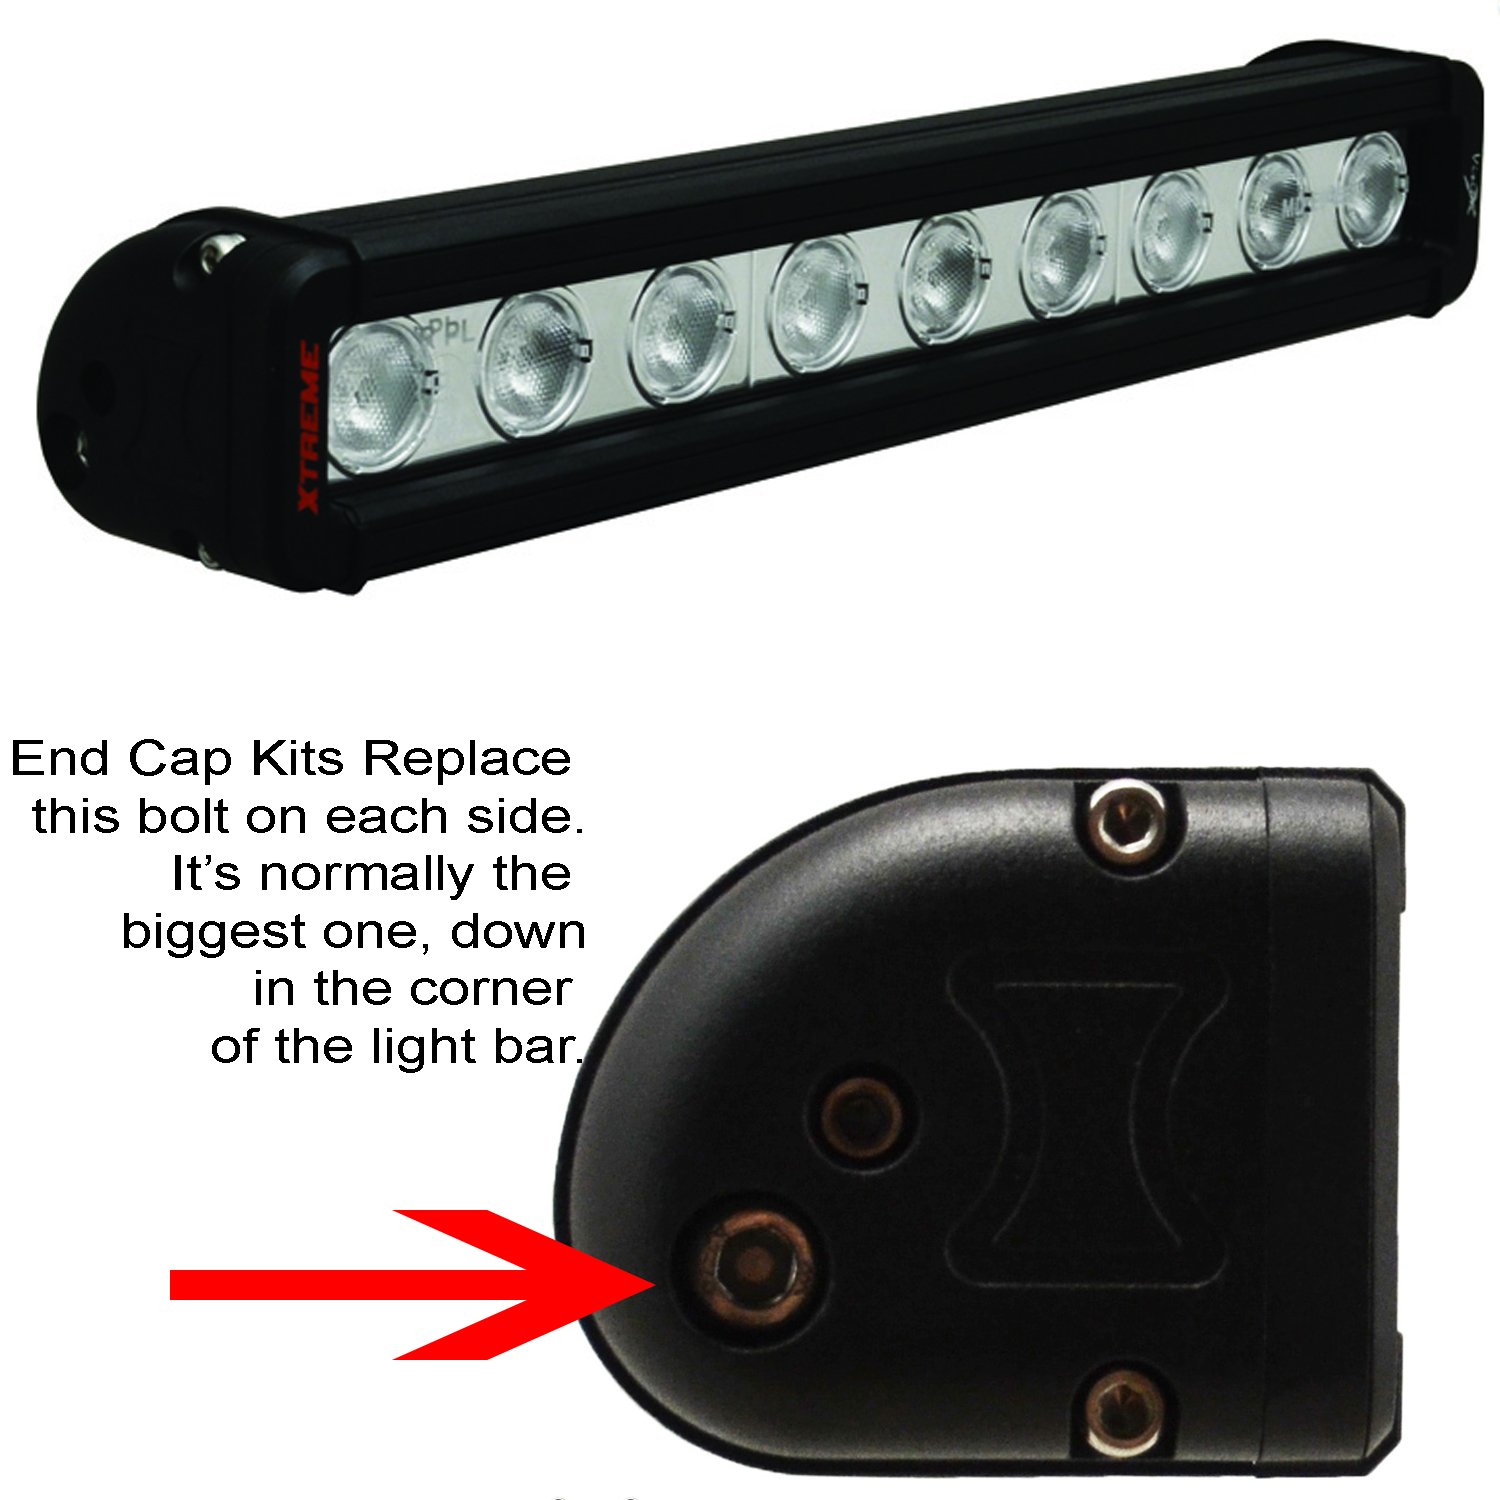
One allen-head bolt on each end cap needs to be removed. This is where the new bolt mounting kit installs on the light bar.
Step 3: Tighten each mounting stud until they are very tight on each side. You don’t want them to be able to spin at all. If you’re working with a long light bar like 40″ or 50″ you might need help, one person on each side. Congratulations, now you’re ready to install your Vision X light bar with an aftermarket mount designed for a light bar that comes with end-cap mounts!
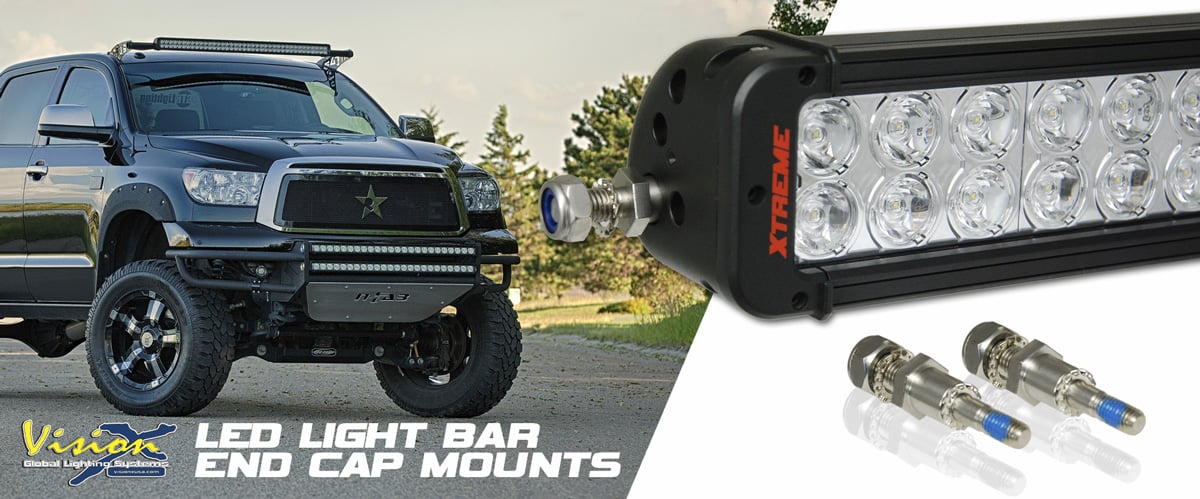
The end cap kit comes with all the required hardware and allows you to mount a Vision X LED light bar with end-cap style vehicle mounts.
WARNING! If you try to install the end cap kit in the wrong holes, you WILL break the end cap mounting kit and possibly damage your light bar! Follow the above steps and instructions to avoid this kind of damage:
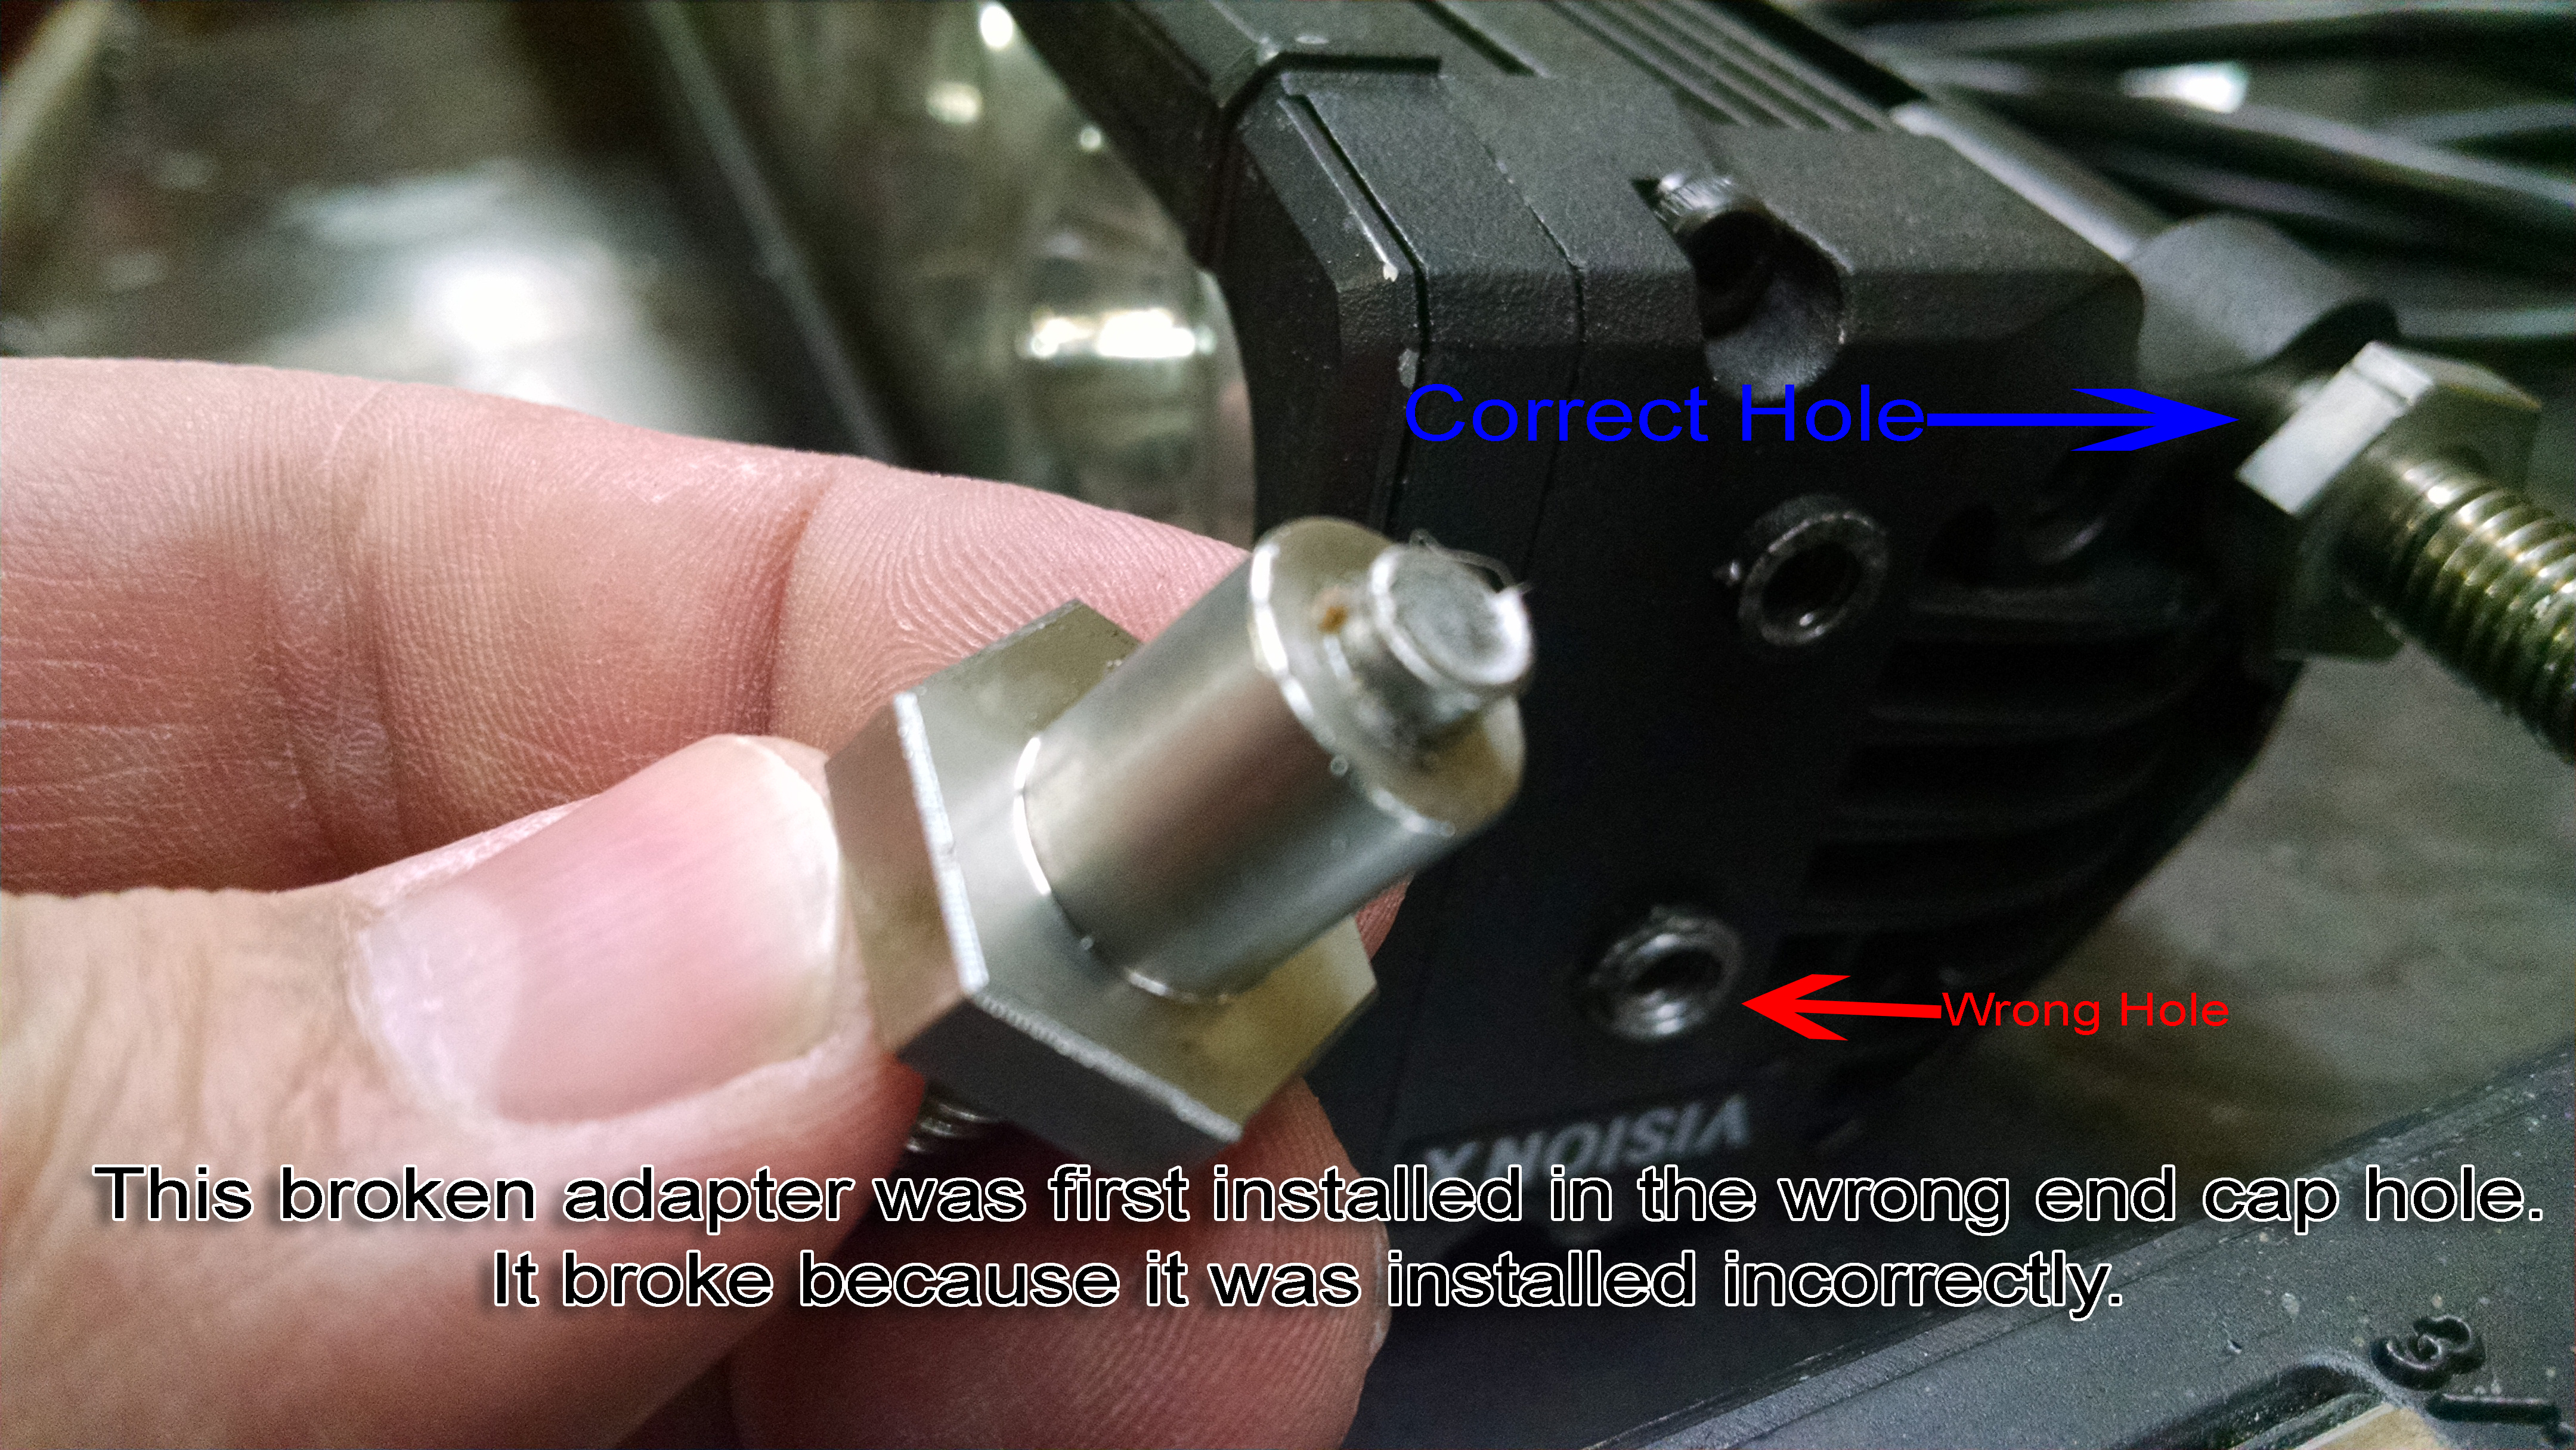
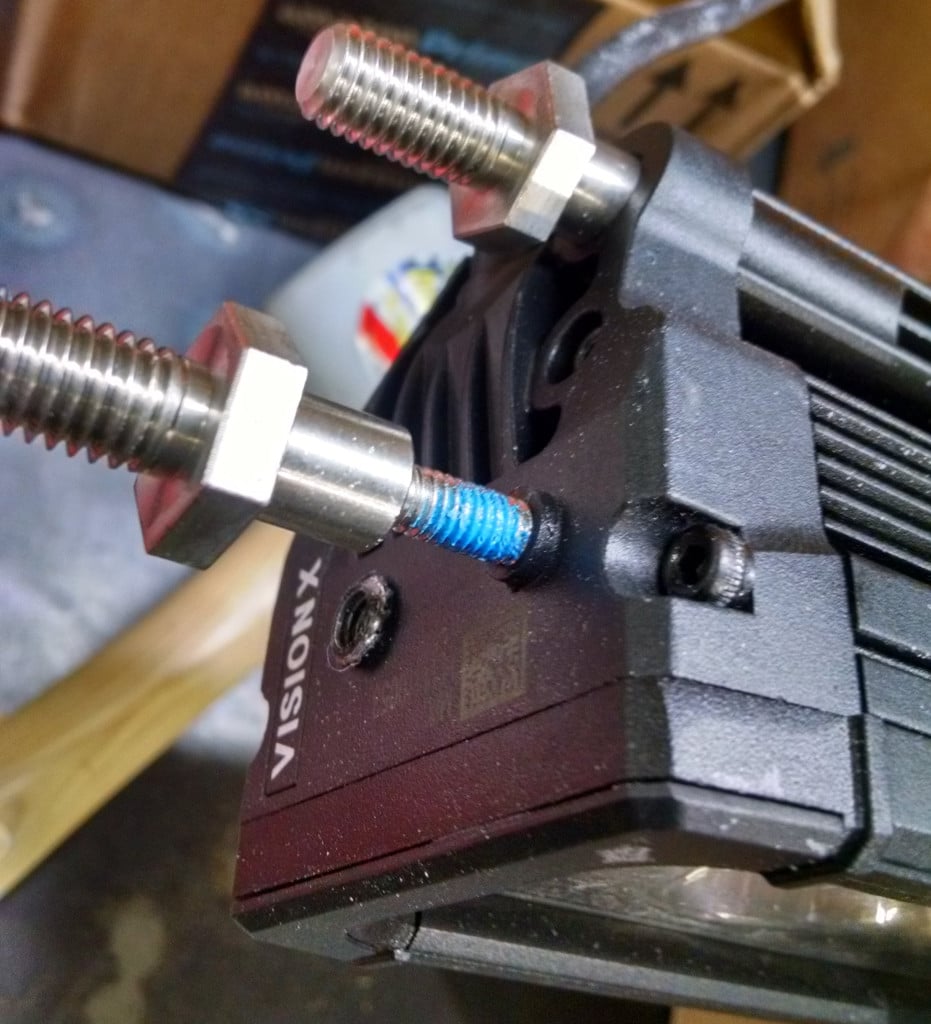
This picture shows the right way and the wrong way to use the Vision X end cap mounting kit!
If you try to install the end cap mounting adapter into the middle hole(s) it will not insert deep enough and it will damage the bolt and light bar. You must use the larger bolt hole in the corner of the end cap that connects to the rod going all the way through the body of the light bar.


.png?width=300&height=87&name=logo%20(1).png)