How To: Smoked Side Markers In Morimoto XB Headlights
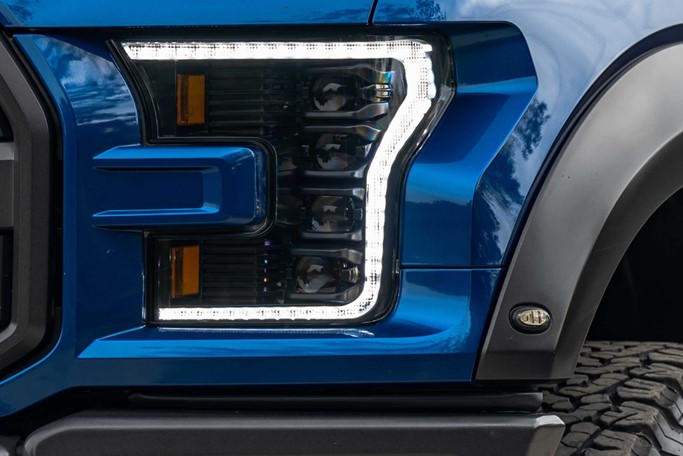
If you own a pair of Morimoto headlights or are considering purchasing a pair, they’re likely going to come installed with amber side markers. There are only a handful of Morimoto lights that came with smoked side markers – earlier SKUs or Gen 1 models. Now the amber side marker is a standard for every XB unit. While there is nothing wrong with the amber side marker, there are some customers that simply prefer having a smoked side marker to match the rest of the gloss black ABS housings. For years I’ve instructed people on how to open their stock headlights for modification – but for the first time, I decided to take a Morimoto headlight and open it in our studio. I wanted to document my process of installing smoked side markers into the Morimoto XB headlights to share with you guys to reference as a step-by-step guide.
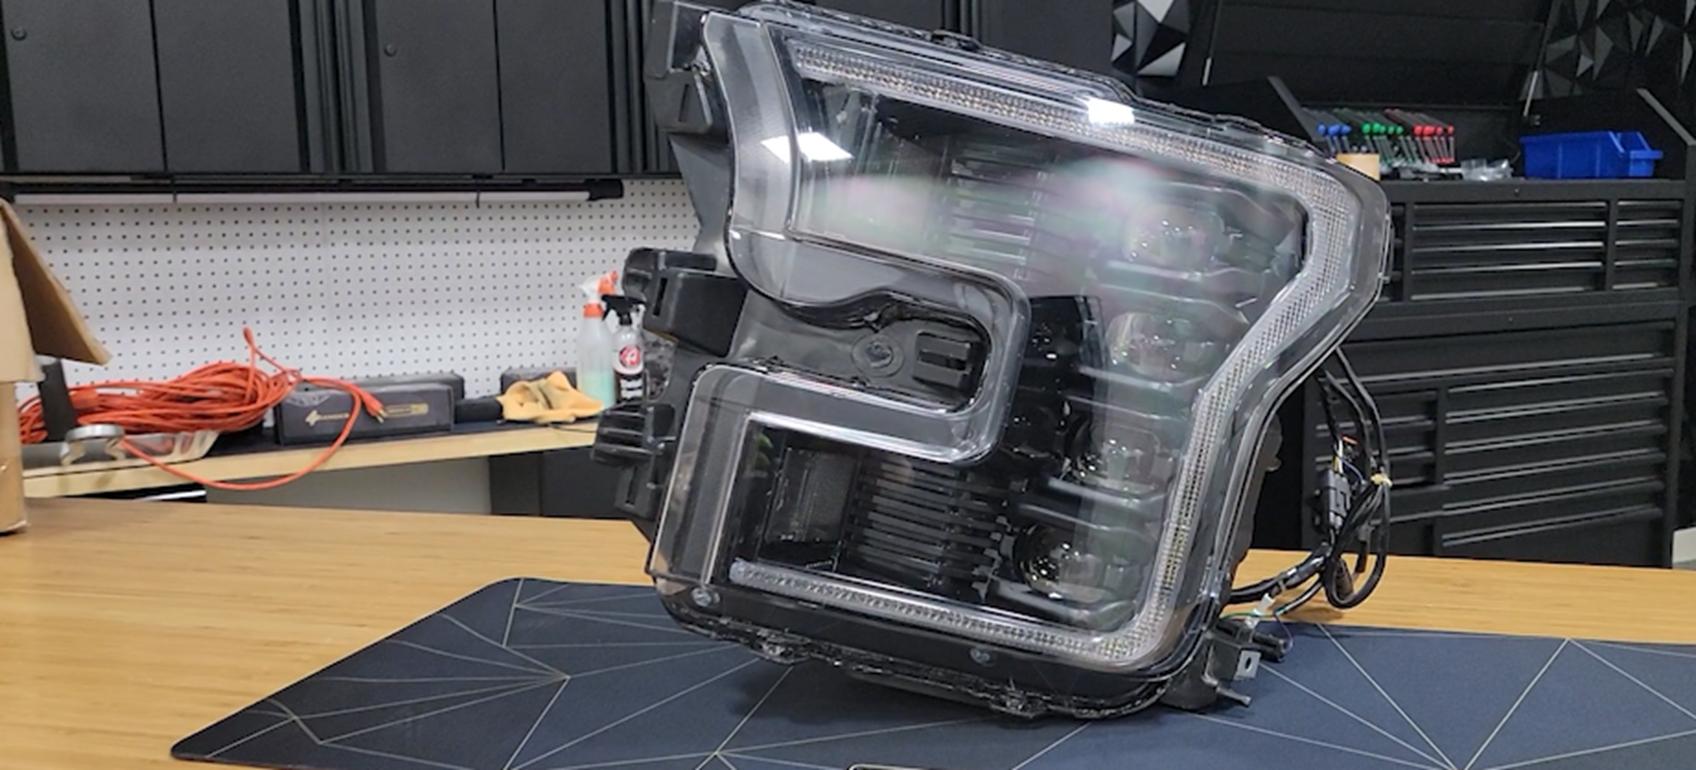
In this guide, I will be using headlight LF502 as an example. These are the Gen 2 XB headlights for the 2015 – 2017 Ford F-150.
How To Install Smoked Side Markers
Before we dive into the installation, it is worth mentioning that opening your Morimoto XB headlights will void the 5-year warranty. Once the headlights have been opened for modification, Morimoto will no longer be able to offer any warranty replacements for faulty headlights.
Prepare To Open The Headlight
If you’ve thought it through and are ready to open your Morimoto headlights, there are a few things you will need before we start. To complete this job, I made sure I had the following parts and tools:
- Morimoto XB Smoked Side Markes
- Morimoto Work Mat
- Morimoto Retrorubber
- Morimoto Work Gloves
- Headlight Seal Splitter
- Morimoto Multi-bit
- Flathead Screwdriver
- Phillips Head Screwdriver
- Clamps
Once you’ve gathered the tools, it’s time to prep your workstation. I always use a work mat when working on headlights, especially with nice lenses. If you’re laying the lens down and face forward, you want to make sure you have a protective surface between the lens and your worktable. Moving the lens on a rough surface will result in scratching.
Baking Open The Headlight
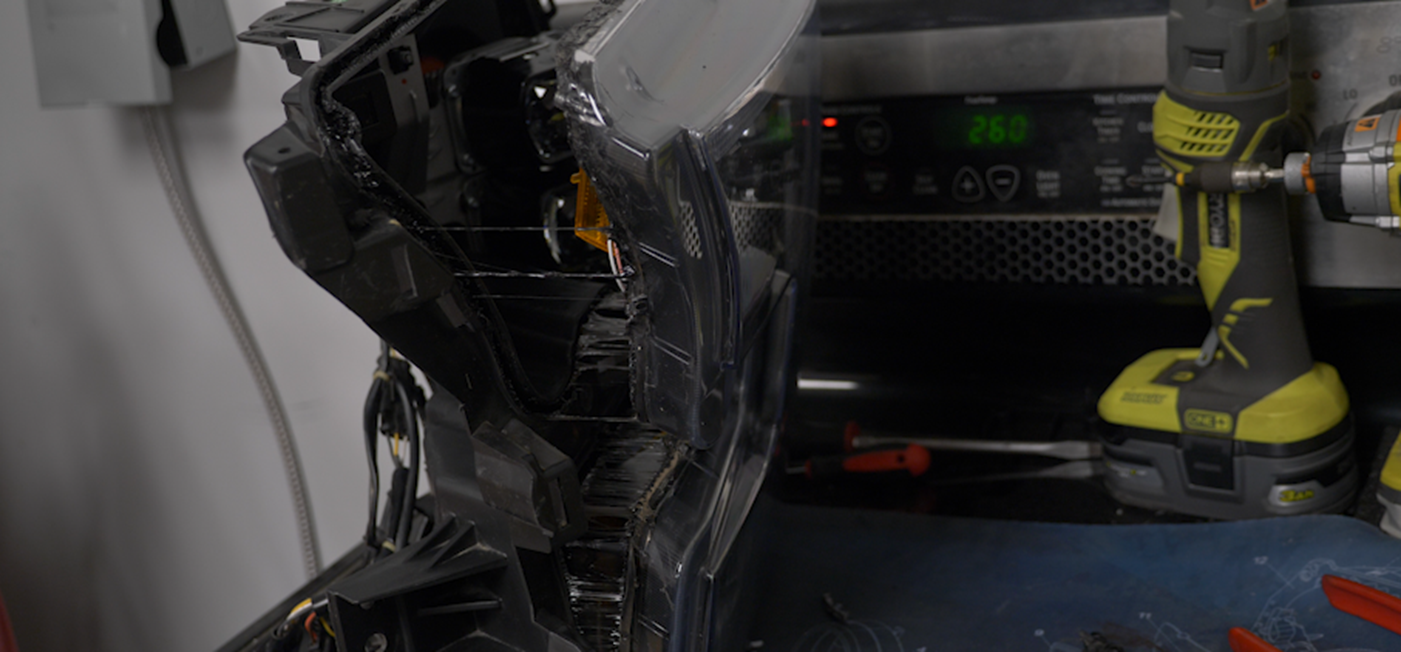
To soften the glue in the channels of the headlight, you’re going to need to apply heat. The easiest way to do this is with an oven. However, if you do not have an oven, you can use a cardboard box and a heat gun. Place the headlight inside the cardboard box and close the box. Cut a hole for the heat gun to fit into and begin heating up the headlight. This process can take longer to complete, but it is a great alternative for those who don’t want to use an oven. For those of you using an oven, you will want to pre-heat the oven to 260° Fahrenheit.
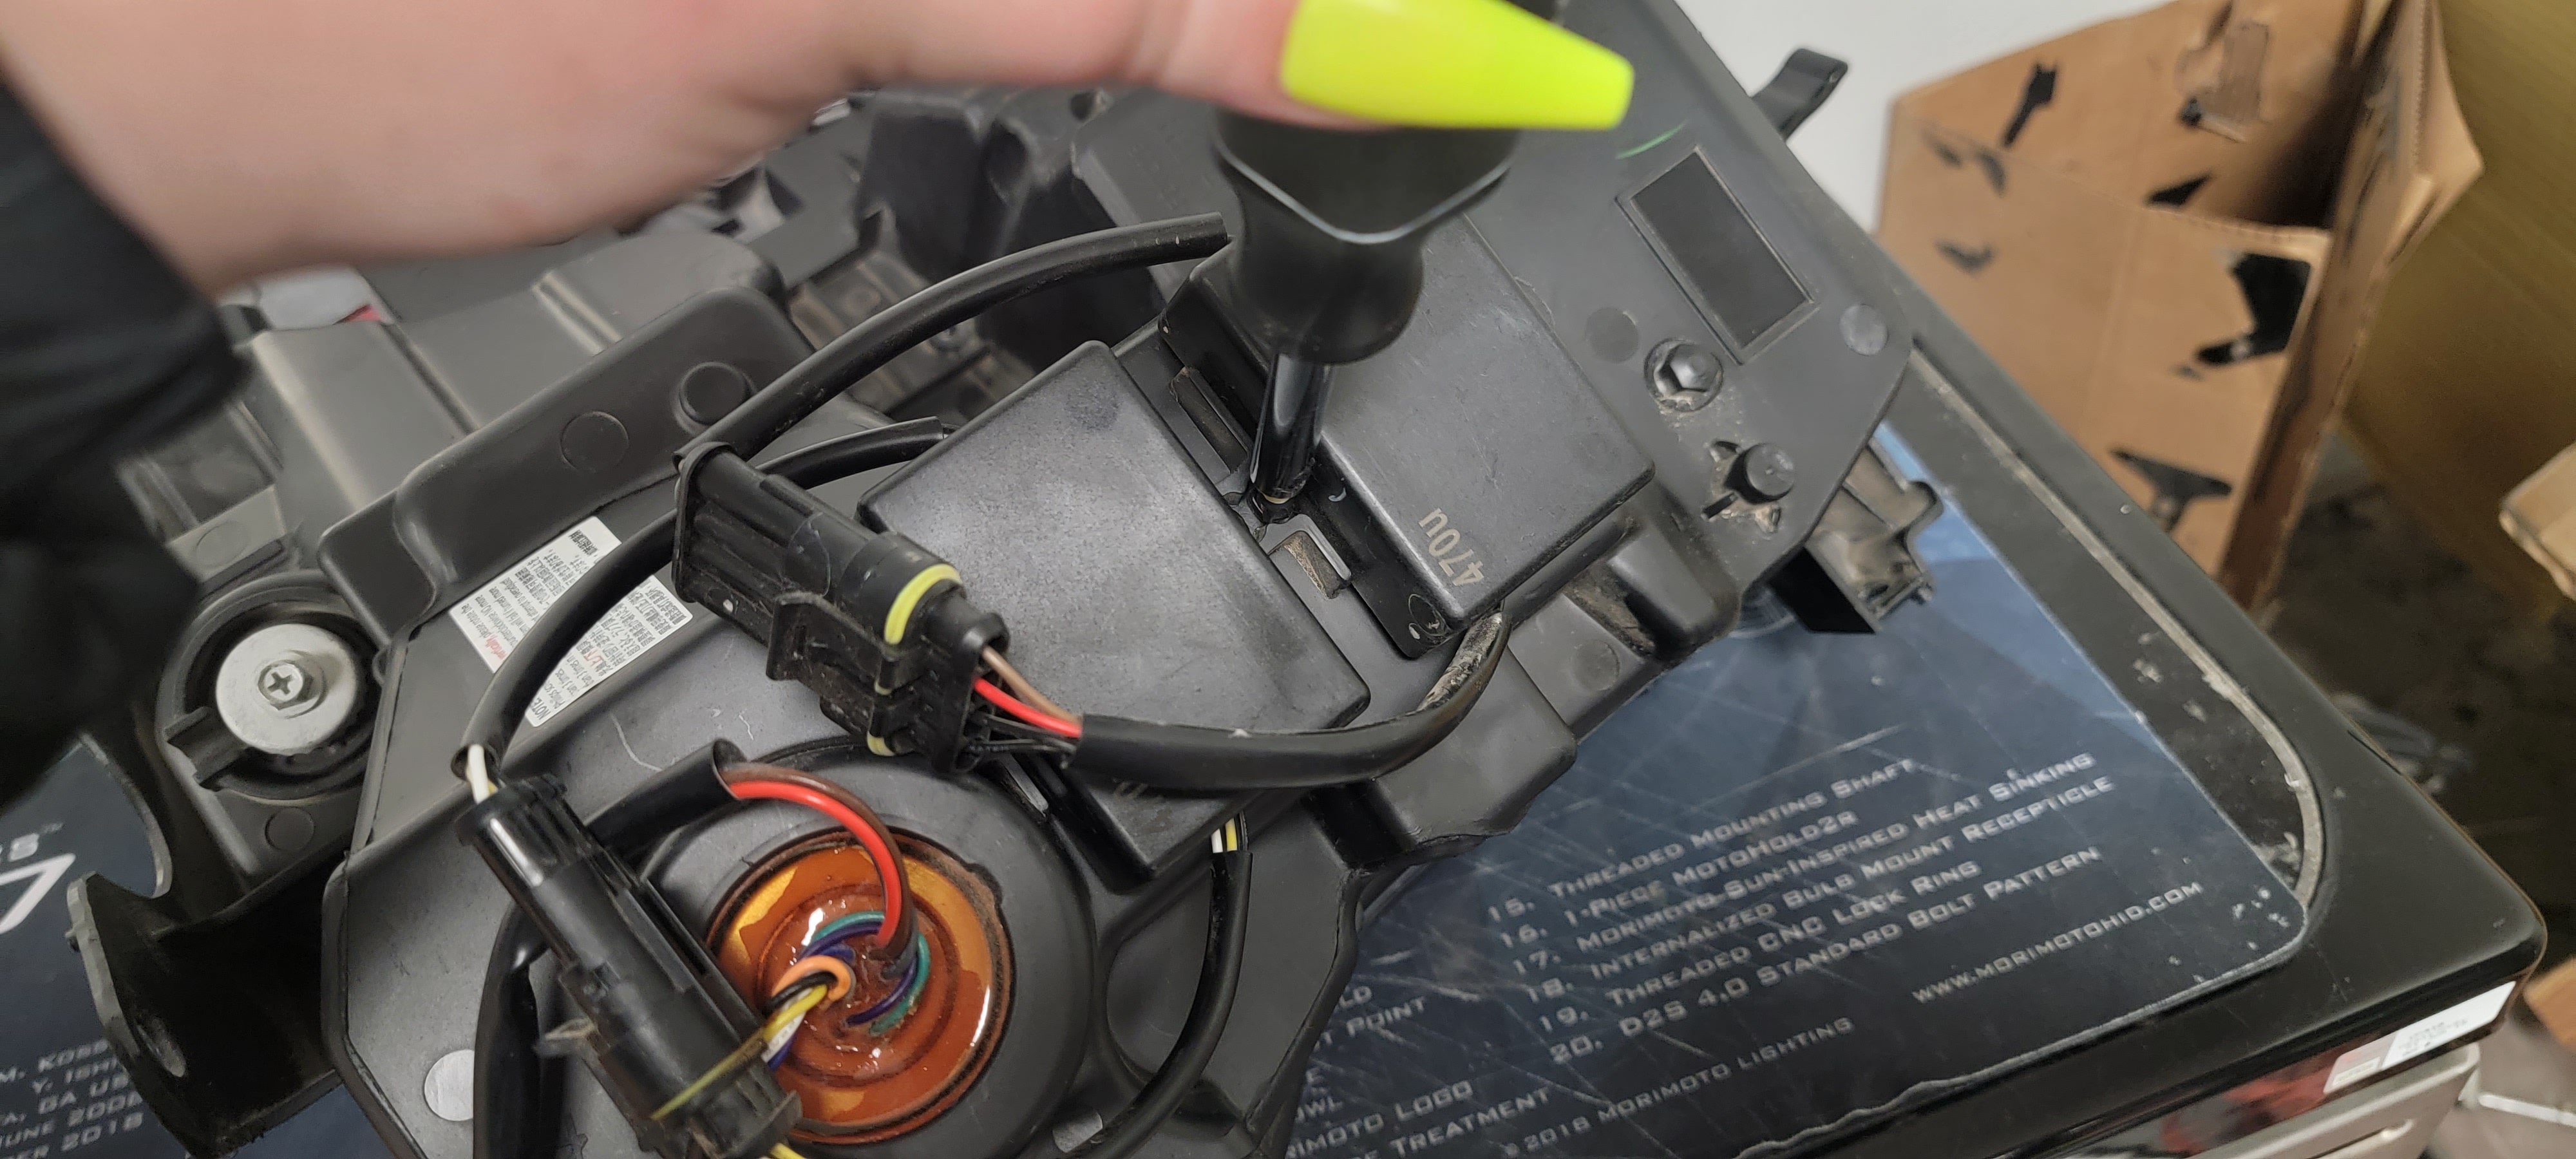
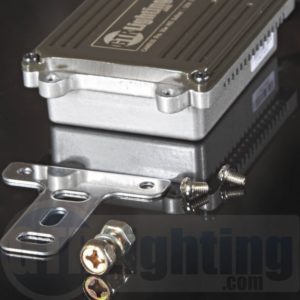
Before placing the headlight inside the oven or your DIY heat container, it is extremely important you remove all the hardware and screws from the back of the headlight. On LF502, there were 4 screws in total holding the lens to the housing. These screws need to be removed before baking the headlight. I also opted to remove the resistors and LED driver attached to the headlight, as shown in the photo below. You will re-use all these screws so make sure to set them in a safe space for later.
Once the oven is preheated to the correct temperature, you will now insert the headlight. In our oven, we use a piece of wood on the racks. If you do not have a piece of wood available, you can also use a baking tray.
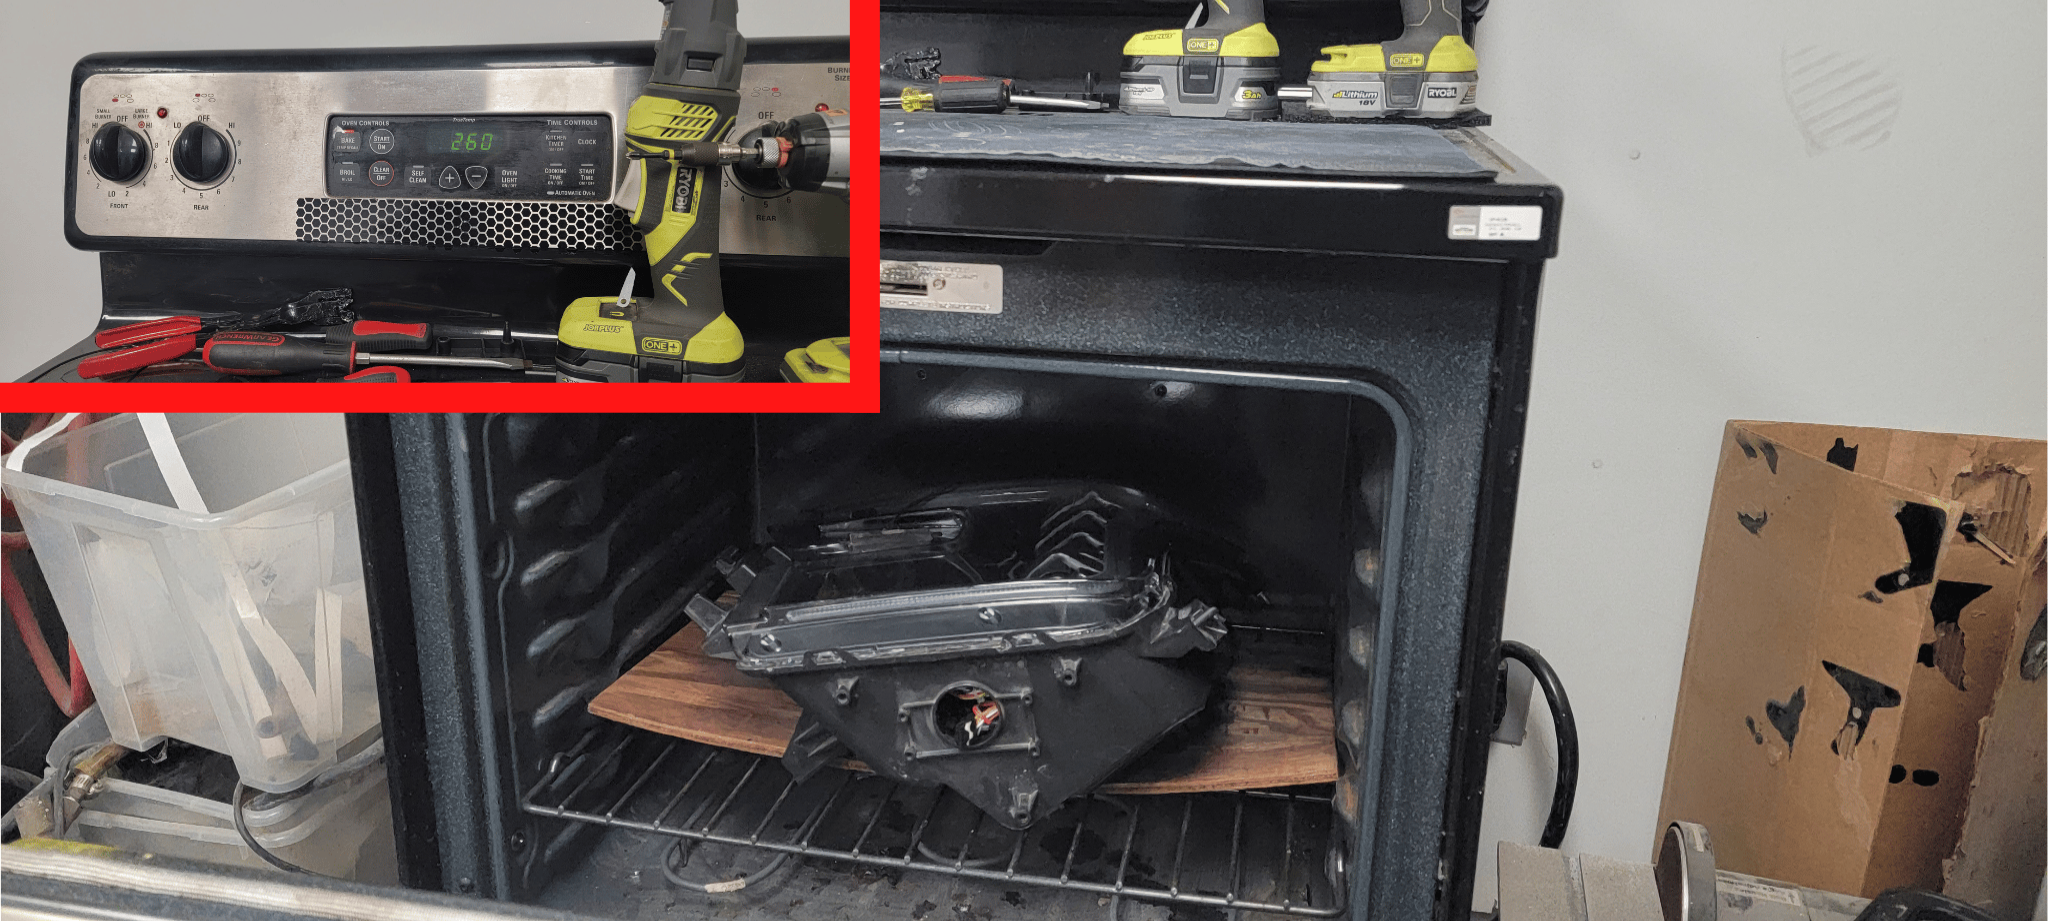
I baked the headlight in the oven for a total of 8 minutes. This was long enough for the glue to soften for me to completely remove the lens. If you find that the glue is not soft enough, you can place the headlight in the oven for a longer amount of time. We recommend an additional 2 minutes if you need more softening. Keep in mind that the headlight is going to be hot. I used my work gloves at this time to hold the headlight and protect my hands.
Note: If you still find the glue to be hard to work with or that it cools down while removing the lens, re-insert the headlight for intervals of 5 to 6 minutes.
Removing The Lens From The Housing
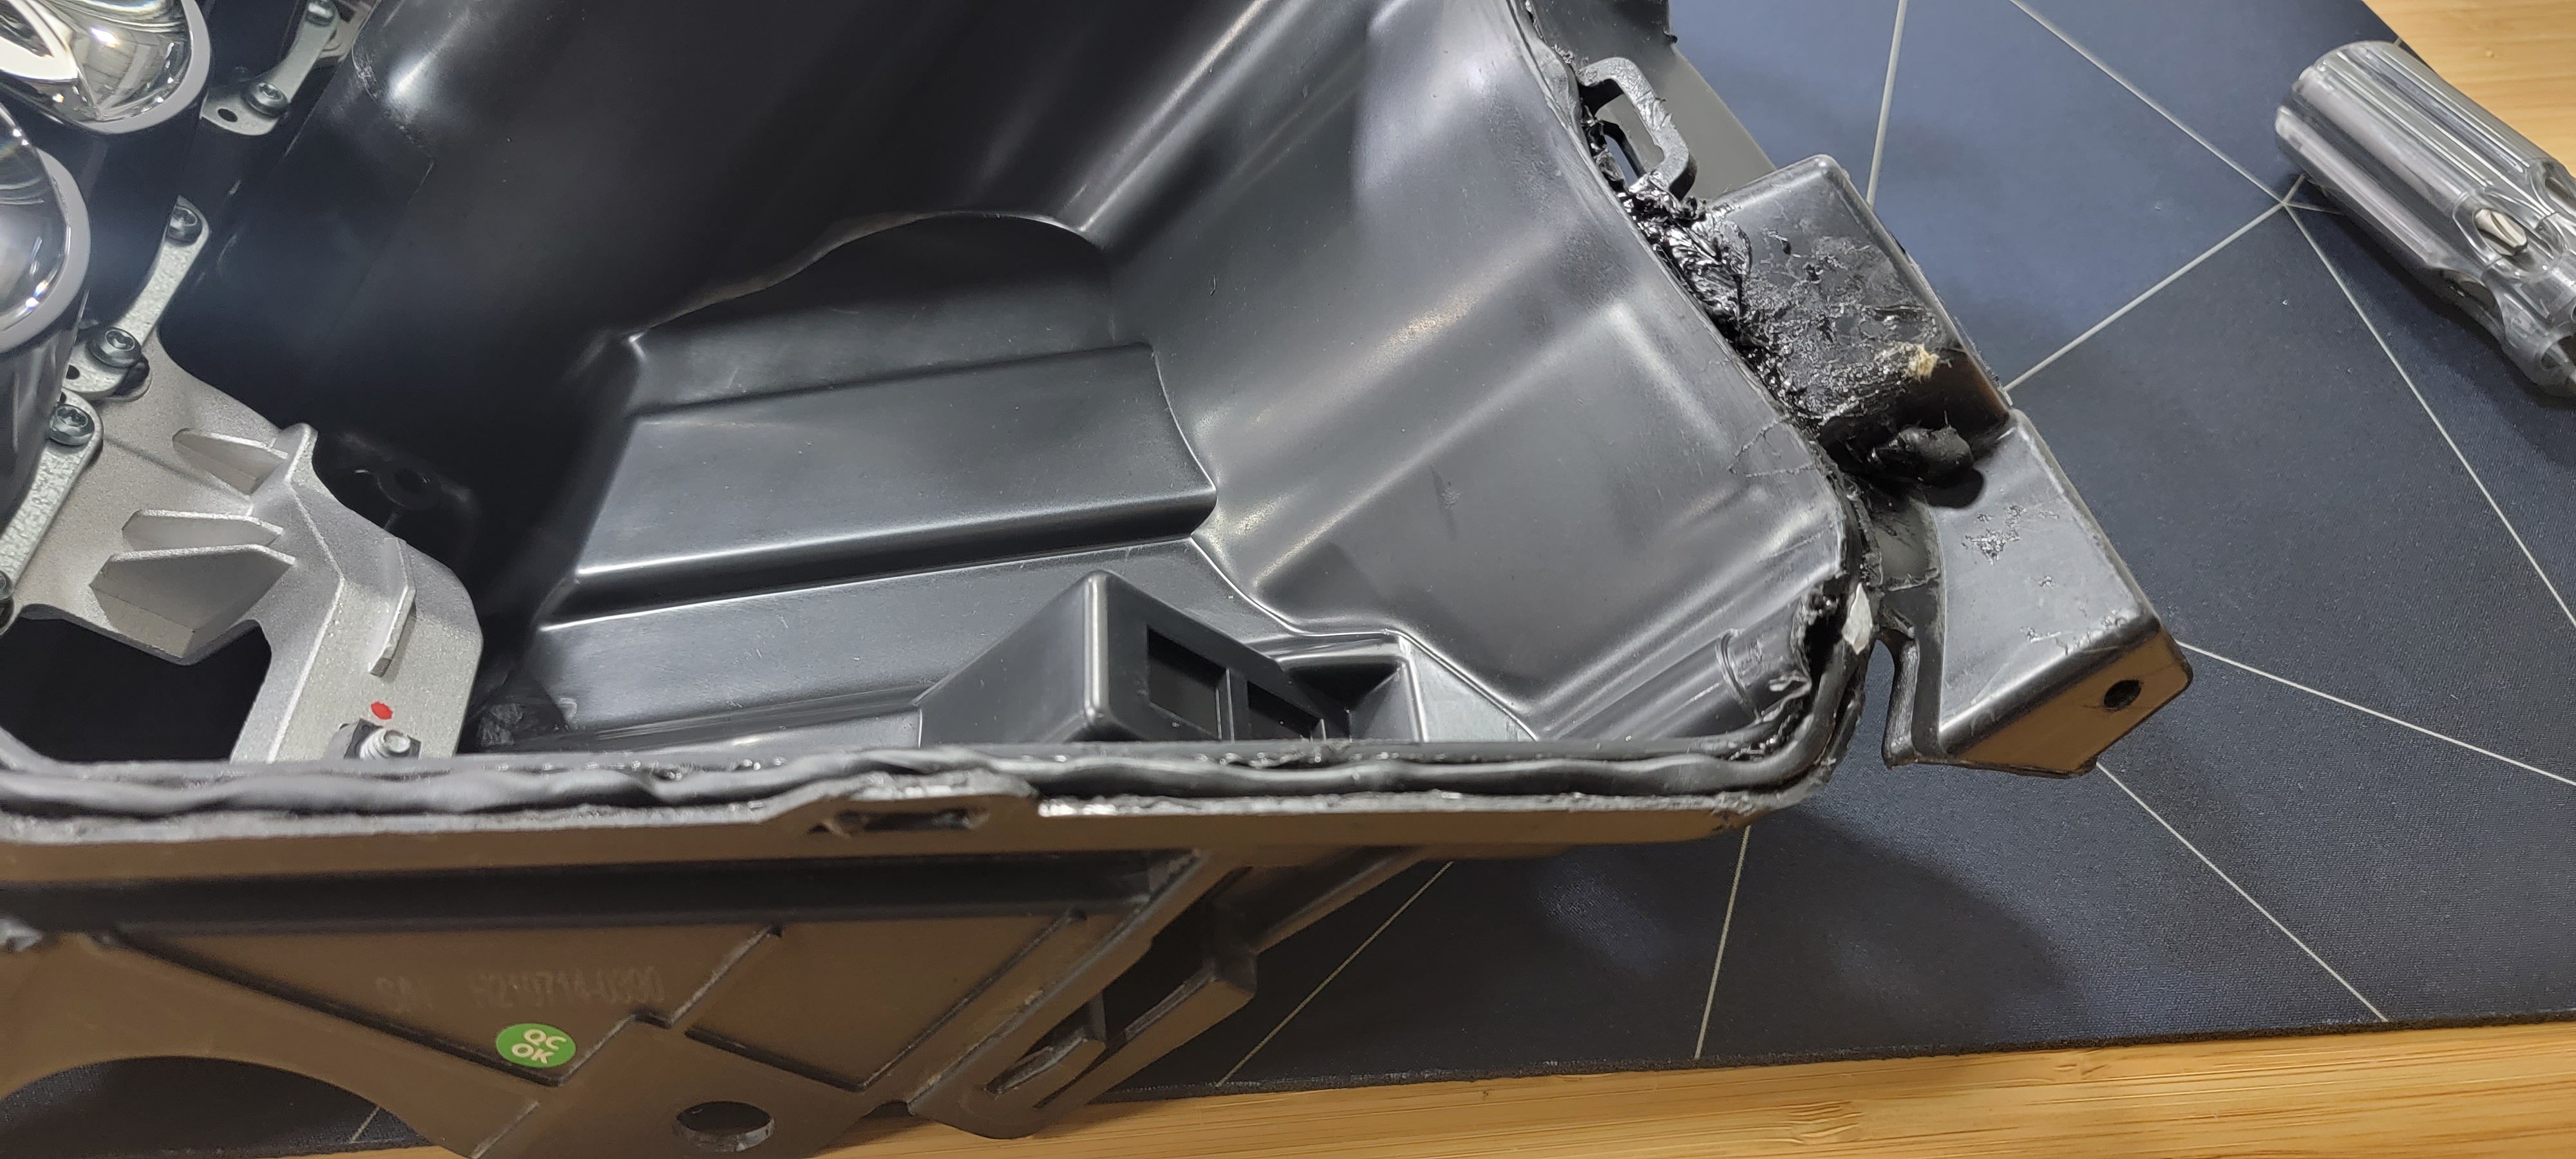
I’ll be honest, this is going to be the hardest part of this entire installation. Removing the Morimoto XB lenses isn’t hard compared to other headlights, but you do need to take your time to prevent breaking tabs or cracking the lens. I do recommend keeping the work gloves on for this portion, the headlight will still be warm to work with and the gloves will protect your hands from the headlight sealant glue. After placing the headlight on your work mat, it’s time to remove the tabs. I simply moved around the outside of the headlight, pushing down each tab with a flathead to move them out of the way. Doing this allowed me to find a good spot to begin prying on the headlight lens.
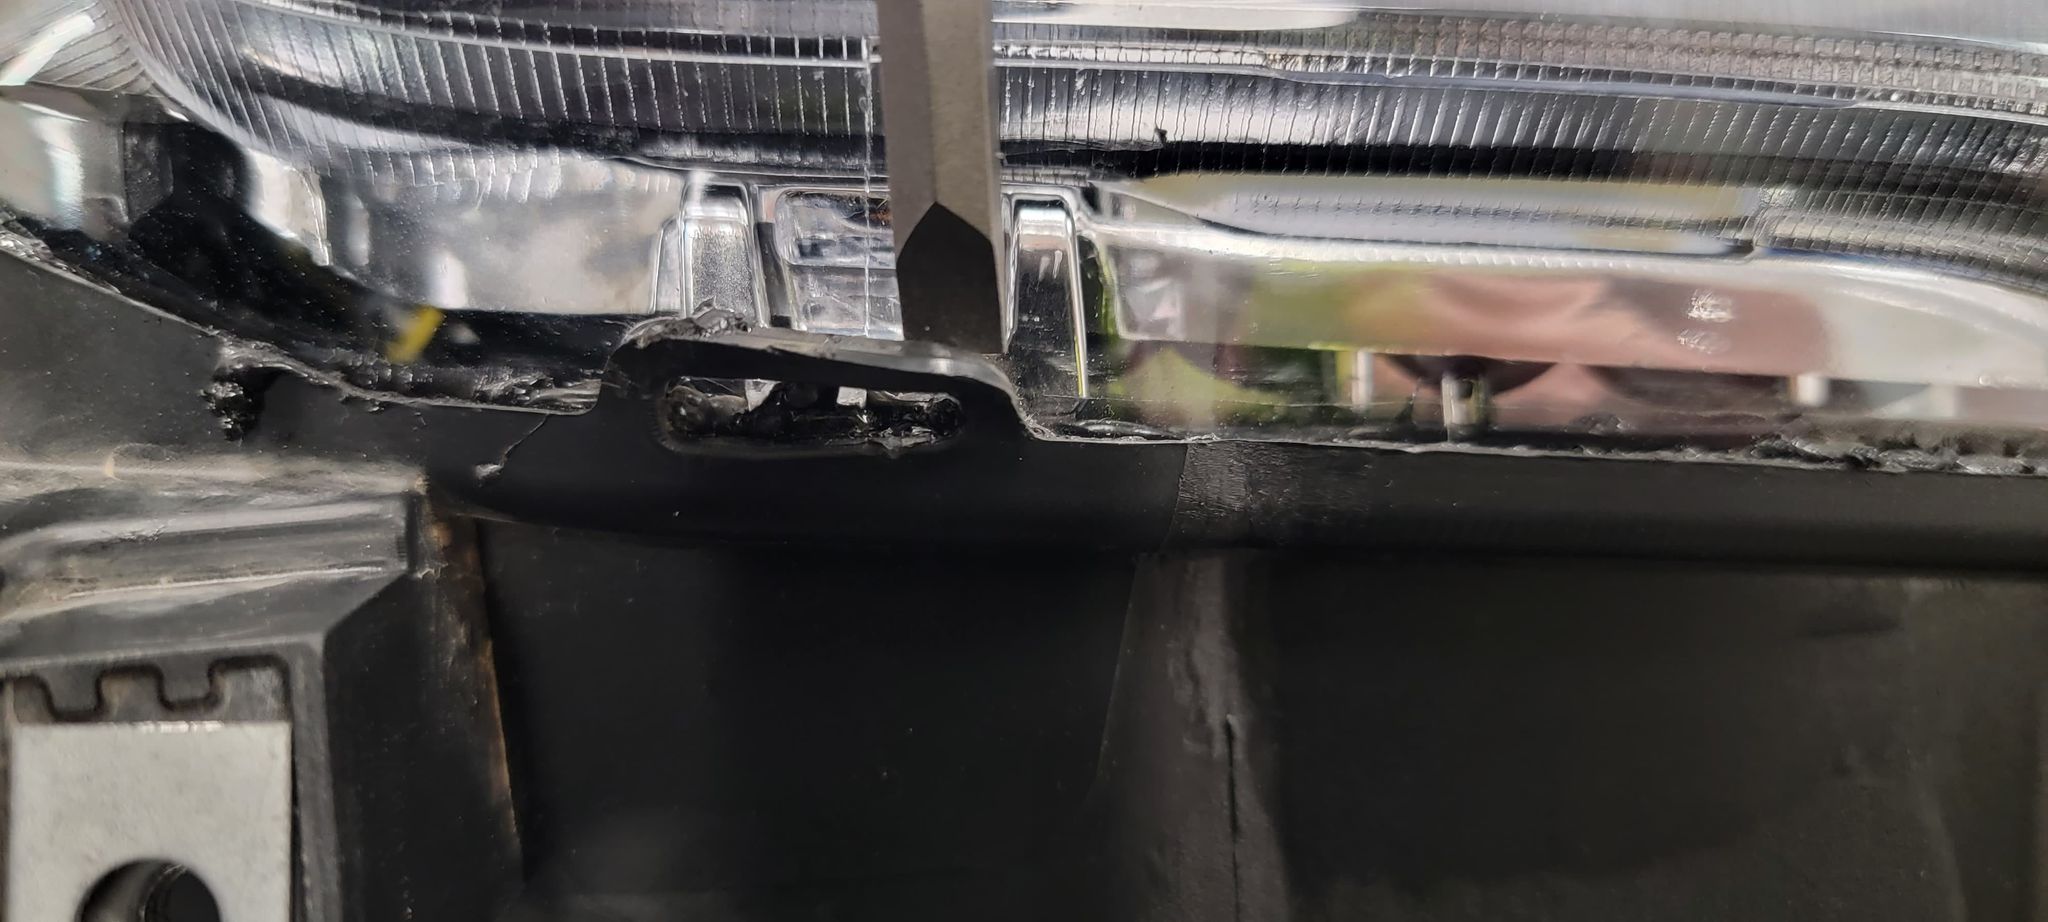
To begin, I recommend using a smaller flathead. I started at the corner of the headlight and carefully worked on removing the sealant protecting the channel. Once that sealant was removed, I was able to get the flathead between the headlight lens and the housing. Using this small amount of leverage, I gently pried until I started to see an opening. Once you have begun to have a small opening, you can now use the seal-splitting tool. (Trust me, you’ll want to!)
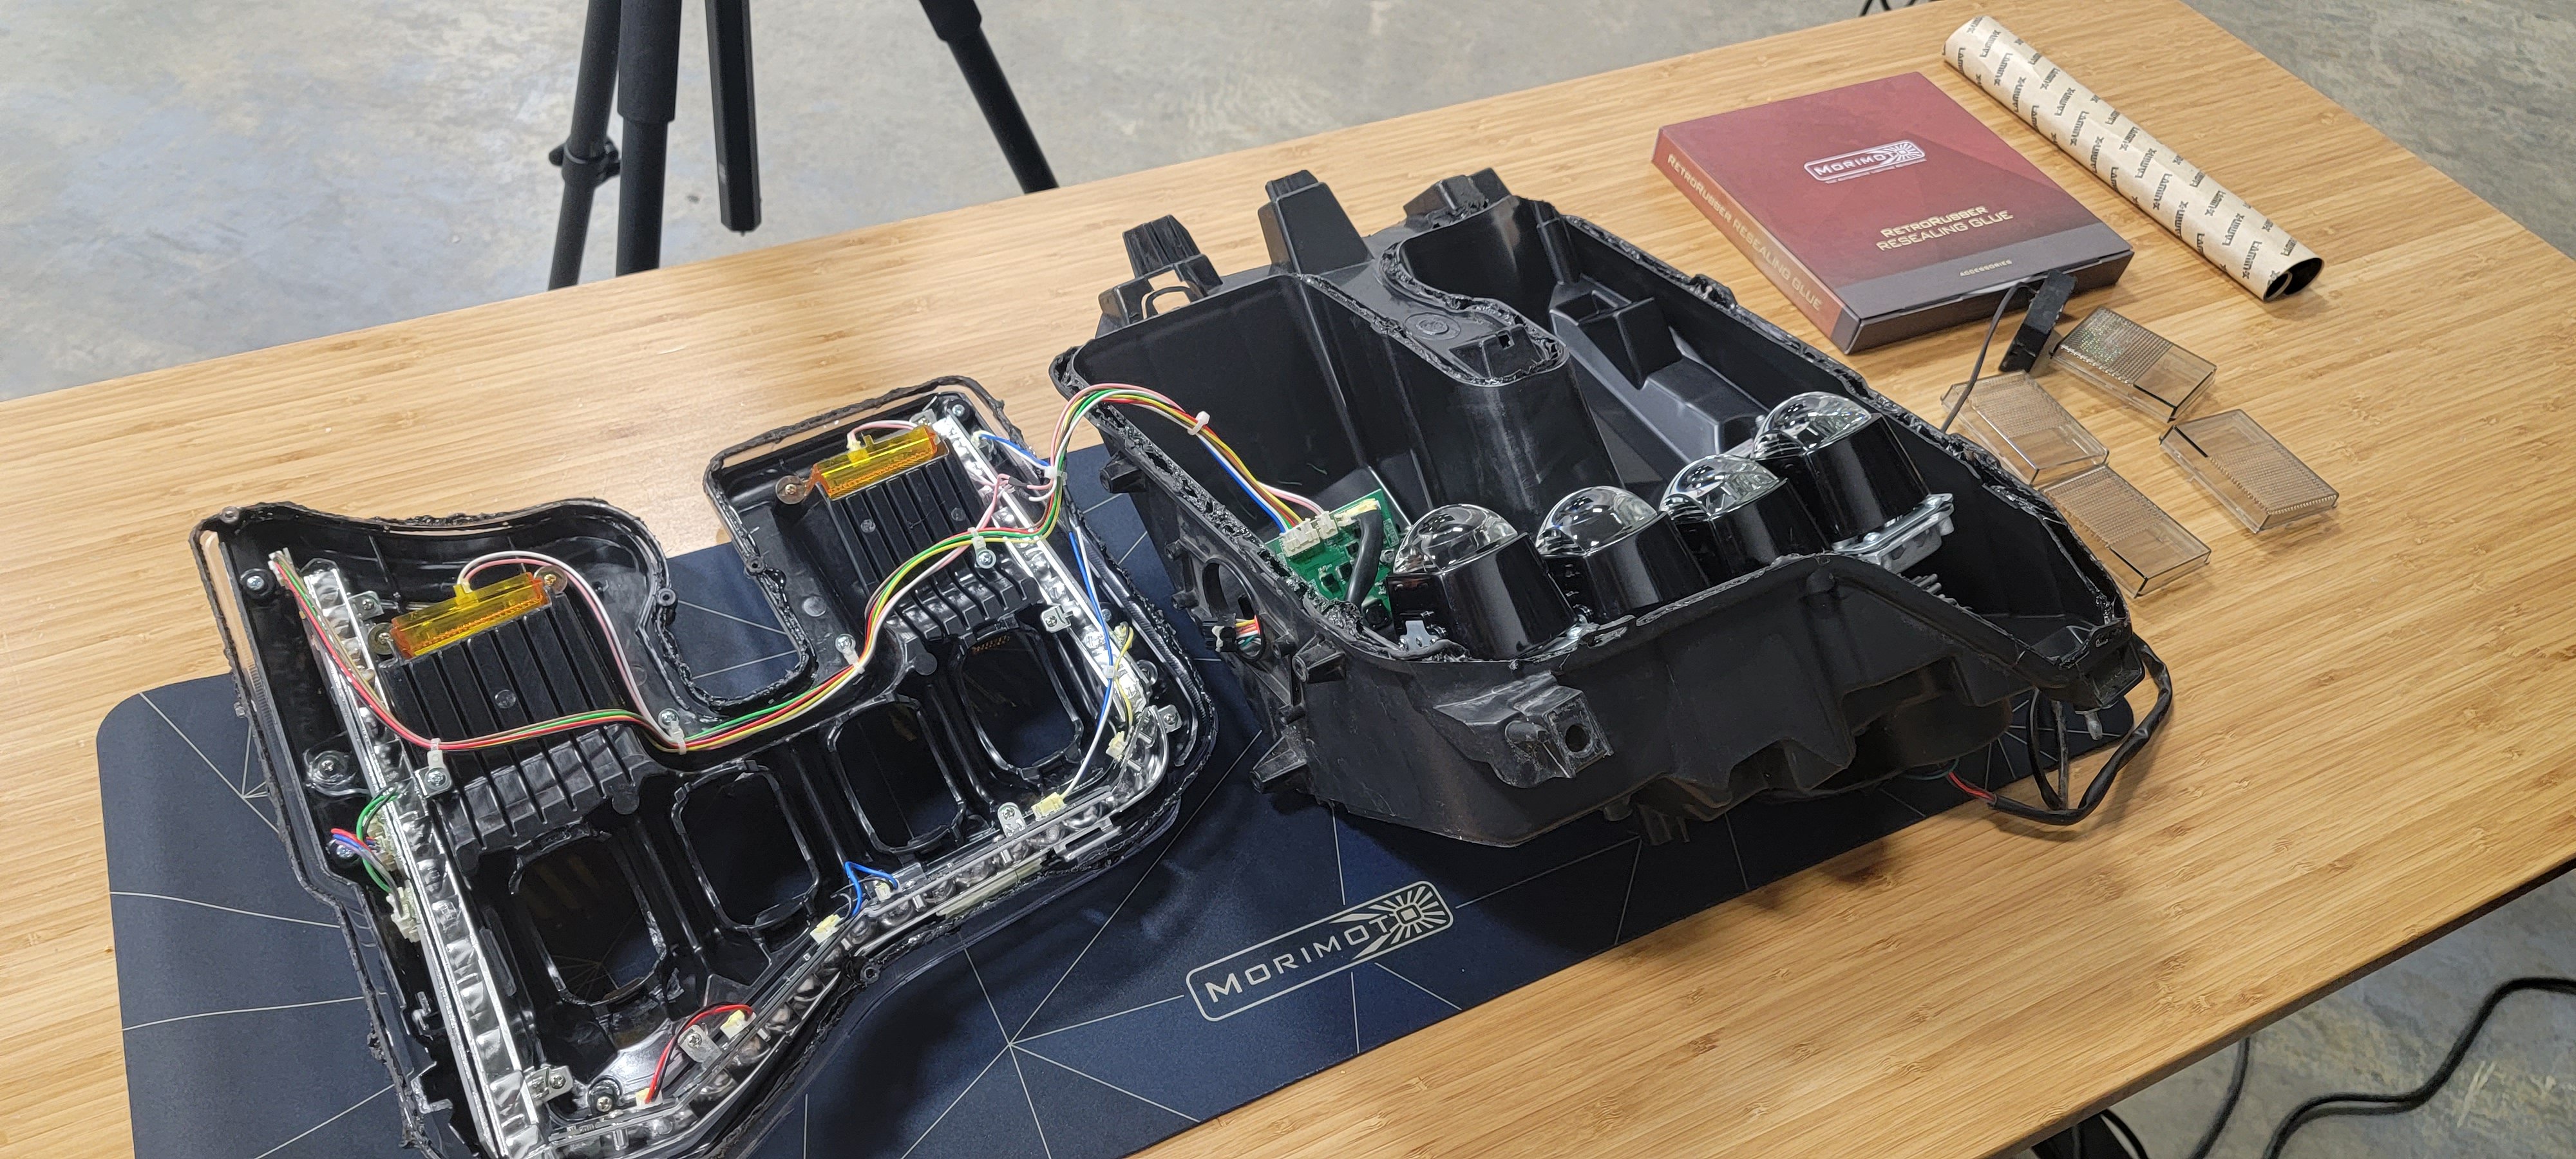
With the seal-splitting tool, gently pry the lens away from the housing. As you pull the lens away, you’ll see strands of glue starting to pull away too. My pro tip is to use a screwdriver or flathead and run it in between the headlight lens and housing to catch all the excess glue. The last thing you want is the glue snapping and bouncing back to get stuck on the inside of your headlight lens – it will be next to impossible to clean.
.png?width=2048&height=921&name=Untitled%20design%20(1).png)
Once you’ve completely removed the lens from the headlight housing, prepare your work surface to begin removing the side markers.
Removing Amber Side Markers
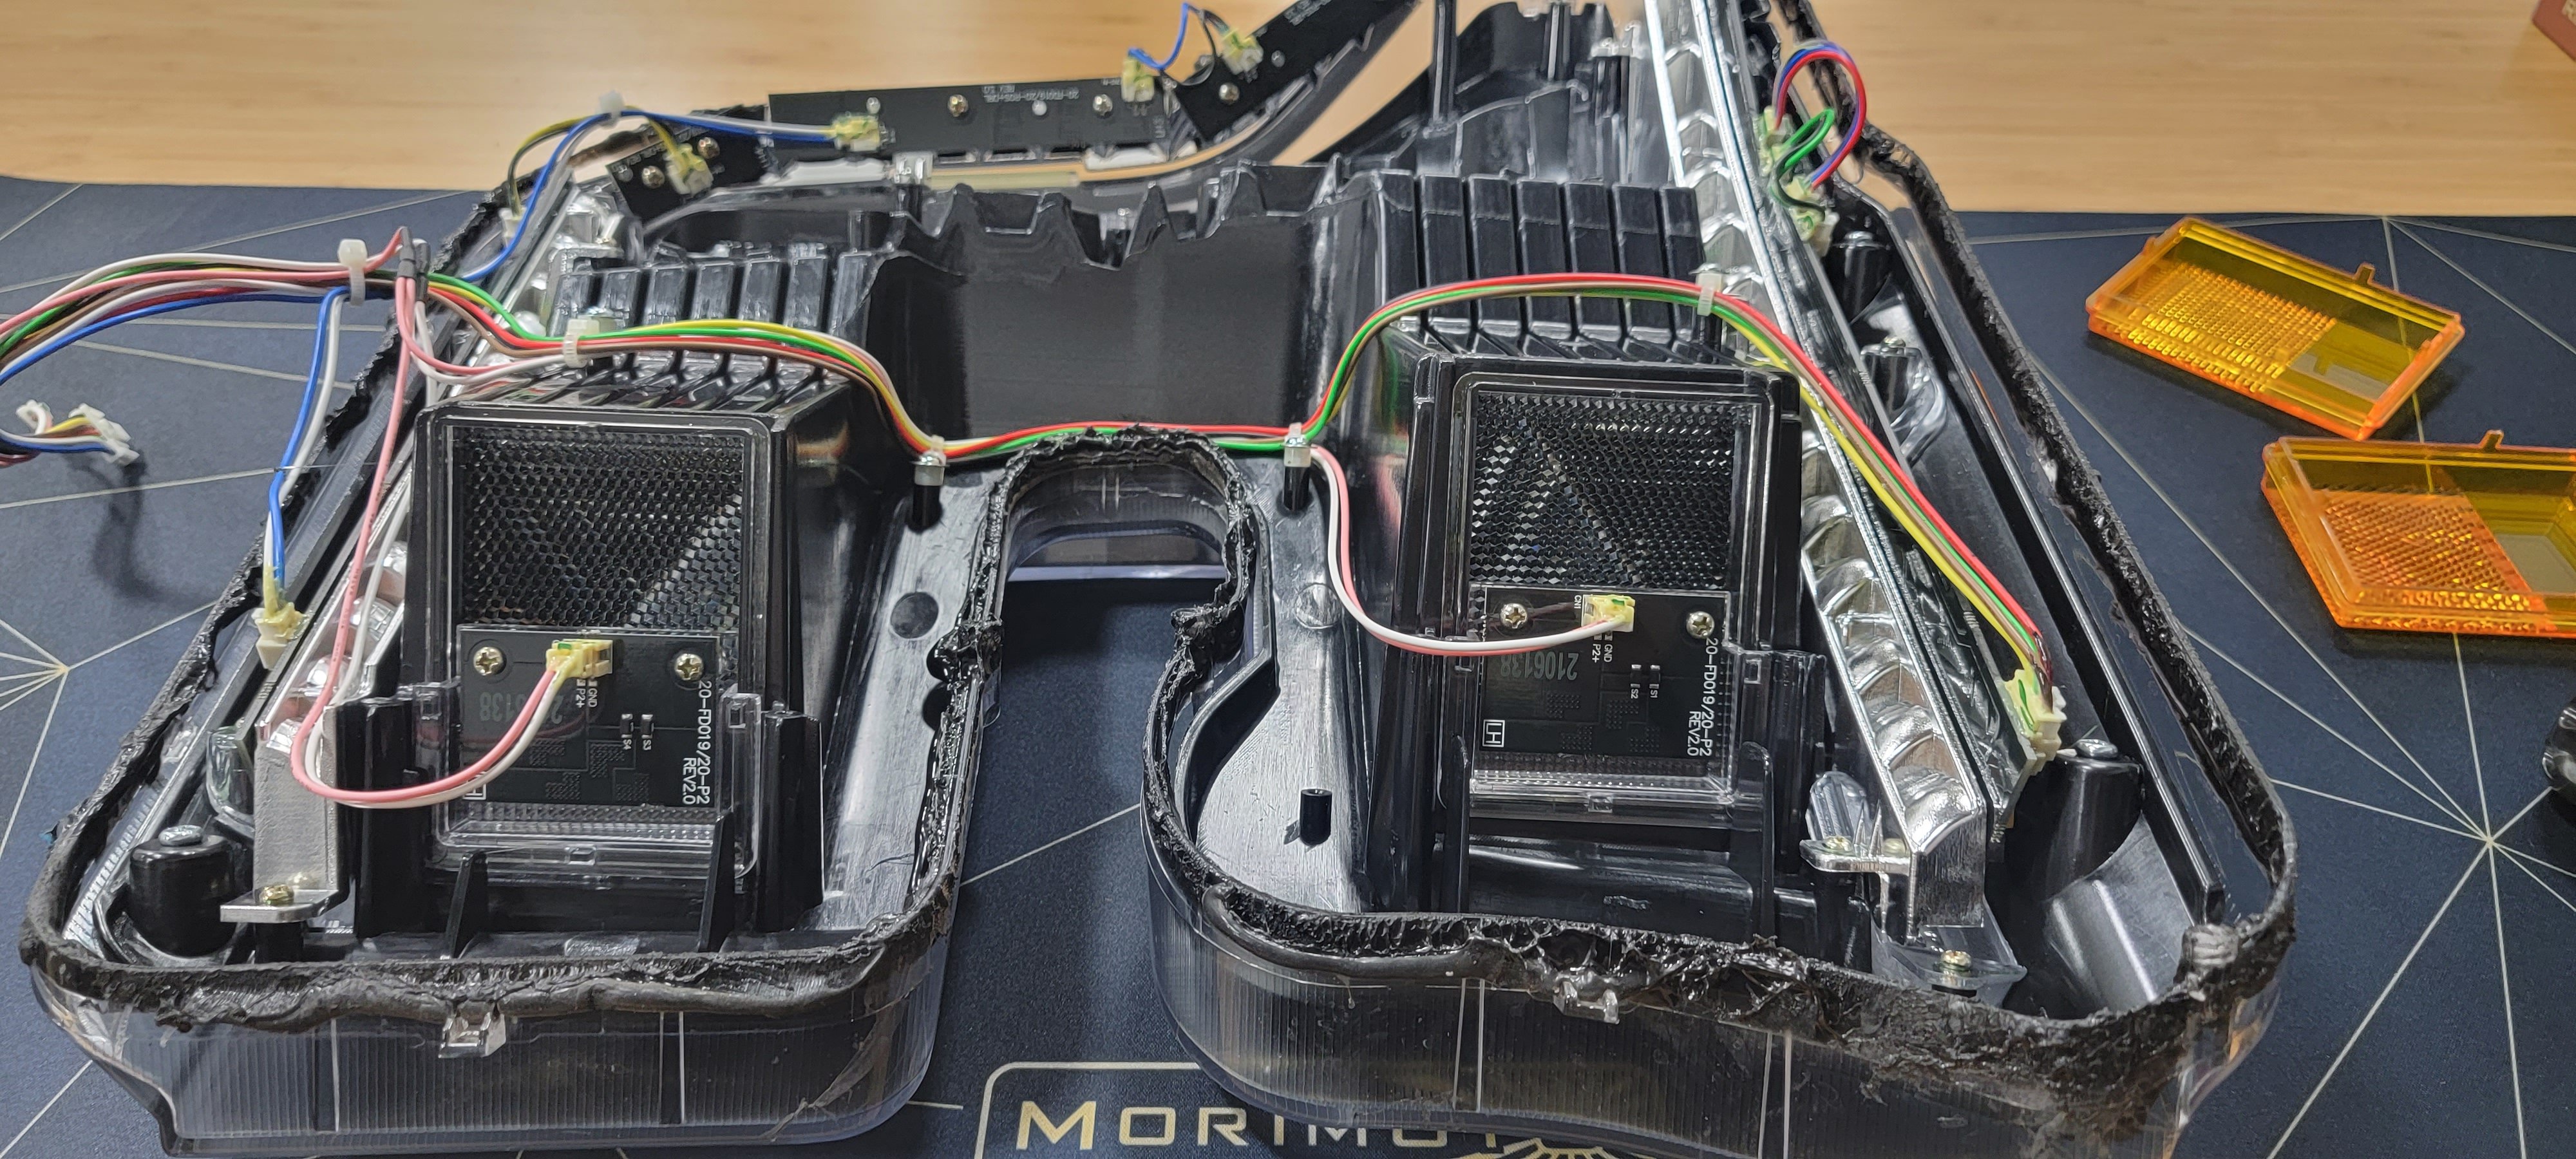
Inside LF502, a few wires connect the lens to the headlight housing. These wires are held on by a push-pin connector and can easily be removed. For ease of installation and working with the headlight, I recommend removing these wires so you can set the headlight housing to the side.
-1.png?width=2048&height=921&name=Untitled%20design%20(2)-1.png)
Working with just the headlight lens, you can now start to remove the amber side markers. To allow the side markers to be removed, you will need to remove the four screws holding the side markers down. Make sure to keep these screws as we will re-use them with the smoked side markers.
.png?width=2048&height=921&name=Untitled%20design%20(3).png)
Once the screws have been removed, you will simply pull up on the side marker. The side marker will easily slide out of the side marker holder.
Transferring Wiring To Smoked Side Markers
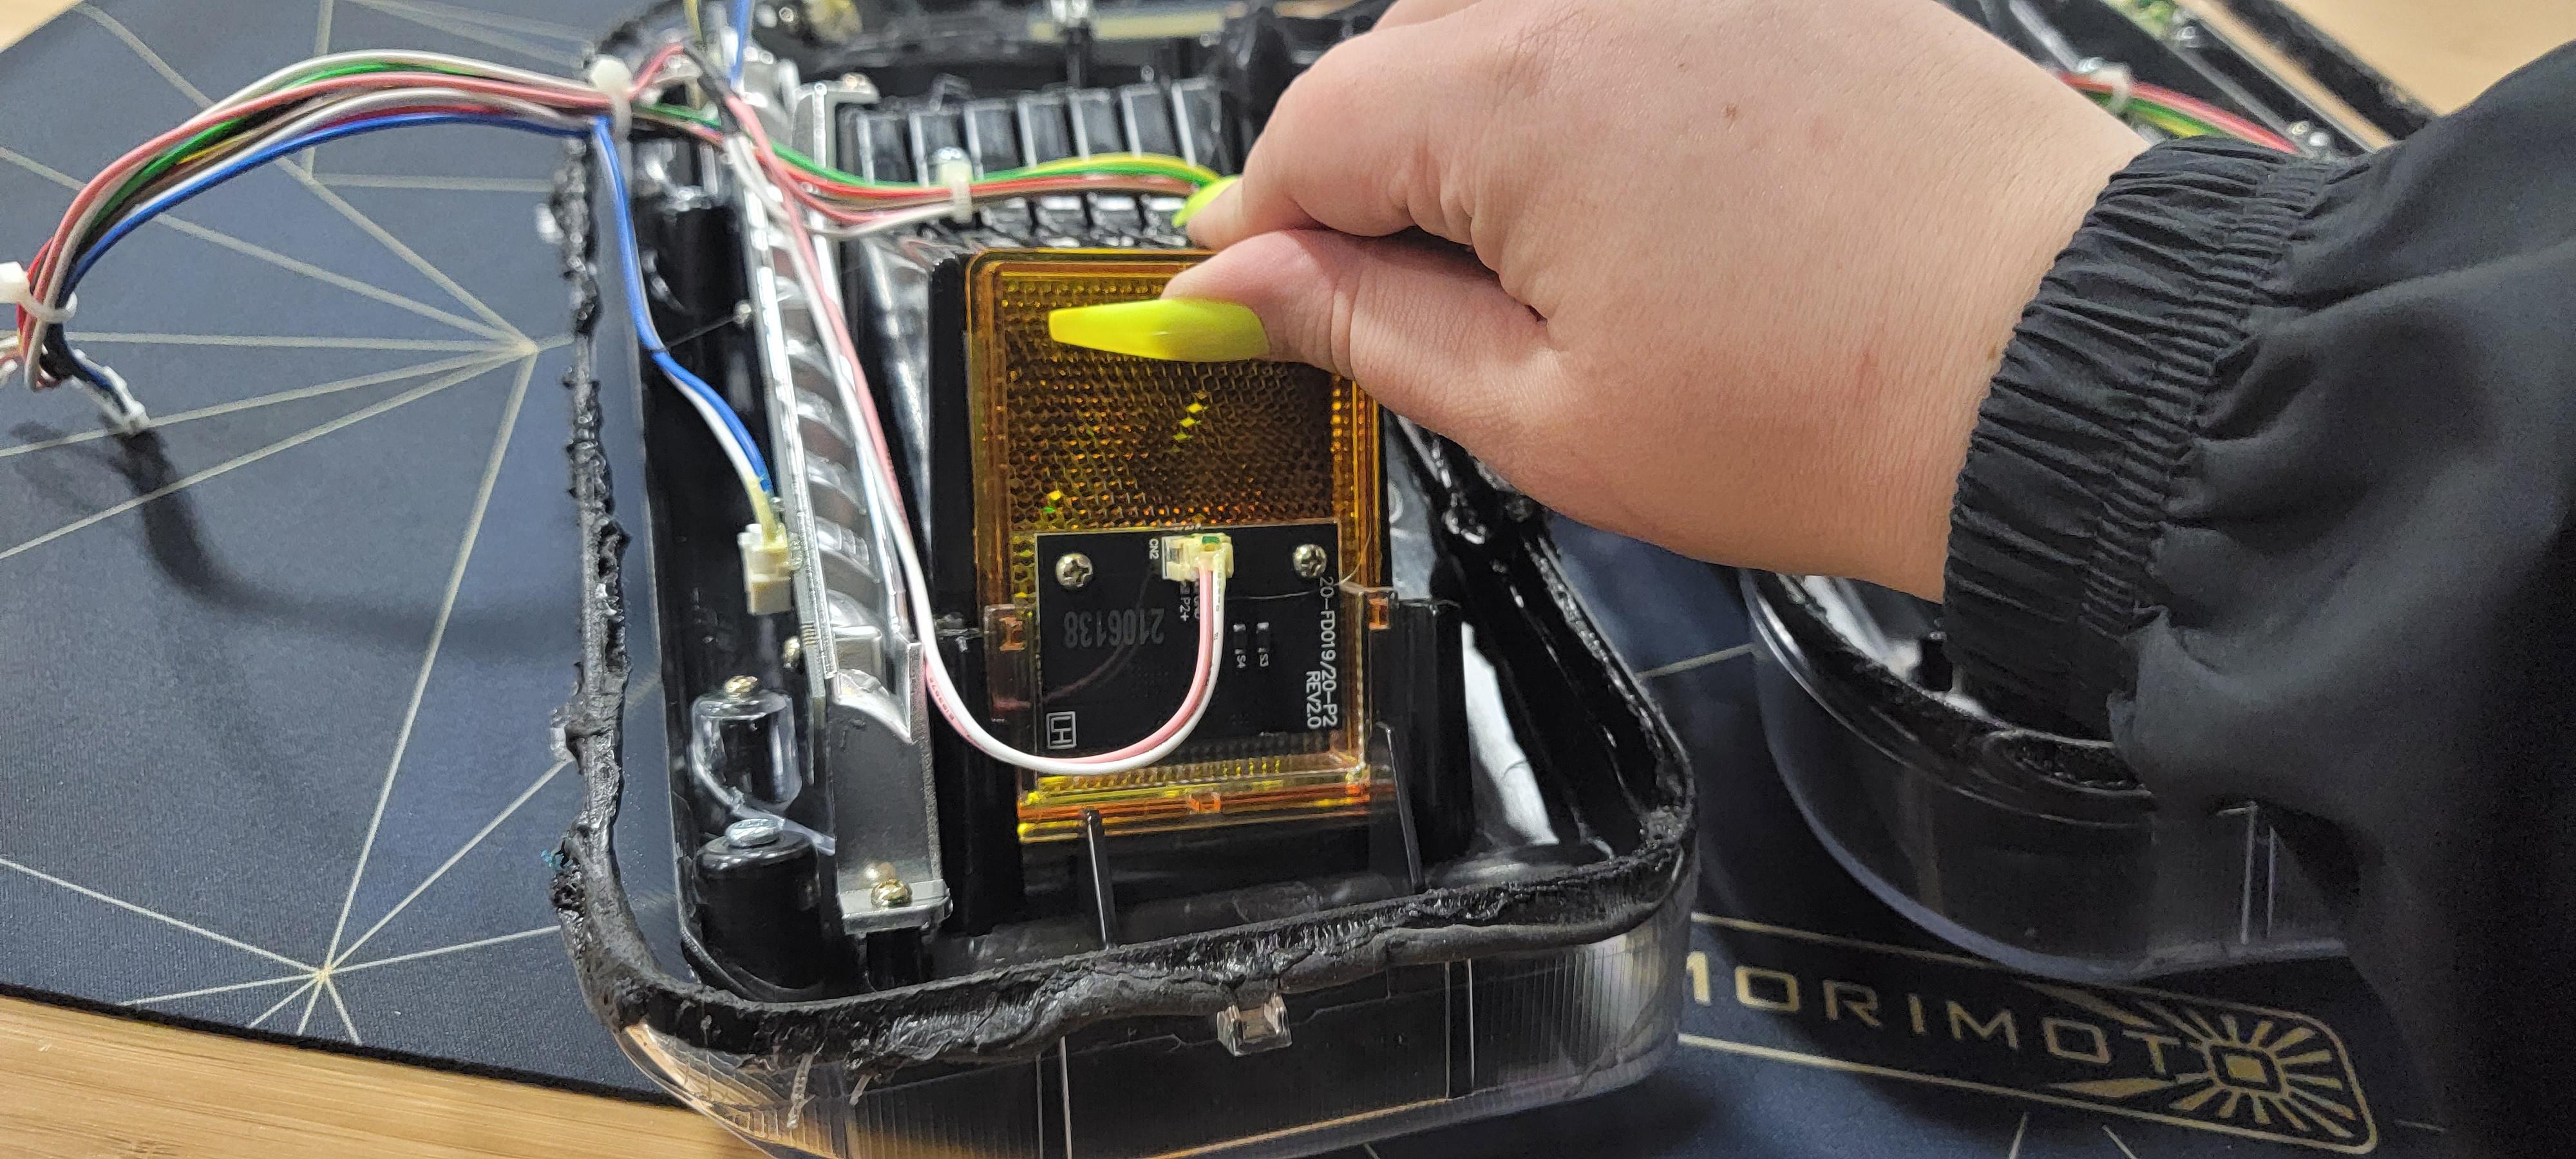
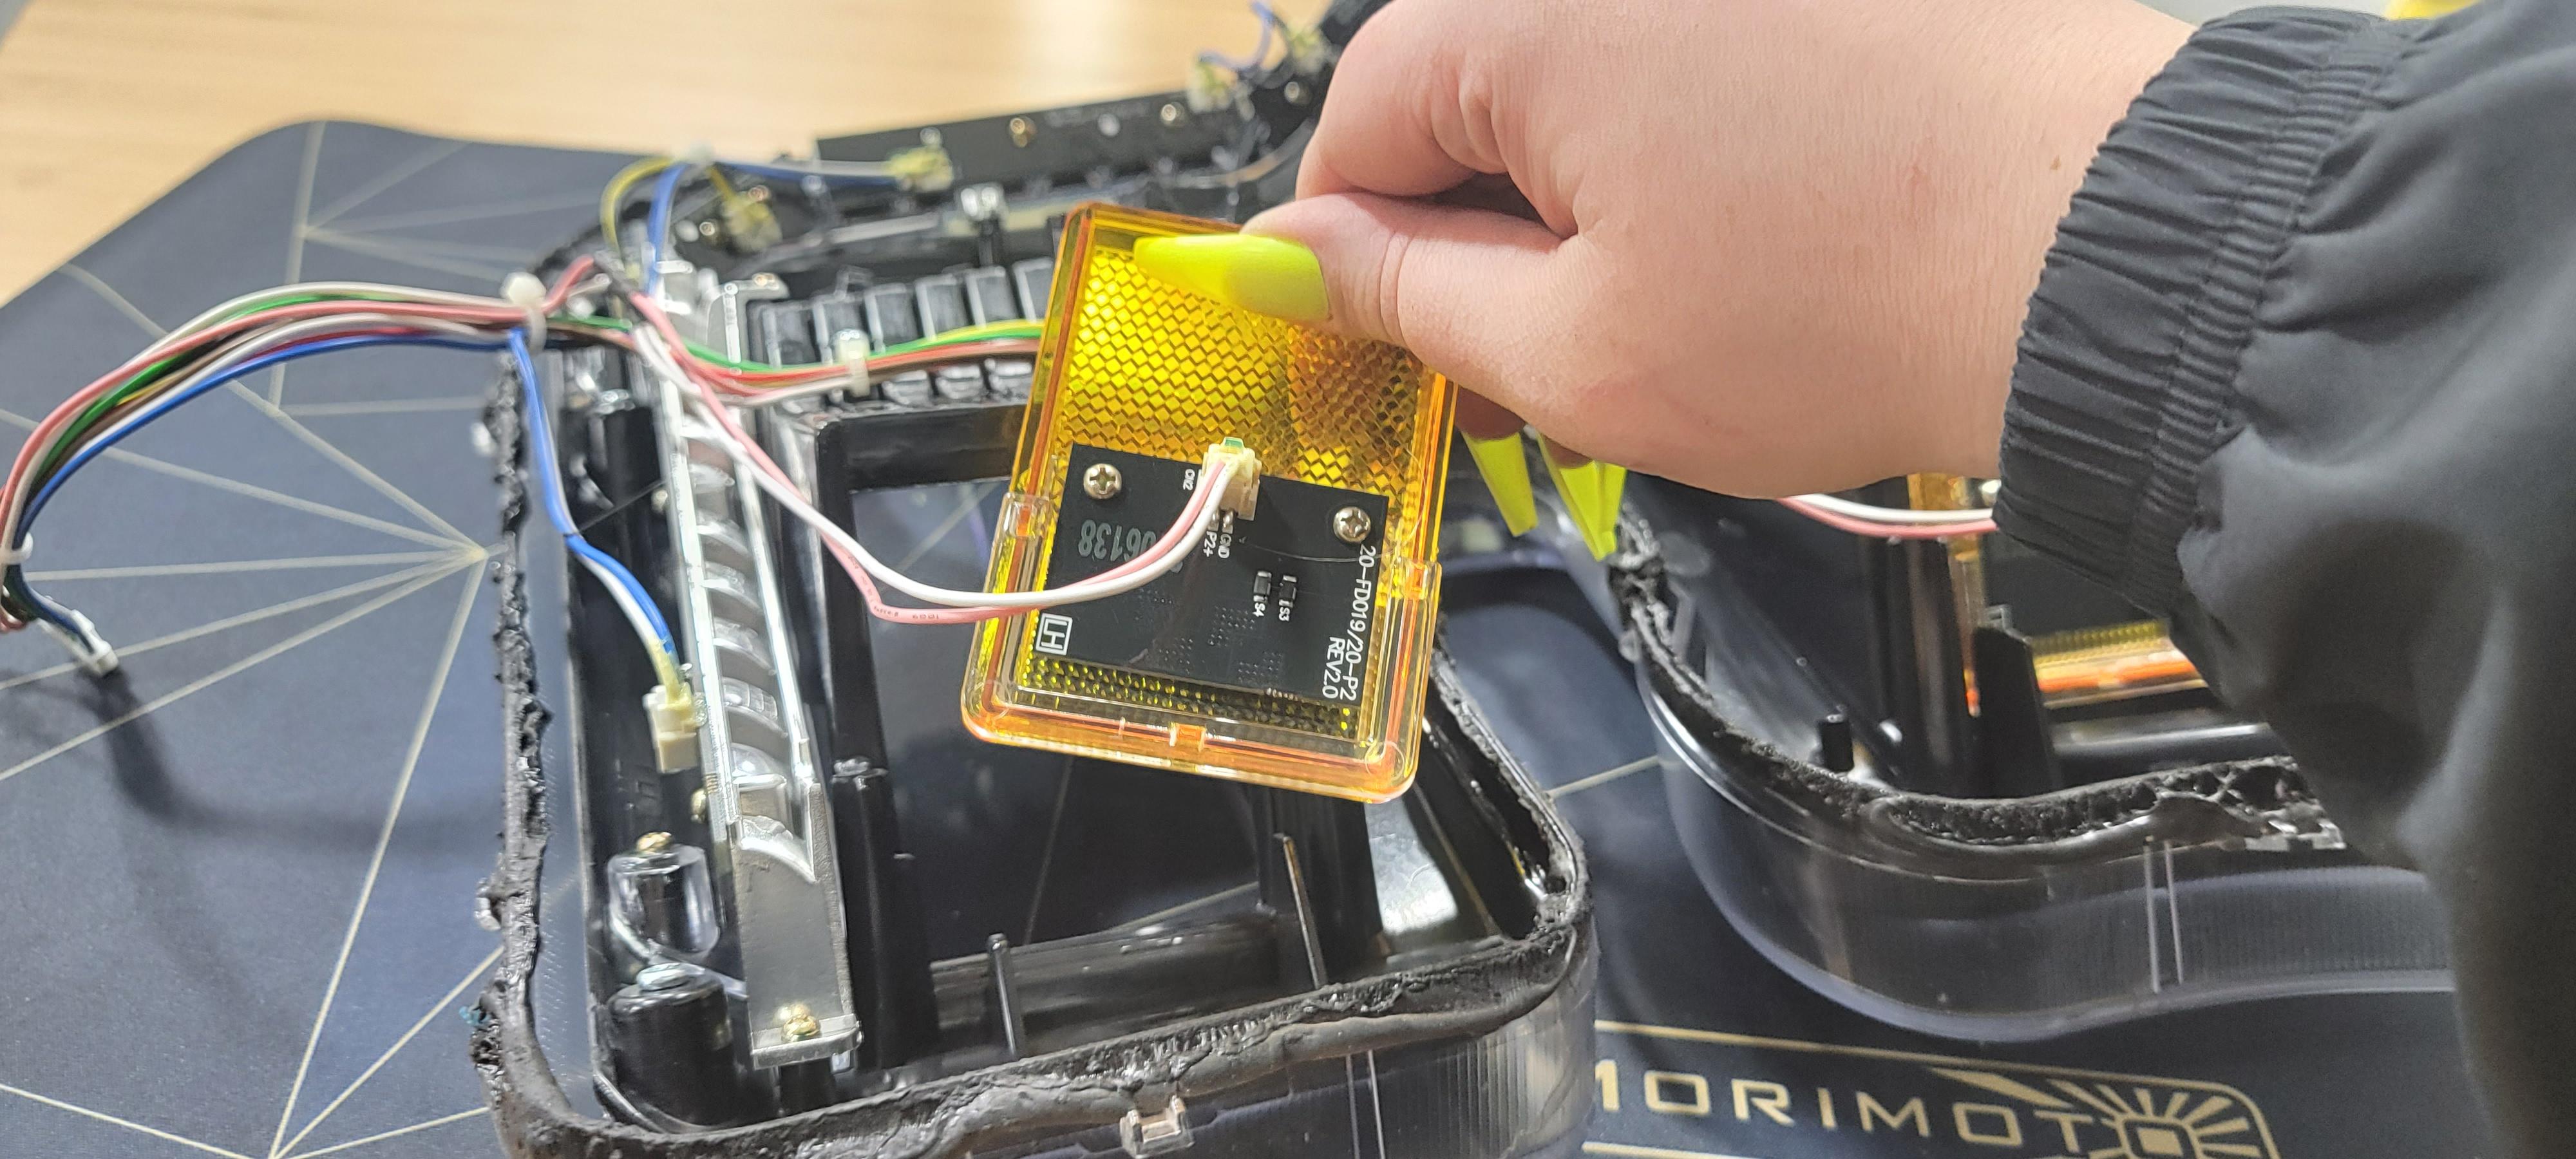
When the amber side marker has completely been removed, you will see that there are still parts to transfer over to the new smoked side marker. Luckily, this is extremely easy to do. Simply pull forward on the clear housing with the circuit board. This will remove itself from behind the amber side marker.
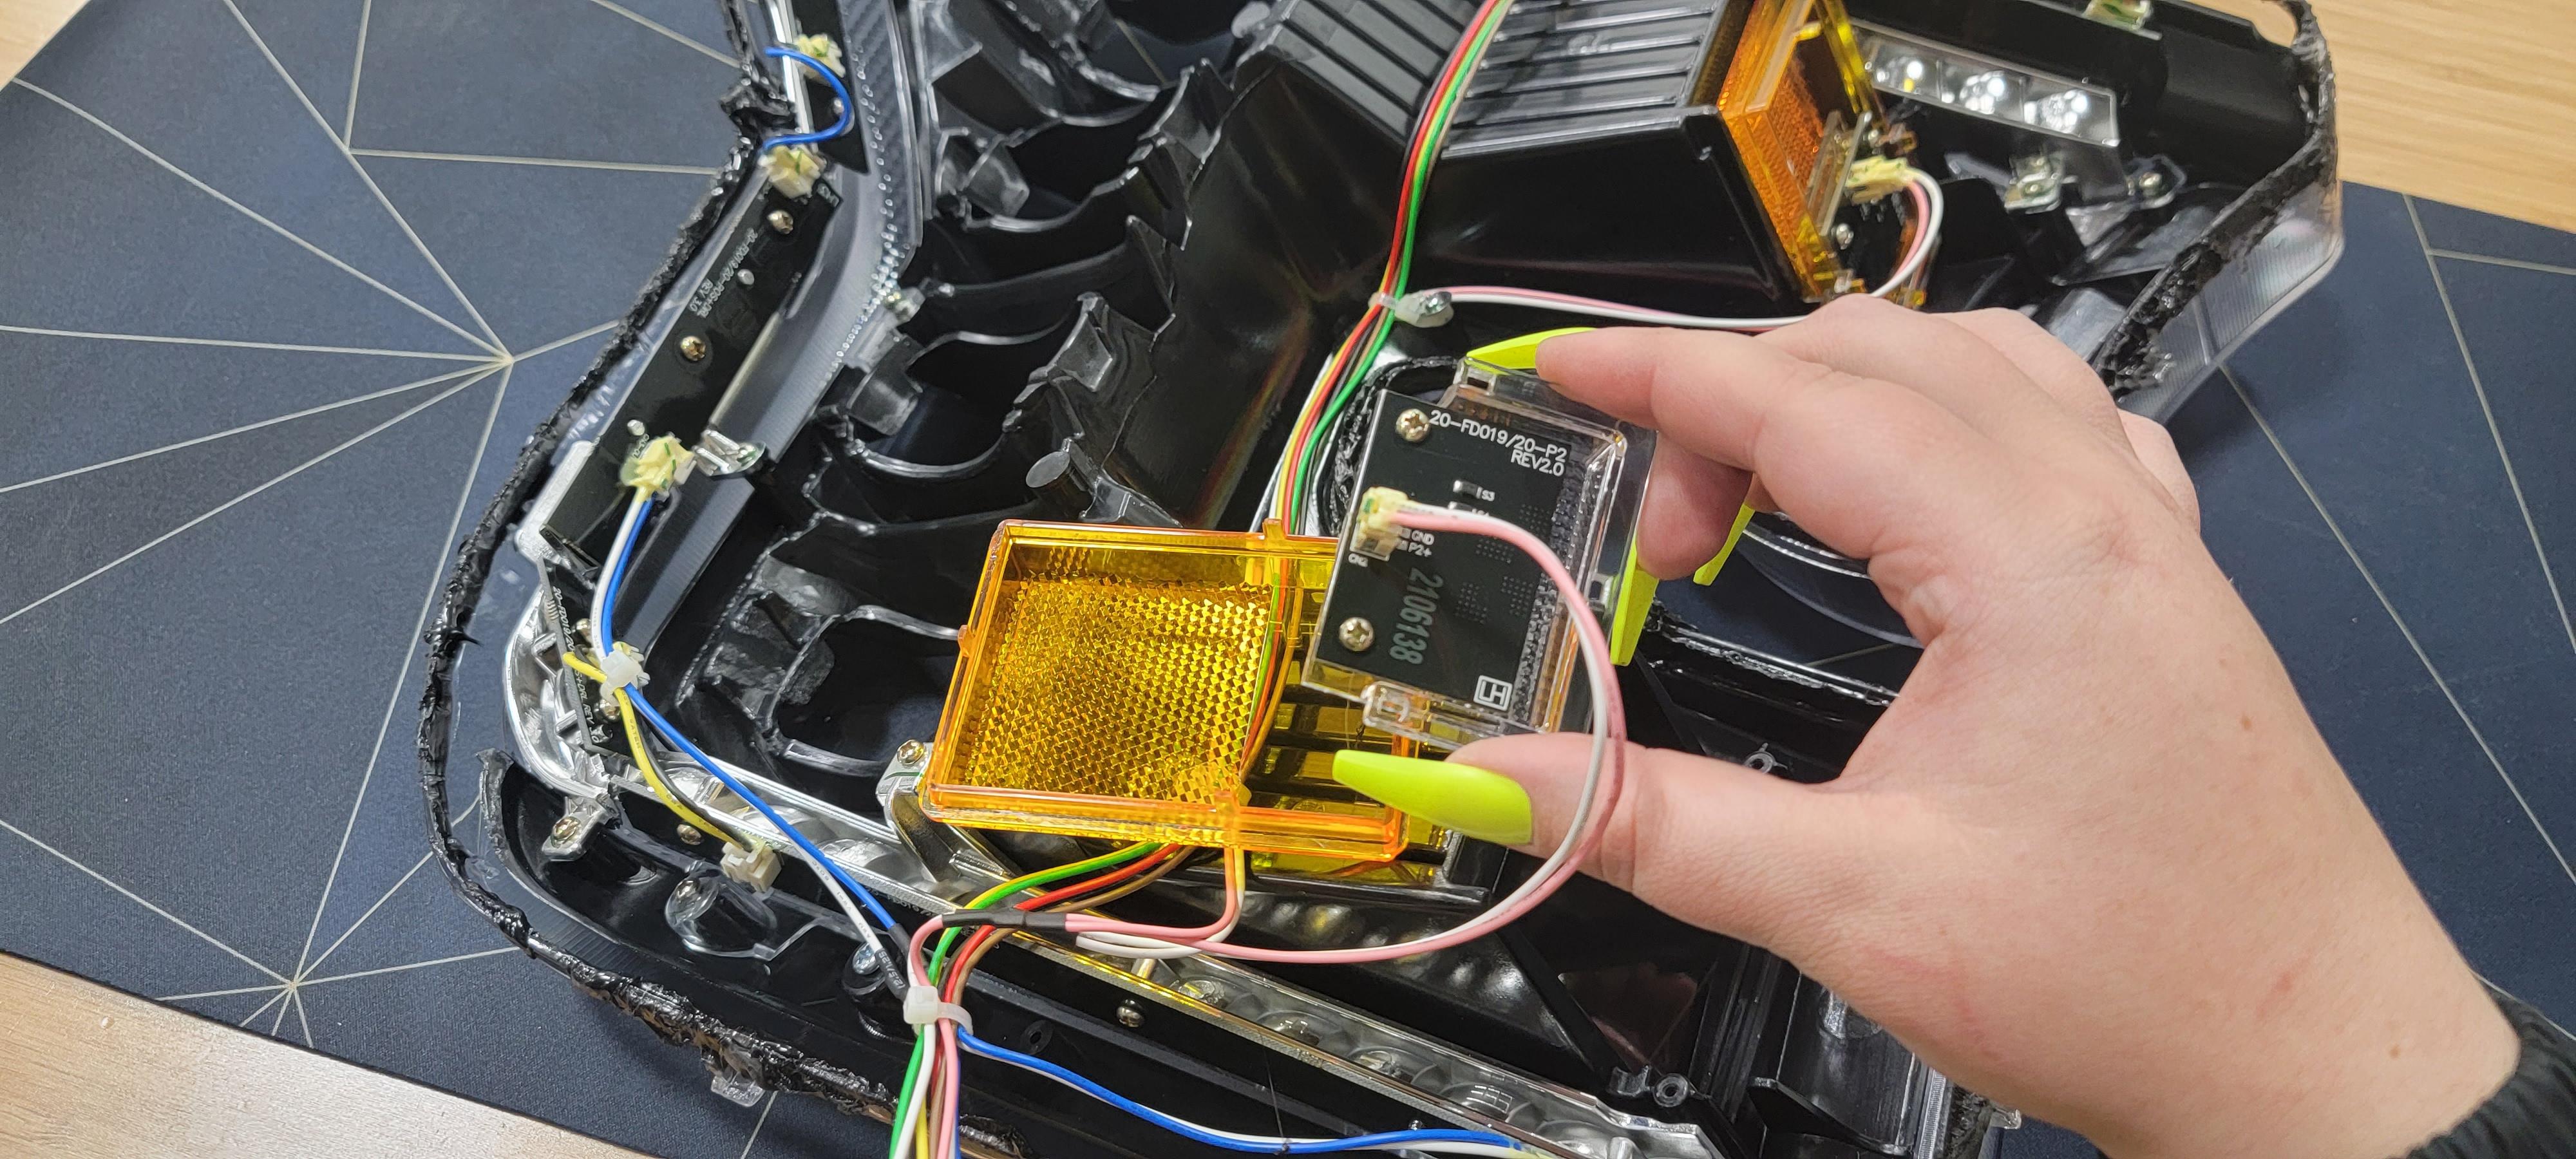
Once this piece has been removed, you can now transfer it to the smoked side marker. The Morimoto smoked side markers have the same tab placement as the amber side markers. Place the clear housing in the same location behind the smoked side markers.

Installing Smoked Side Markers
Now that the wiring has been transferred to the new side marker, you can install it back into place. Just as it was removed, you will want to slide the smoked side marker back into the original location. Repeat this process with the 2nd side marker if your XB headlight has more than one.
With the 4 screws that you removed a few minutes ago, re-insert them into the same location. Once the screws have been tightened down, check to make sure that the new side markers are snug in place. These screws are designed to hold down the side markers to secure them in the housing.
Re-Sealing The Headlight
Congratulations, you’ve pretty much finished the job! Now, all we have left to do is re-install the lens back onto the headlight housing. Using the Morimoto Retrorubber, you’ll want to add more butyl glue to the headlight channels. My pro tip is to stretch out the butyl glue before inserting it. Stretching out the glue allows you to get more usage from one product and prevents the build-up of excess glue. Too much glue can prevent the headlights from completely sealing, leaving your headlights exposed to potential water intrusion.
With the stretched-out butyl, you’ll be able to lay down the glue within the headlight channels. After the glue has been laid down, it’s time to revisit your oven. Re-insert the headlight housing (only the housing, not the lens) into the oven for 8 minutes at 260 degrees Fahrenheit. After the glue has softened in the oven, remove the headlight housing – don’t forget your hand protection.
REMEMBER: Before placing the lens back onto the housing, reconnect the wires that you removed earlier.
Take the lens of the headlight and gently begin pressing it back on the headlight housing. Once you’ve got the lens lined up and laid on top of the headlight housing, you can begin applying pressure. We do recommend clamping the headlight while the glue cools down.
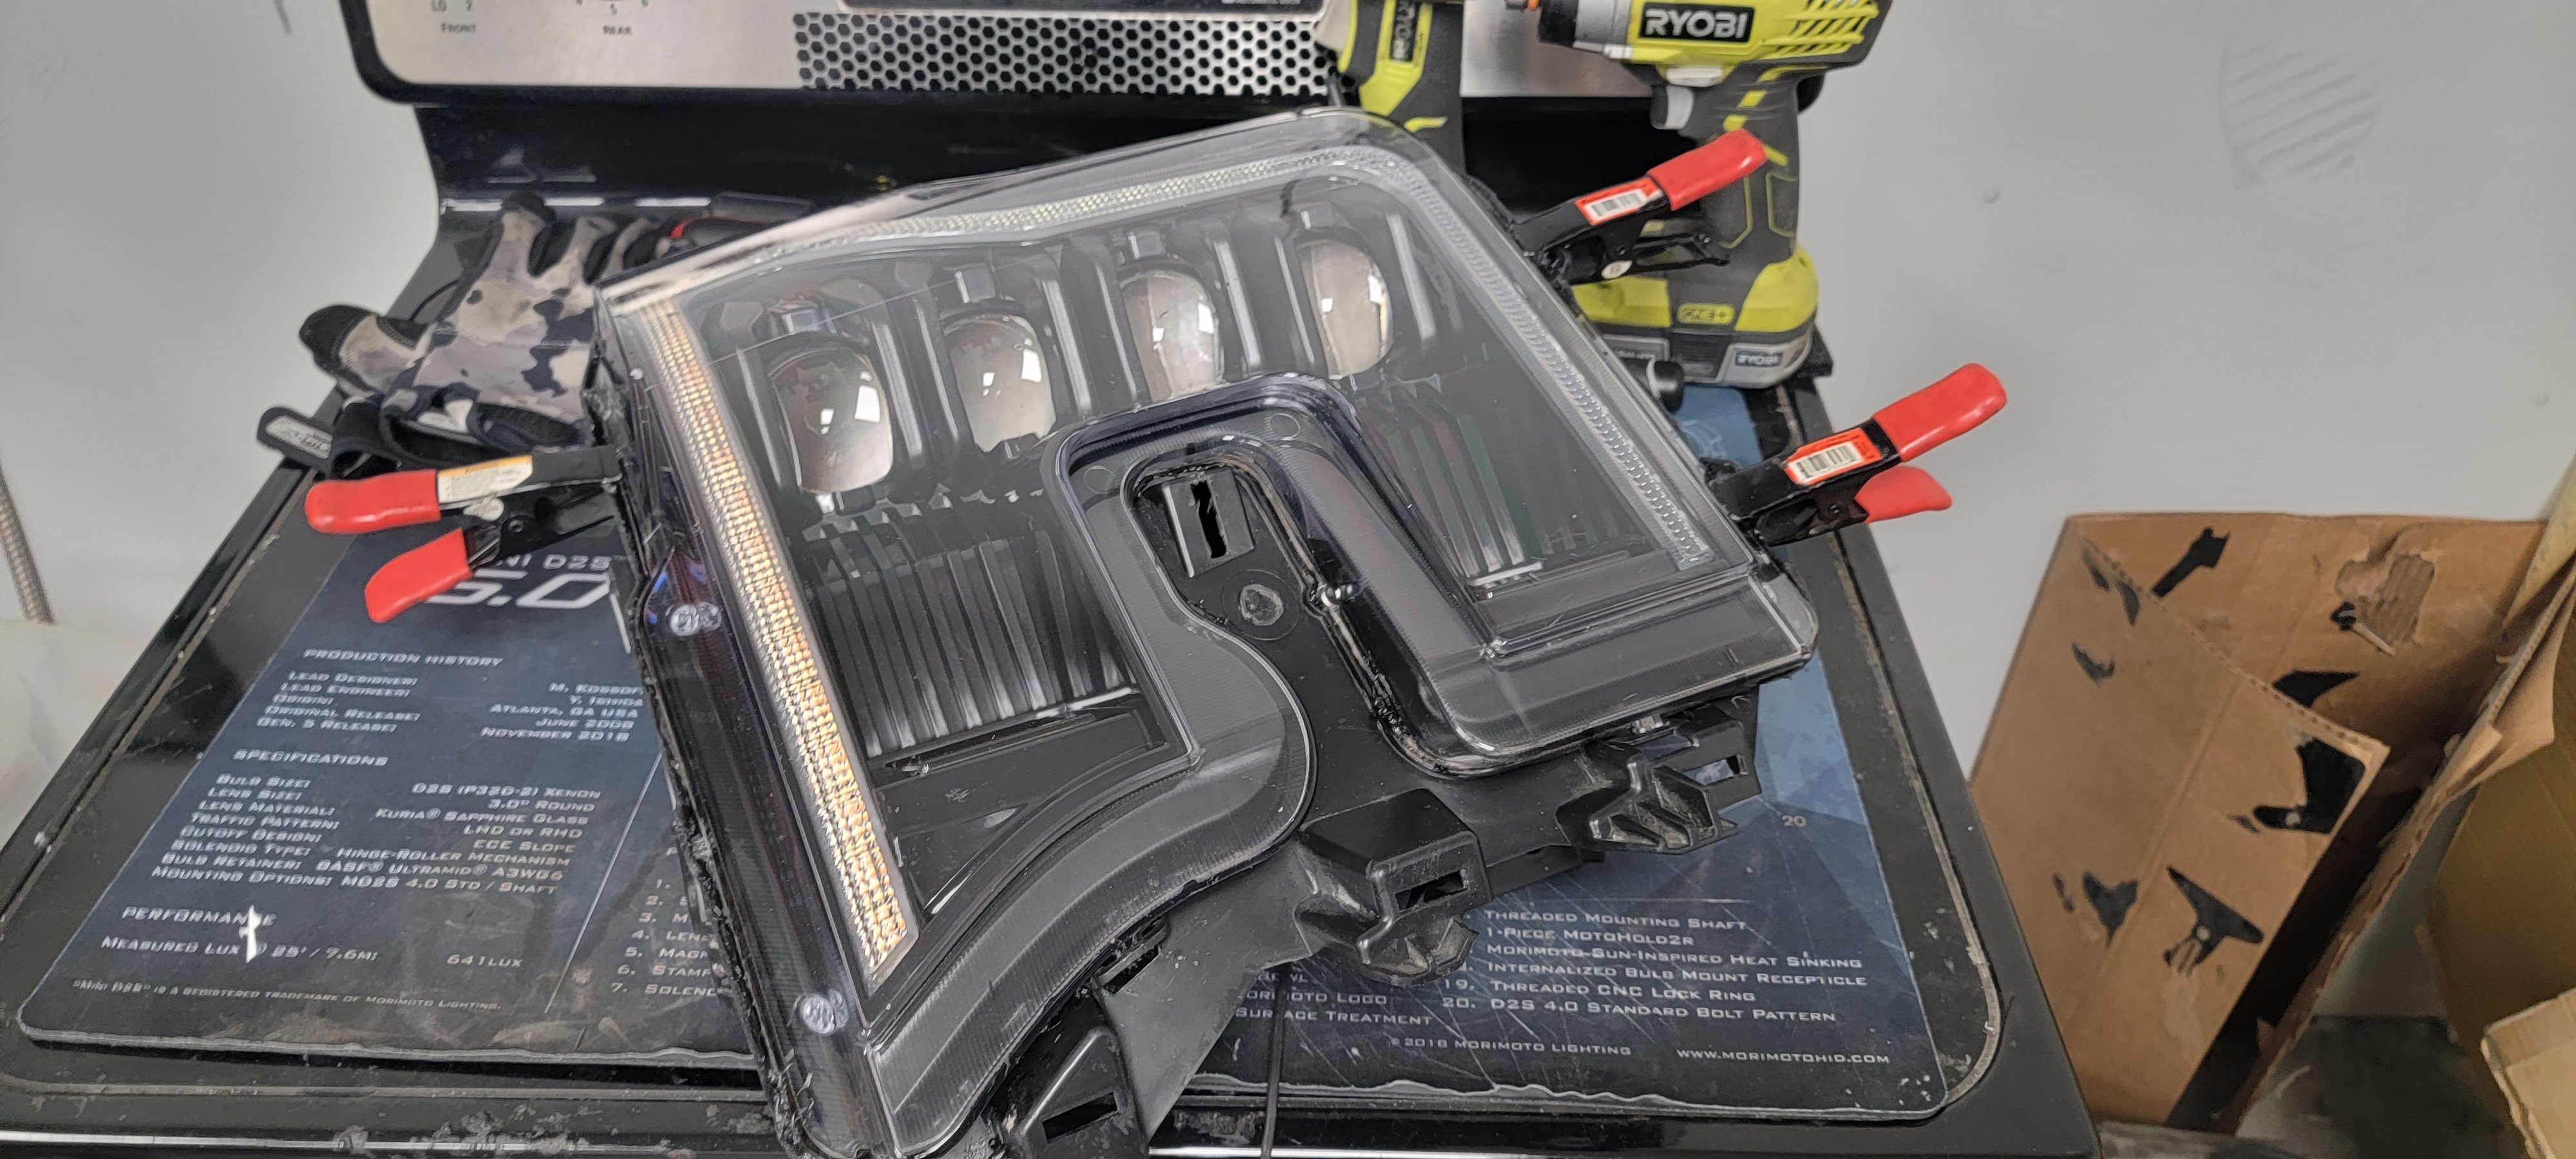
Using clamps on the headlight while the glue cools is the best way to ensure the lens is completely seated within the housing. I let the headlight cool down for 30 minutes before removing the clamps. During this cool-down process, you’ll want to use this time to re-install all the screws you took off in the first step. I re-installed the 4 lens-holding screws, the 2 additional resistors, and the LED driver on the bottom of the headlight.
Conclusion
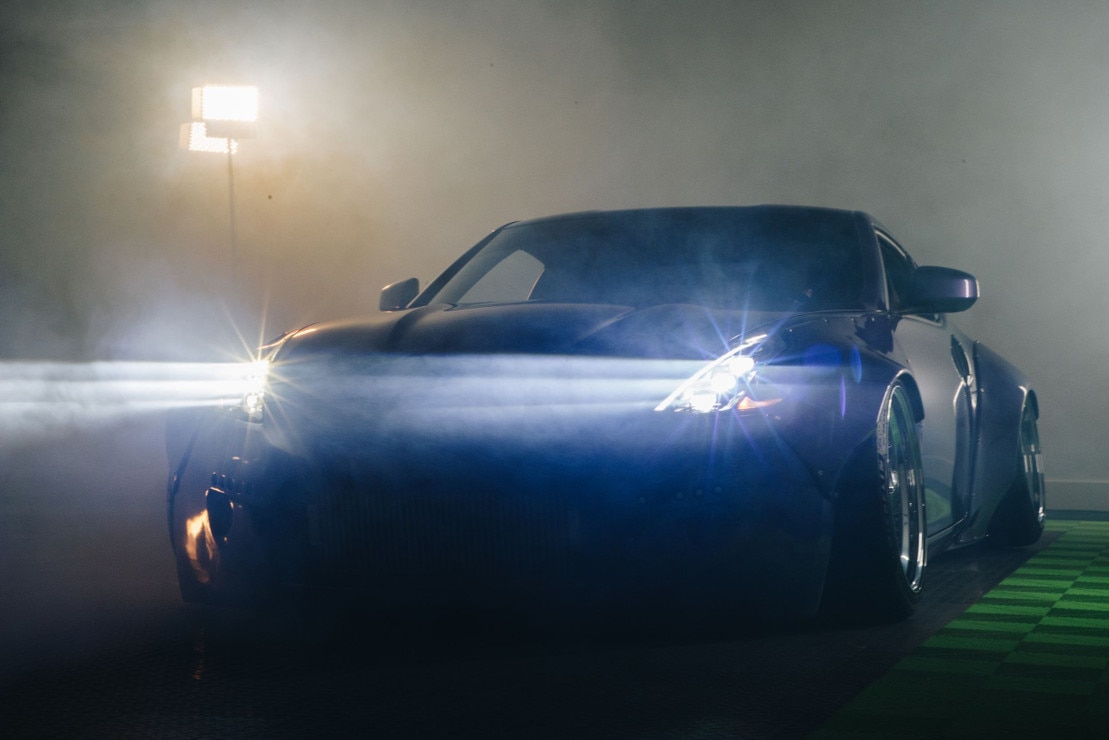
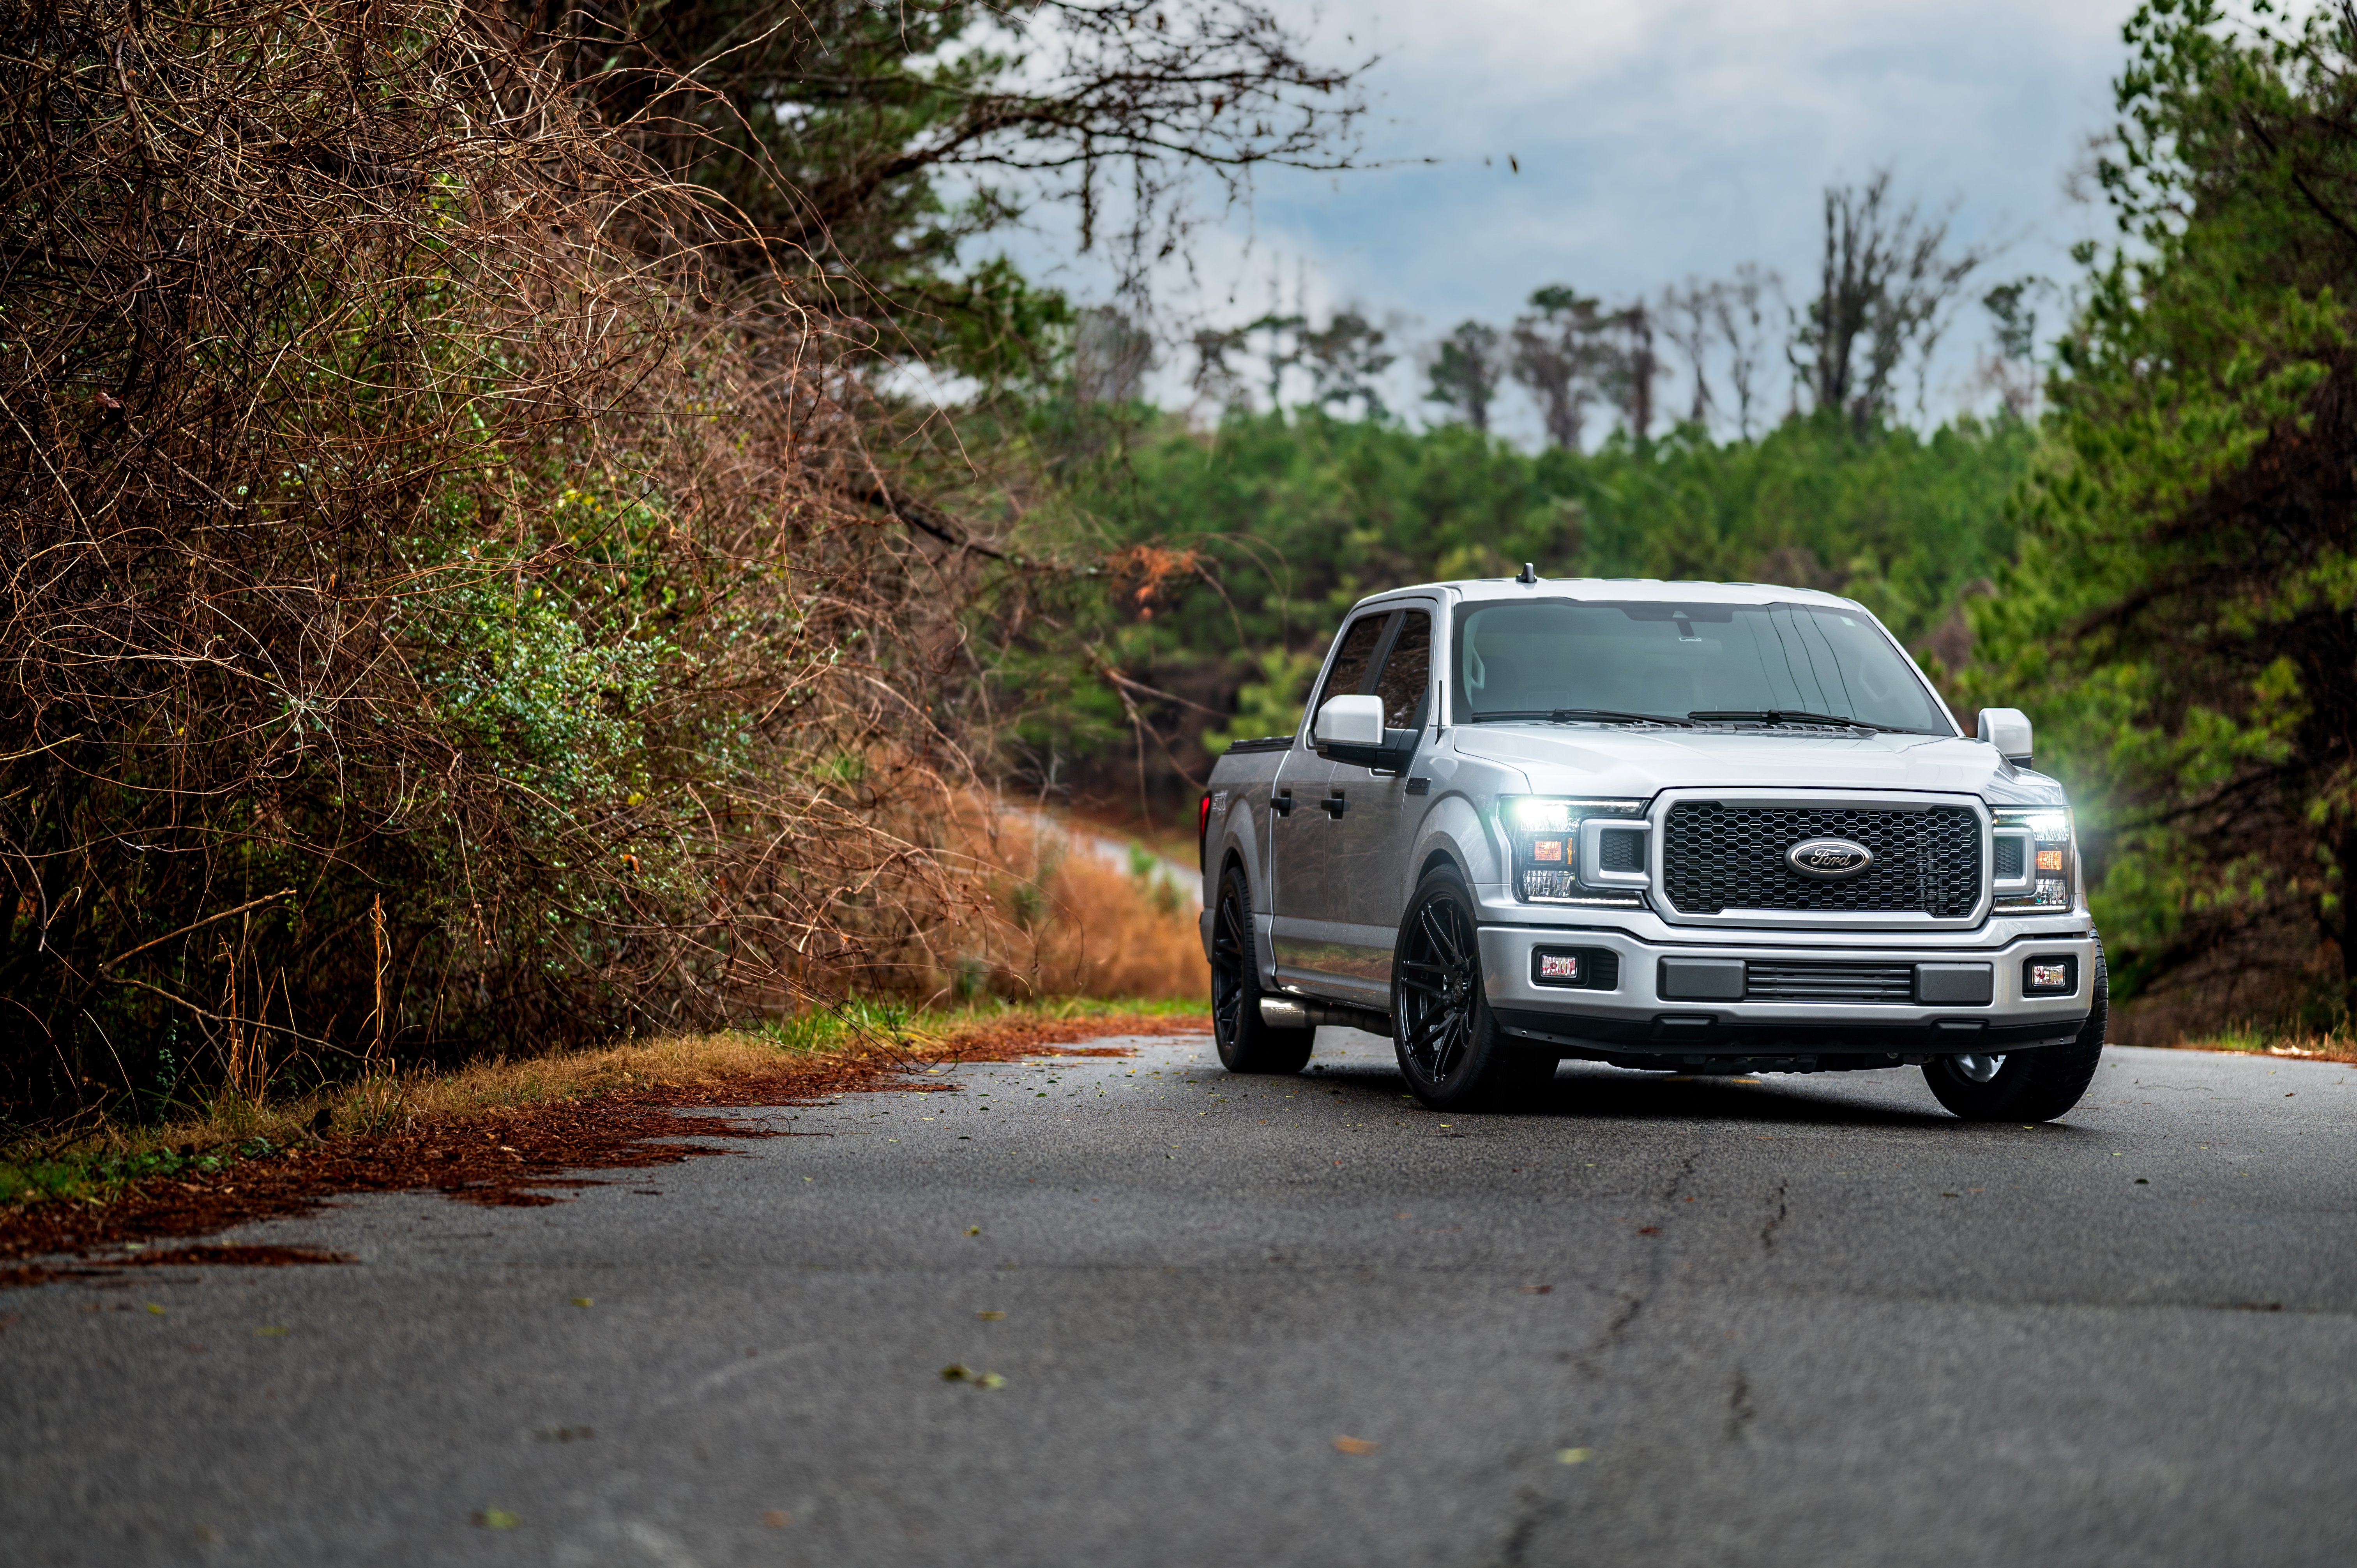
You have officially completed installation for your new smoked side markers. Take some time to congratulate yourself on completing this DIY project! All that you have to do now is admire the after-effects of your hard work.
Our team here at Better Automotive Lighting is dedicated to helping you find the best automotive lighting upgrades for your vehicle. Stick around the Better Automotive Lighting Blog for all the latest on the automotive lighting world. Also, check out our Facebook page we just started. Be sure to drop us a comment and leave a ‘Like’ to let us know how we are doing.


.png?width=300&height=87&name=logo%20(1).png)