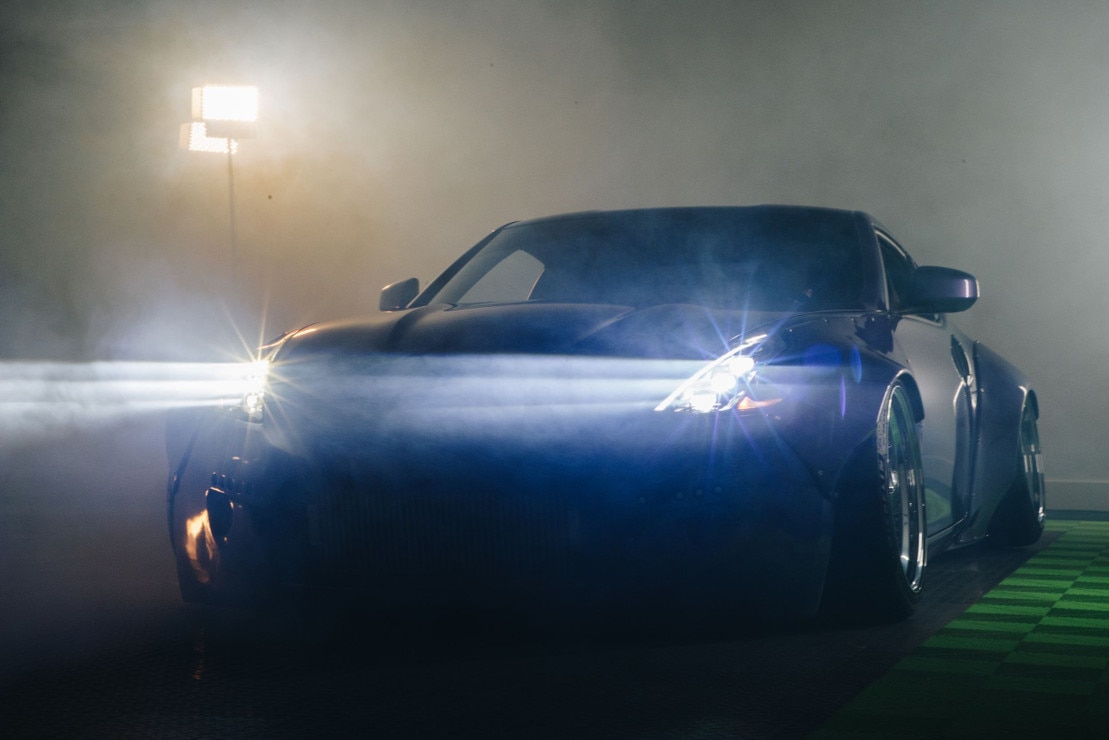
Morimoto Lighting is renowned for its high-quality, innovative lighting solutions, particularly its XB Headlights. This blog post serves as an informative guide to installing these headlights, ensuring optimal performance and safety. Please note that this guide is intended solely for educational purposes, and neither Morimoto Lighting nor its dealers are responsible for any damage, misuse, or personal injuries that may occur. Professional installation is recommended for those unfamiliar with the process.
Package Contents:
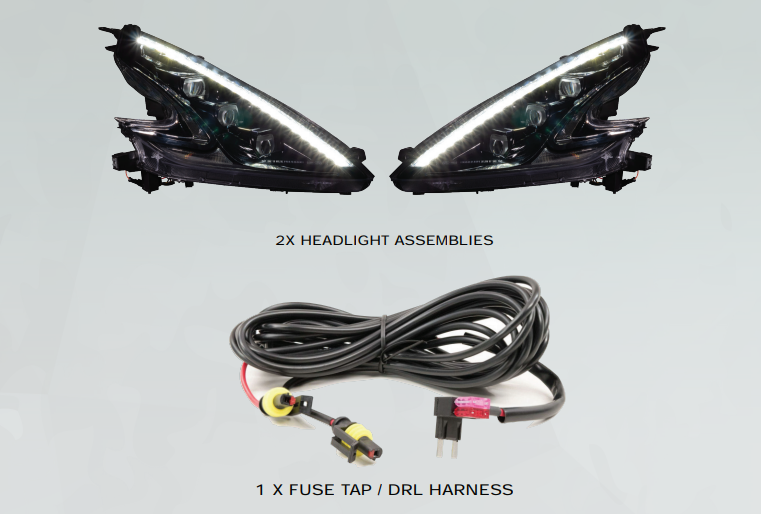
Before starting the installation process, ensure your package contains the following items:
- 2 Headlight Assemblies
- 1 Fuse Tap / DRL Harness
Warning:
If your vehicle is equipped with non-OEM turn signals, you may experience hyper flash or problems with the sequential signal setting on these headlights due to unmatched impedance with your original vehicle settings. This is not a defect in the headlight.
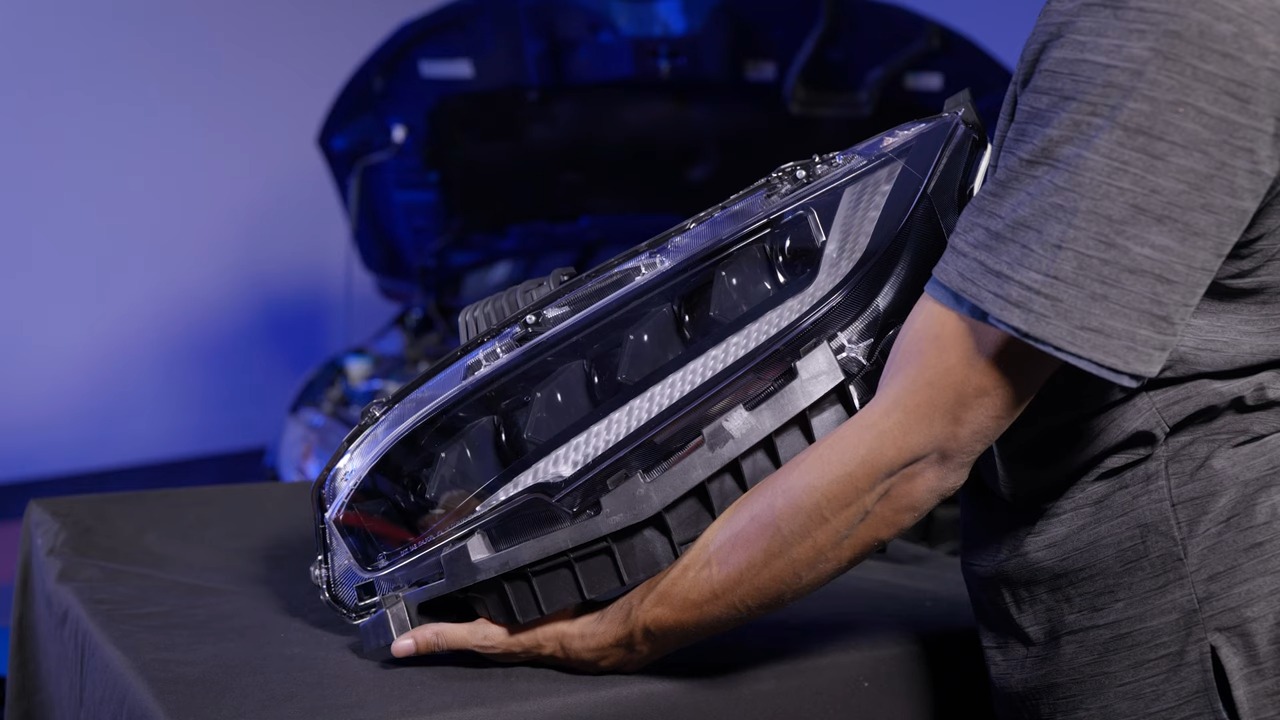
Installation Process:
Step 1-4: Bumper and Shield Removal
- Remove the seven plastic clips holding the top of the bumper.
- Remove one 10mm bolt on each side of the car holding the bumper to the fender.
- Pull the bumper off of the car.
- Remove six plastic clips and the plastic shield.
Step 5-10: Headlight Removal
- Remove the bolts and plastic clips holding the top of the headlight.
- Disconnect the headlight connector and remove the headlight.
Step 11-12: Preparing the XB Headlights
- Set the headlight on a bench and remove the screws and brackets. Install all the removed brackets and screws onto your XB headlights.
- Remove the battery cover and the plastic panel.
Step 13-20: Adjusting the Fuse Box
- Remove the cowl and the plastic clips on it.
- Loosen the bolts and slide your battery towards your engine.
- Slide the fuse box out and remove the fuse box cover.
- Locate the supplied fuse tap/DRL harness and plug it in the spot that you just took the fuse out of.
Step 21-25: Connecting the DRL Harness
- Slide the fuse box back into its location and route the DRL harness to the headlights.
- Plug in the main headlight connector and determine your preferred turn signal setting.
Step 26-28: Final Adjustments
- Bolt in headlights in the reverse order of removal and reassemble the vehicle.
- Adjust the height of the headlight beam pattern according to the aiming standards provided.
Conclusion:
Enjoy your new XB Headlights from Morimoto! Following this guide carefully will ensure a smooth installation process and optimal functioning of your new headlights. Remember, if you find any step confusing or challenging, seeking professional help is recommended to avoid any damage or misuse.
Disclaimer:
This guide is intended for educational purposes only. Morimoto Lighting and its dealers are not responsible for any resultant damage, misuse, or personal injuries.


.png?width=300&height=87&name=logo%20(1).png)