WATCH THE VIDEO BELOW FOR MORE DETAILS!
In this post we’ll be talking about how to install a dual beam HID conversion kit in your headlights. In order to do this you need to use a dual beam relay harness. To begin, let’s start by explaining the difference between single beam and dual beam stock or OEM halogen/incandescent headlight bulbs.
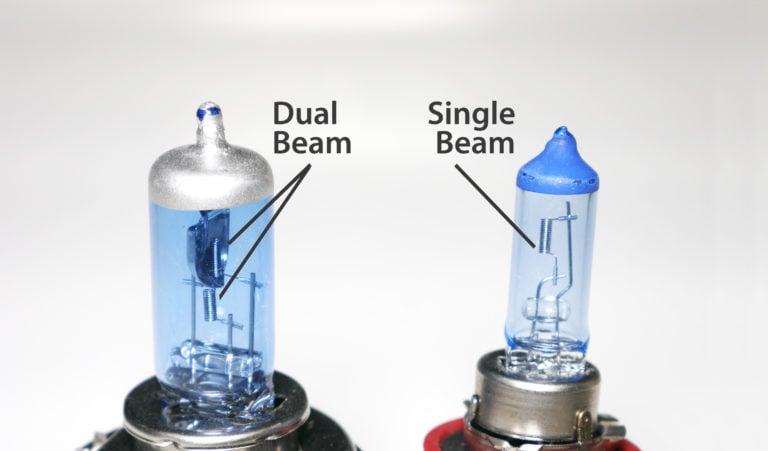
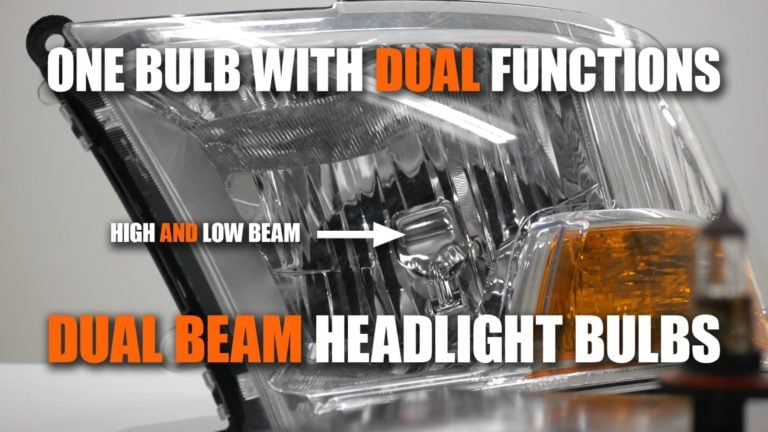
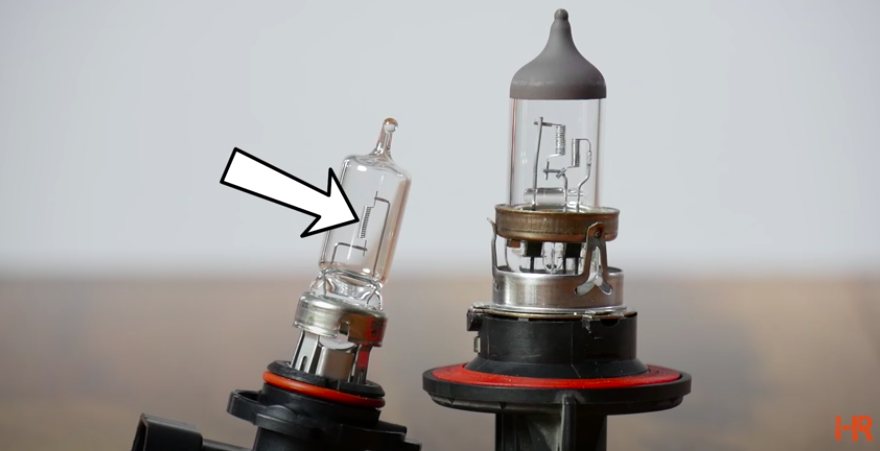
Inside each halogen bulb is halogen gas and a wire filament. When the bulb is energized, the filament reaches a state of incandescence and glows a bright light. Single beam halogen bulbs have a single filament and are used as high beam only or low beam only. A dual beam halogen bulb however has two internal filaments. The dual filament set-up inside of the halogen bulb creates a high beam and a low beam inside the single bulb.
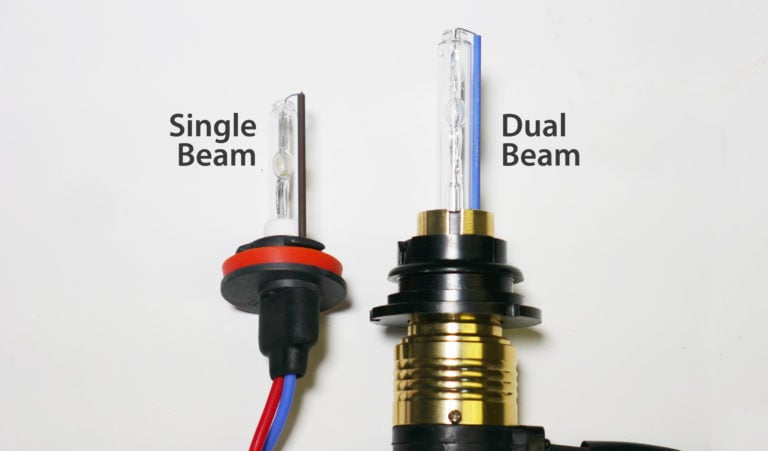
Now, let’s talk about HID bulbs. Inside each HID bulb are metal salts and Xenon gas. These gases ignite and glow when a high intensity electrical arc passes through them. This is how the light is created. So how can a single HID bulb create two beam patterns? The answer is found by moving the position of the light output inside the housing. An electromagnet changes the position of the electrical arc housed in the glass bulb further away or closer to the reflector housing of the headlight. Once the electromagnet is triggered, the bulb is pulled inward toward the housing ultimately changing the headlights focus and light output. This is why a relay harness is needed in the installation of dual beam HID headlights; the relay is what controls the electromagnet.
Let’s break down the connections on the harness:
- Battery Connection: This wire says “battery plus” and has a fuse built-in. The ring terminal connects directly to the positive batter terminal on the vehicle.
- Original Headlight Wiring Connection: This connection is the same as the back of your original halogen bulb. This connection gets plugged into your original factory headlight wiring where the original headlight bulb had been. It will leave one of your headlight connectors unplugged because 2 connections here are not required. This is normal.
- Ballast Output Connectors (2): The remaining connectors connect to the HID ballasts and bulbs directly on either side of the vehicle. Each set of wires going to each headlight includes a ballast connection, HID bulb connection, and a grounding terminal. You’ll have to run the wiring safely through the under-hood area to each headlight housing area.
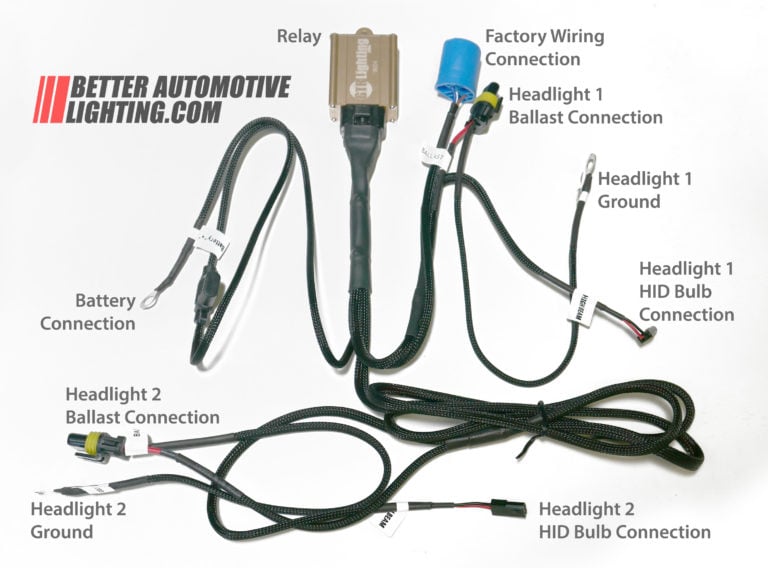
To start the install, we’ll connect the harness to the battery. Next plug the main 3-pin connector of the harness into one side of the factory headlight wiring. Lastly we’ll connect the ballasts and bulbs.
Start by laying out the harness above the engine bay so you get the general idea of where the connectors will go. The battery connection gets connected directly to the battery terminal by loosening the battery terminal connection and adding in the ring.
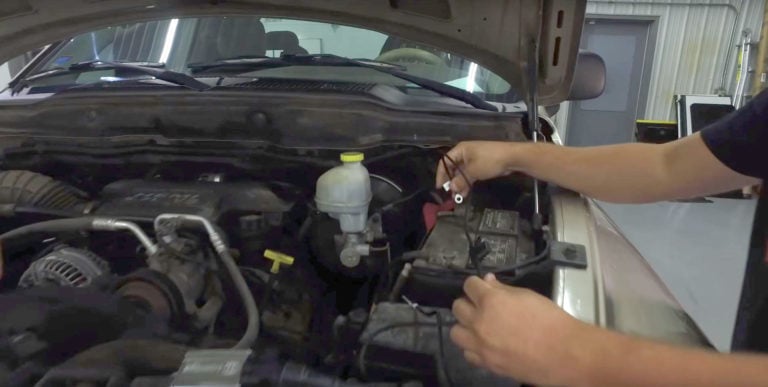
Next, run the headlight harness and the ballast harness down to the headlight area closest to the battery. Mount the relay box vertically with the tab facing upwards—this will help keep any water from pooling inside the relay box. In this installation we simply zip-tie the box to the existing factory wiring harness near the fuse box.
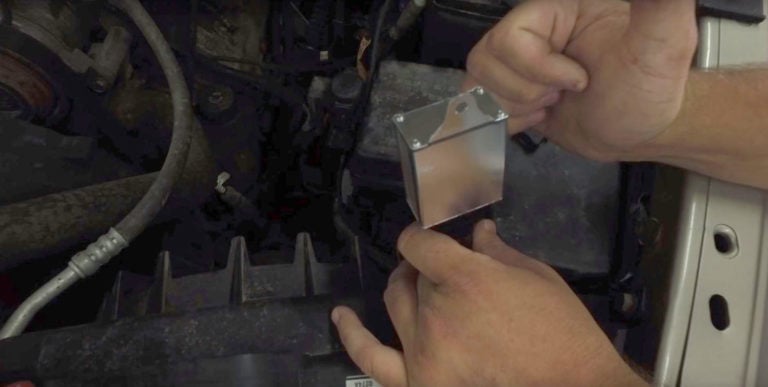
Now, attach the original headlight wiring connection to the relay harness connection. Next we attach the ballast in a spot that is out of the way; for this install we just zip-tie the ballast. Now connect the ballast to the relay harness and be sure to ground the ballast using the ground wire located on the relay harness.
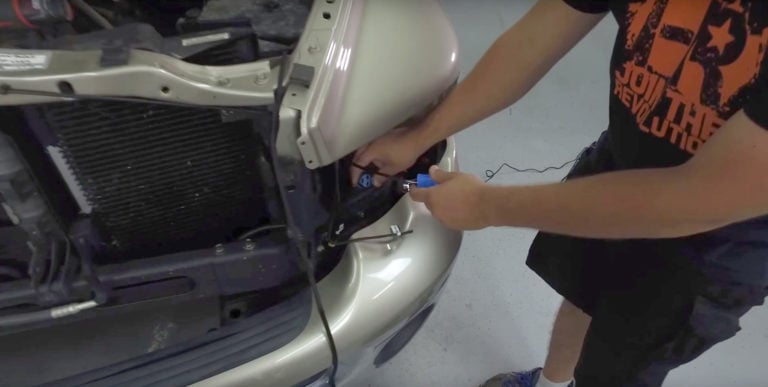
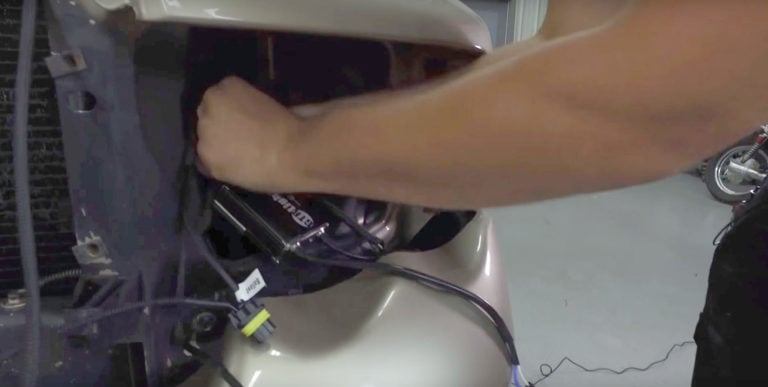
Here we found an existing screw and just added the ground wire from the relay harness to this screw. If you cannot find an existing screw, just add a self-tapping screw to the thin sheet metal in a spot that will not interfere with other wiring, cooling systems or anything else on the vehicle.
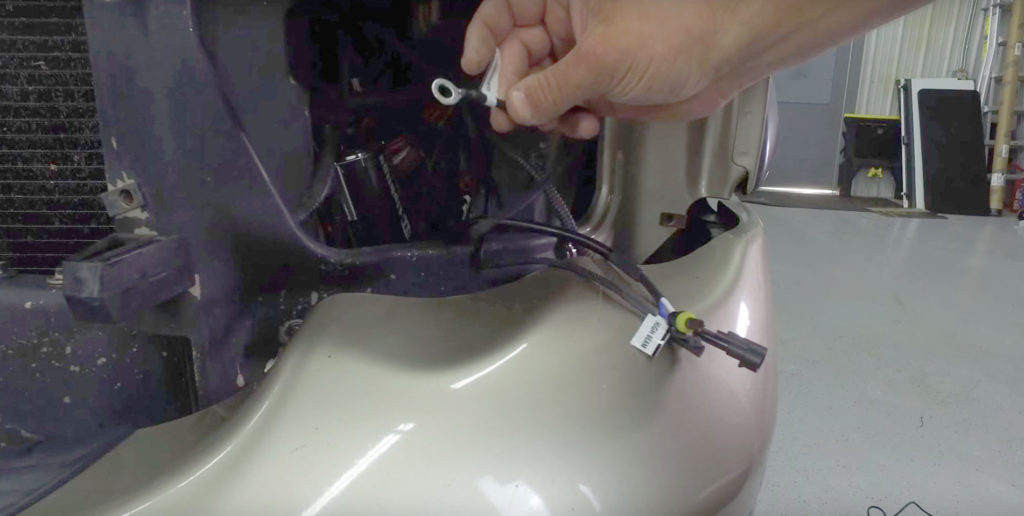
Next, connect the bulbs to the harness and the ballast wires.
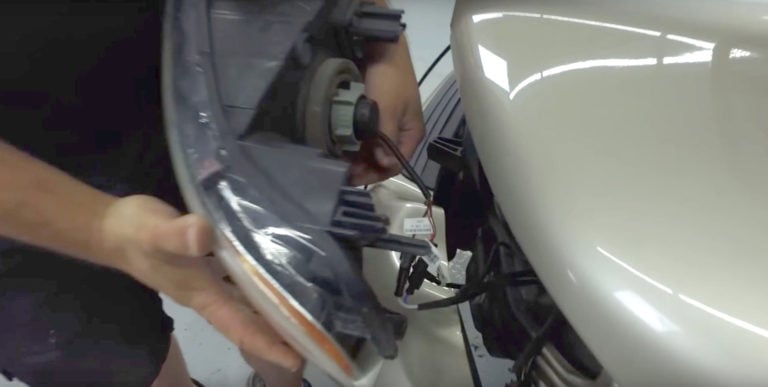
The other headlight will be done exactly the same, except that the factory headlight bulb wiring on the opposite headlight will not be needed or connected to the harness. The second headlight factory wiring will just sit unattached to any bulb or harness.
We hope you understand a little more about HID technology and about the install. Feel free to watch the video below to see the install step by step and get a hold of us if you run into any questions.
Disclaimer:
Street legal in the USA for Fog Light use. Not compliant with DOT / FMVSS108 and not street legal in the USA for Headlights. Certain specialty vehicles strictly limited to off-street use and not having DOT registration or license plates may use these products exclusively off-streets. International street legality varies by country. This usage regulation is not unique to a specific bulb, ALL LED and HID bulbs from all other brands, regardless of marketing claims, are prohibited from street use in halogen headlights in the USA.


.png?width=300&height=87&name=logo%20(1).png)