If you’re looking for a really easy way to upgrade the safety, style, and functionality of the back end of your Toyota Tundra, changing the light bulbs to LED is a really great way to accomplish that!
People upgrade their lights to LED all the time for many different reasons. Either to increase brightness so people can see your vehicle easier, to change the color, to make the style more modern, and for longevity so that your bulbs aren’t burning out all of the time. That way you don’t have to worry about light bulbs being out on the back of your truck. So if you have a 2014 and up Toyota Tundra, this article is for you:
On the 2015 Tundra, the flasher module is integrated inside of the BCM computer that controls all of the functions on the truck. The BCM dictates how fast the light bulbs blink and monitors the filaments inside the stock incandescent bulbs. It is designed in such a way that when the stock light bulb is burnt out it blinks fast to alert the driver that there is a problem. When you put in an LED blinker bulb, instantly the BCM monitor is going to think there is a light bulb out since the new LED bulbs do not use filaments, it doesn’t “read” the same to the BCM.
Since there are no flasher modules for this vehicle, we solve the fast hyper-blinking by wiring in 50W resistors. When this resistor is wired in-line with the LED light bulb it tricks the BCM into thinking you have stock light bulbs still installed.
To do this install, first you’ll need to remove the tail light using a T30 torque bit.
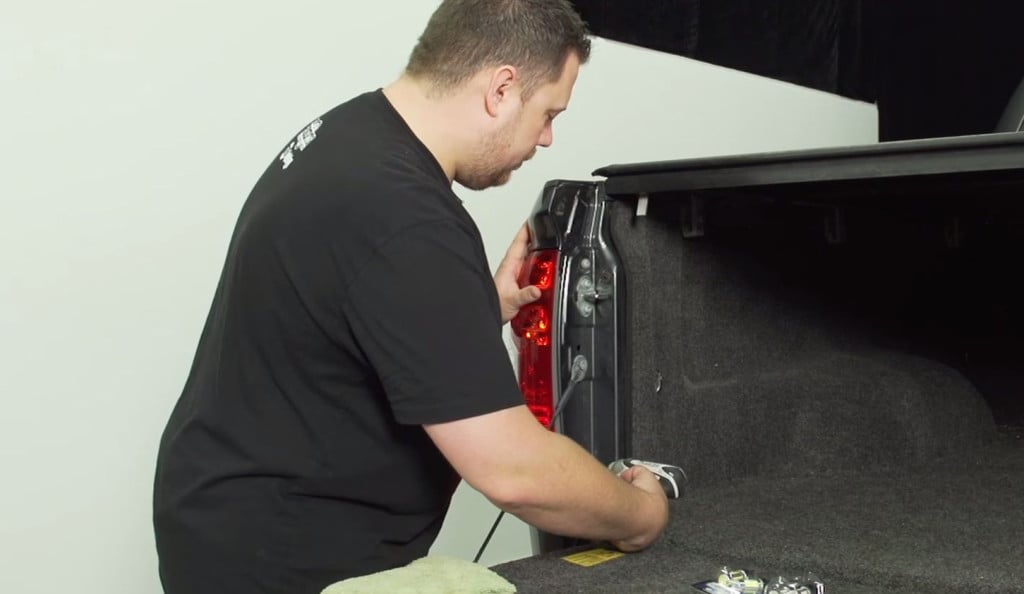
Start by removing the two torque bolts on the inside of the tail light. One on top and one on bottom.
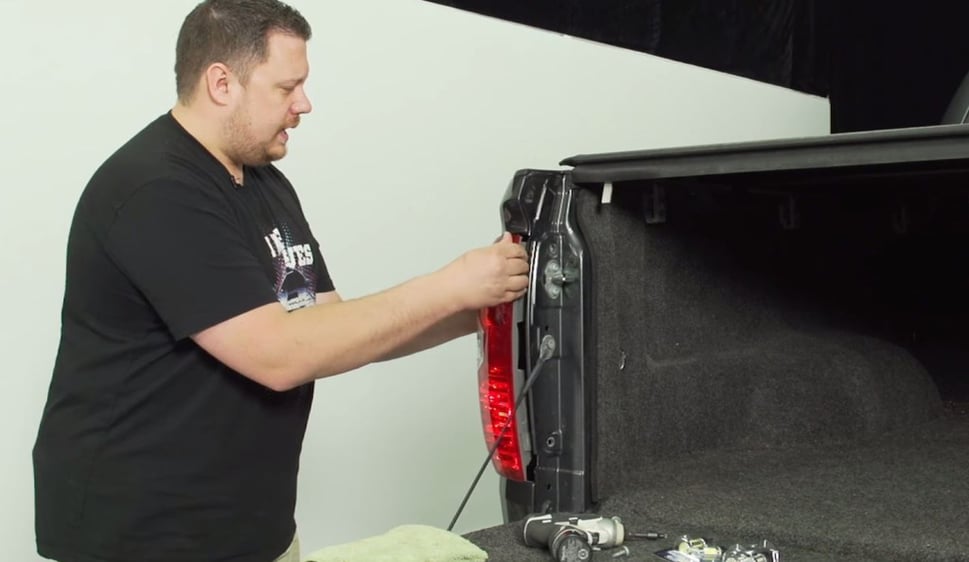
Now the tail light housing is loose. Pry on the inside corners and be aware of push pins near the outside of the truck.
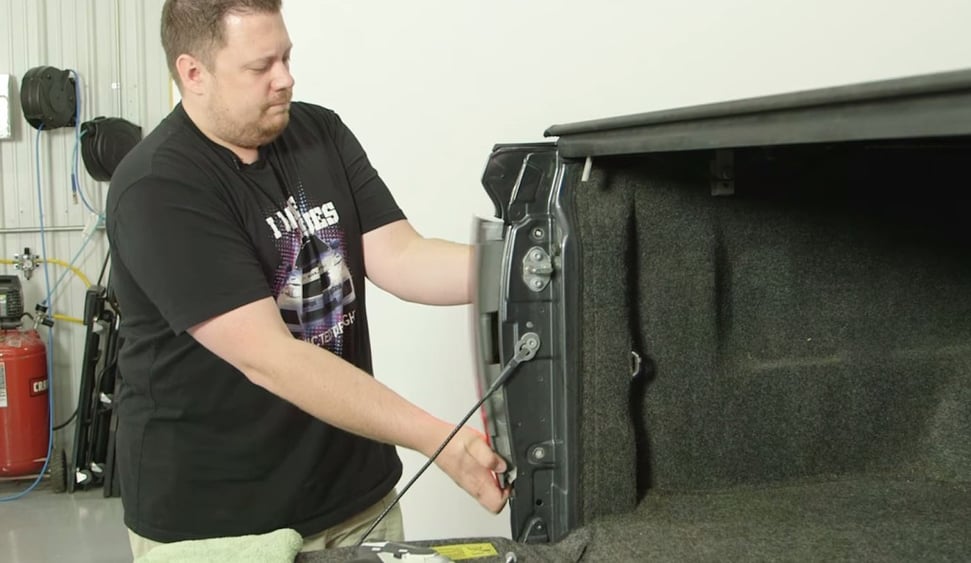
Pull outwards and be careful not to slip or drag anything on the paint.
Next, turn on your four-way flashers. This way, when you remove the bulbs from the tail lights, you’ll know you have power to the new LED bulbs as they illuminate. If the LED bulb doesn’t turn on, just take it out, flip the bulb around, and re-insert.
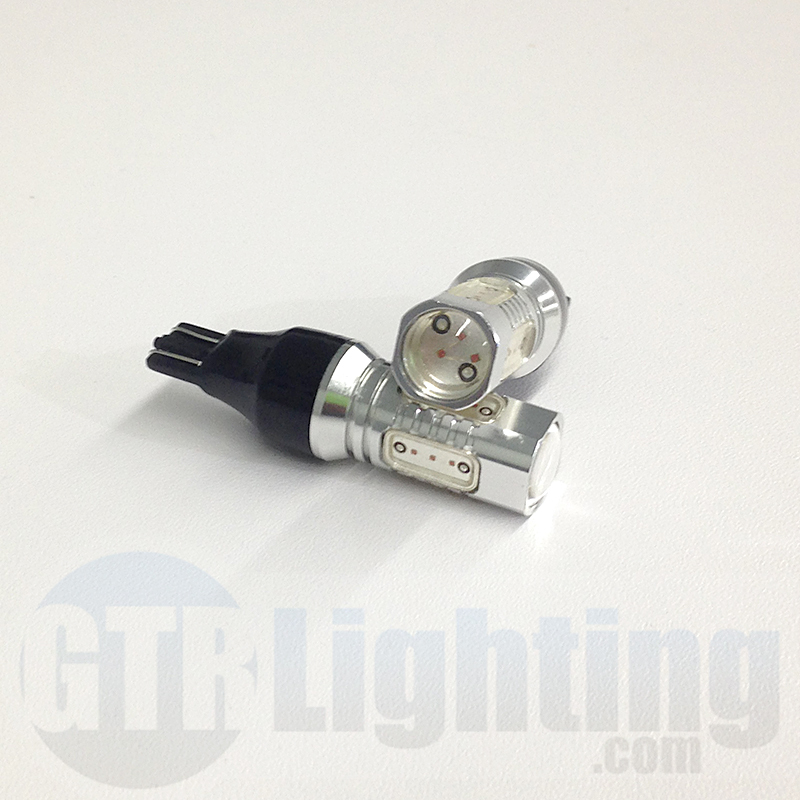
GTR Lighting T15/921 Lightning Series LED Bulbs in Red
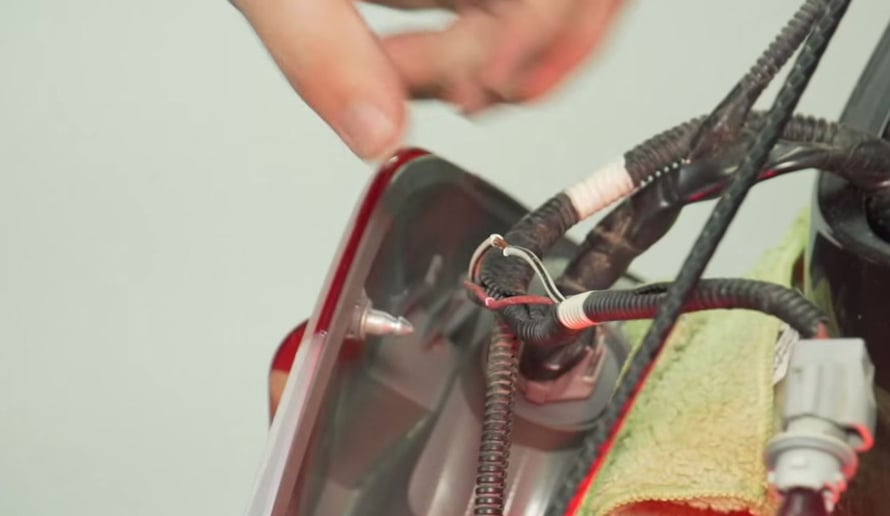
The bulb has two wires coming off of it. We followed these wires and stripped off the rubber close to where the harness starts. This will provide extra length for attaching the resistor in a safe place.
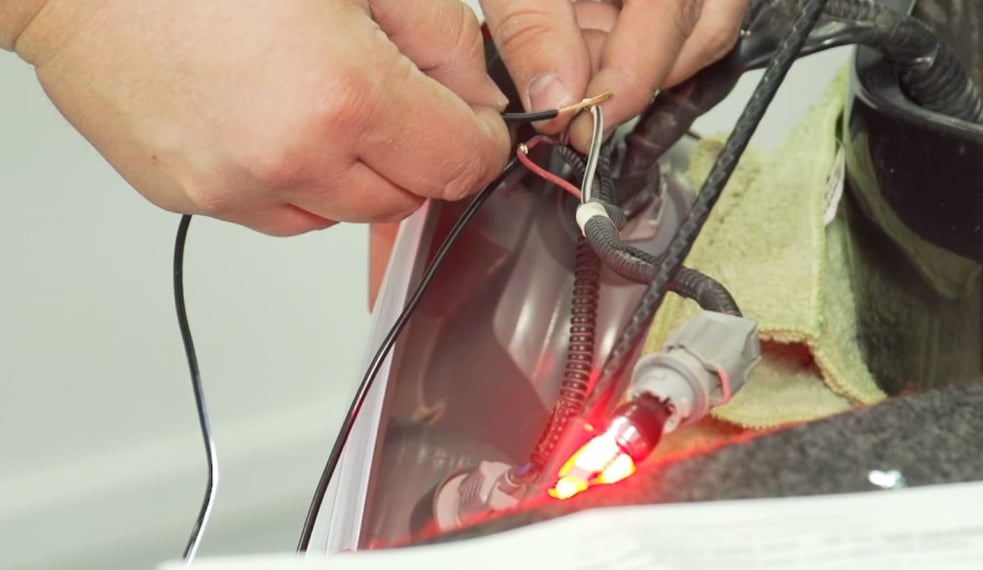
When installing a load equalizing resistor, one end goes to the bulb wire and the other goes to the ground wire. The resistor now bridges the gap between the two wires.
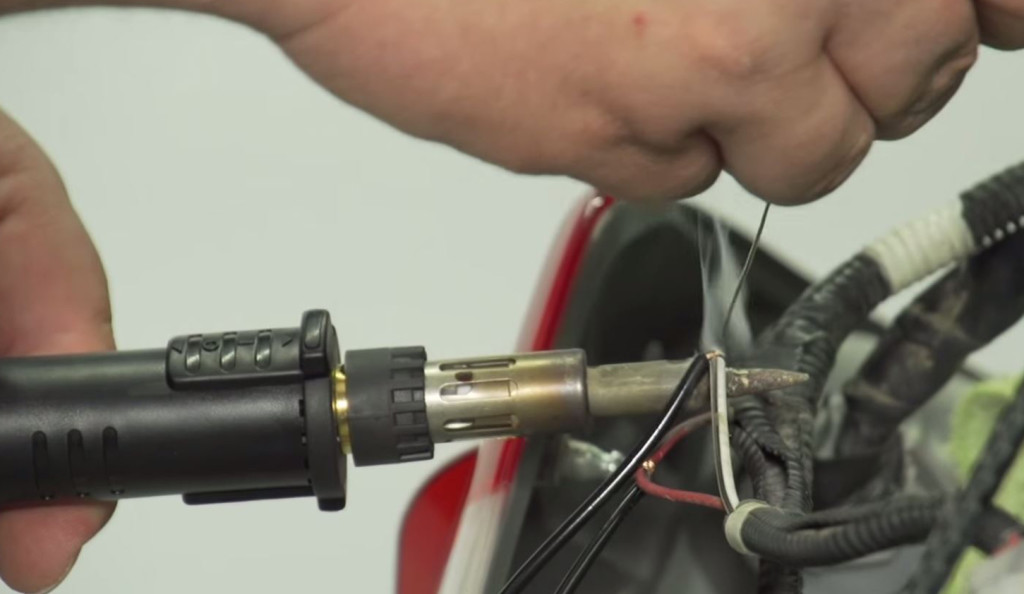
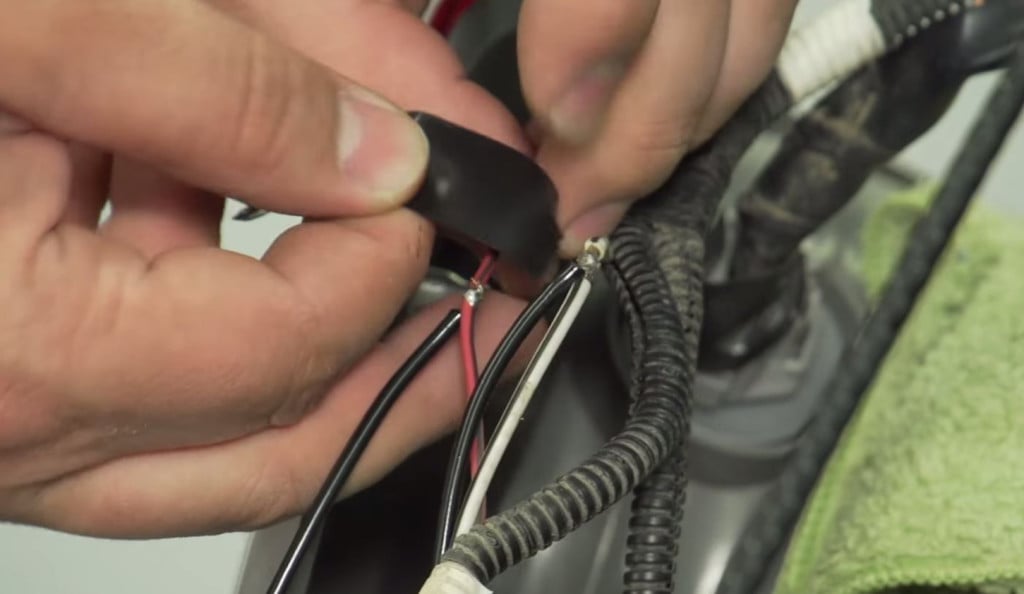
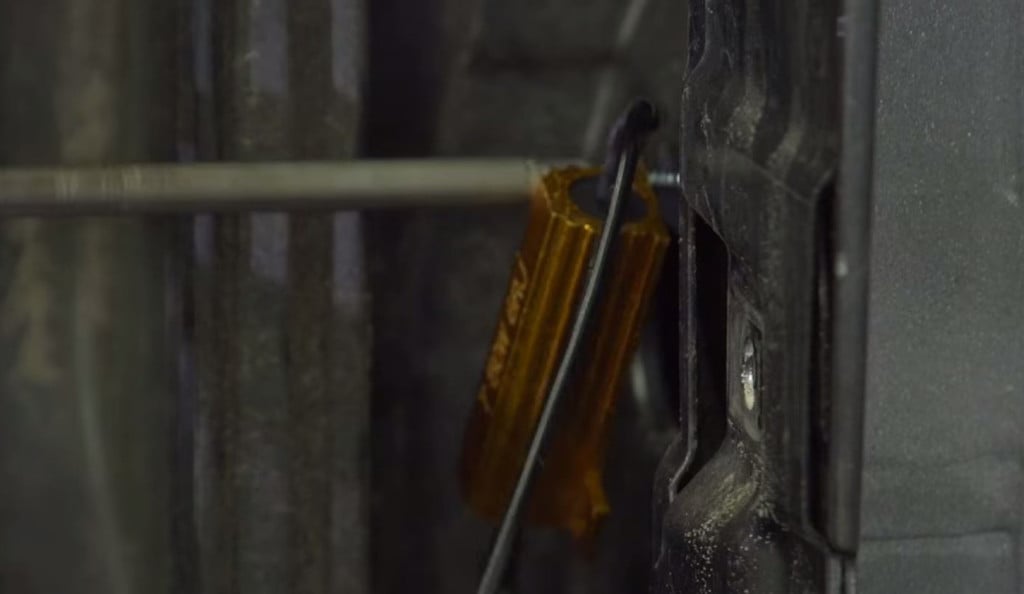
Resistor gets hot and needs to be installed in a safe place attached to a surface like metal that will not melt.



.png?width=300&height=87&name=logo%20(1).png)