Nissan 350z Ghost Shadow Lights
If you have a Nissan Z car, you might be interested in this new product from GTR Lighting. If you’re looking for something special to set your Nissan apart in the crowd, you should consider an LED GOBO stands for “Go Between Optics” and this is an miniature version that is designed to be installed in the door of your 350z (or any Nissan Z car!). The GTR Lighting Nissan Z LED Logo Projector cannot be found from anyone else, but that’s OK – because nobody makes a better style of door puddle light projector, so why look anywhere else? These projectors have a simple 2 wire hookup and can be wired to a switch or the door trigger of your 350z.
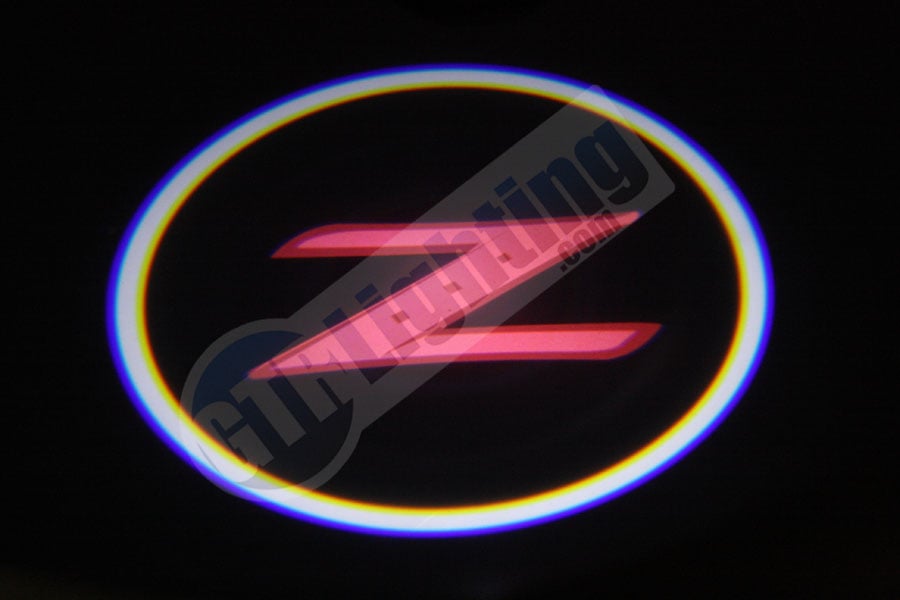
Nissan Z LED Logo Projector from GTR Lighting
In this article I’m going to show you how to install the projector housing into your 2003+ Nissan 350z inner door panels!
Step 1: Remove the door panel from the car. To do this you must remove the trim silver trim piece on the door pull, and the black plastic trim piece behind the door handle. Also you need to remove the window switch/power locks trim piece. Then you will need to use an extension and a socket to remove the bolts behind the cover panels:
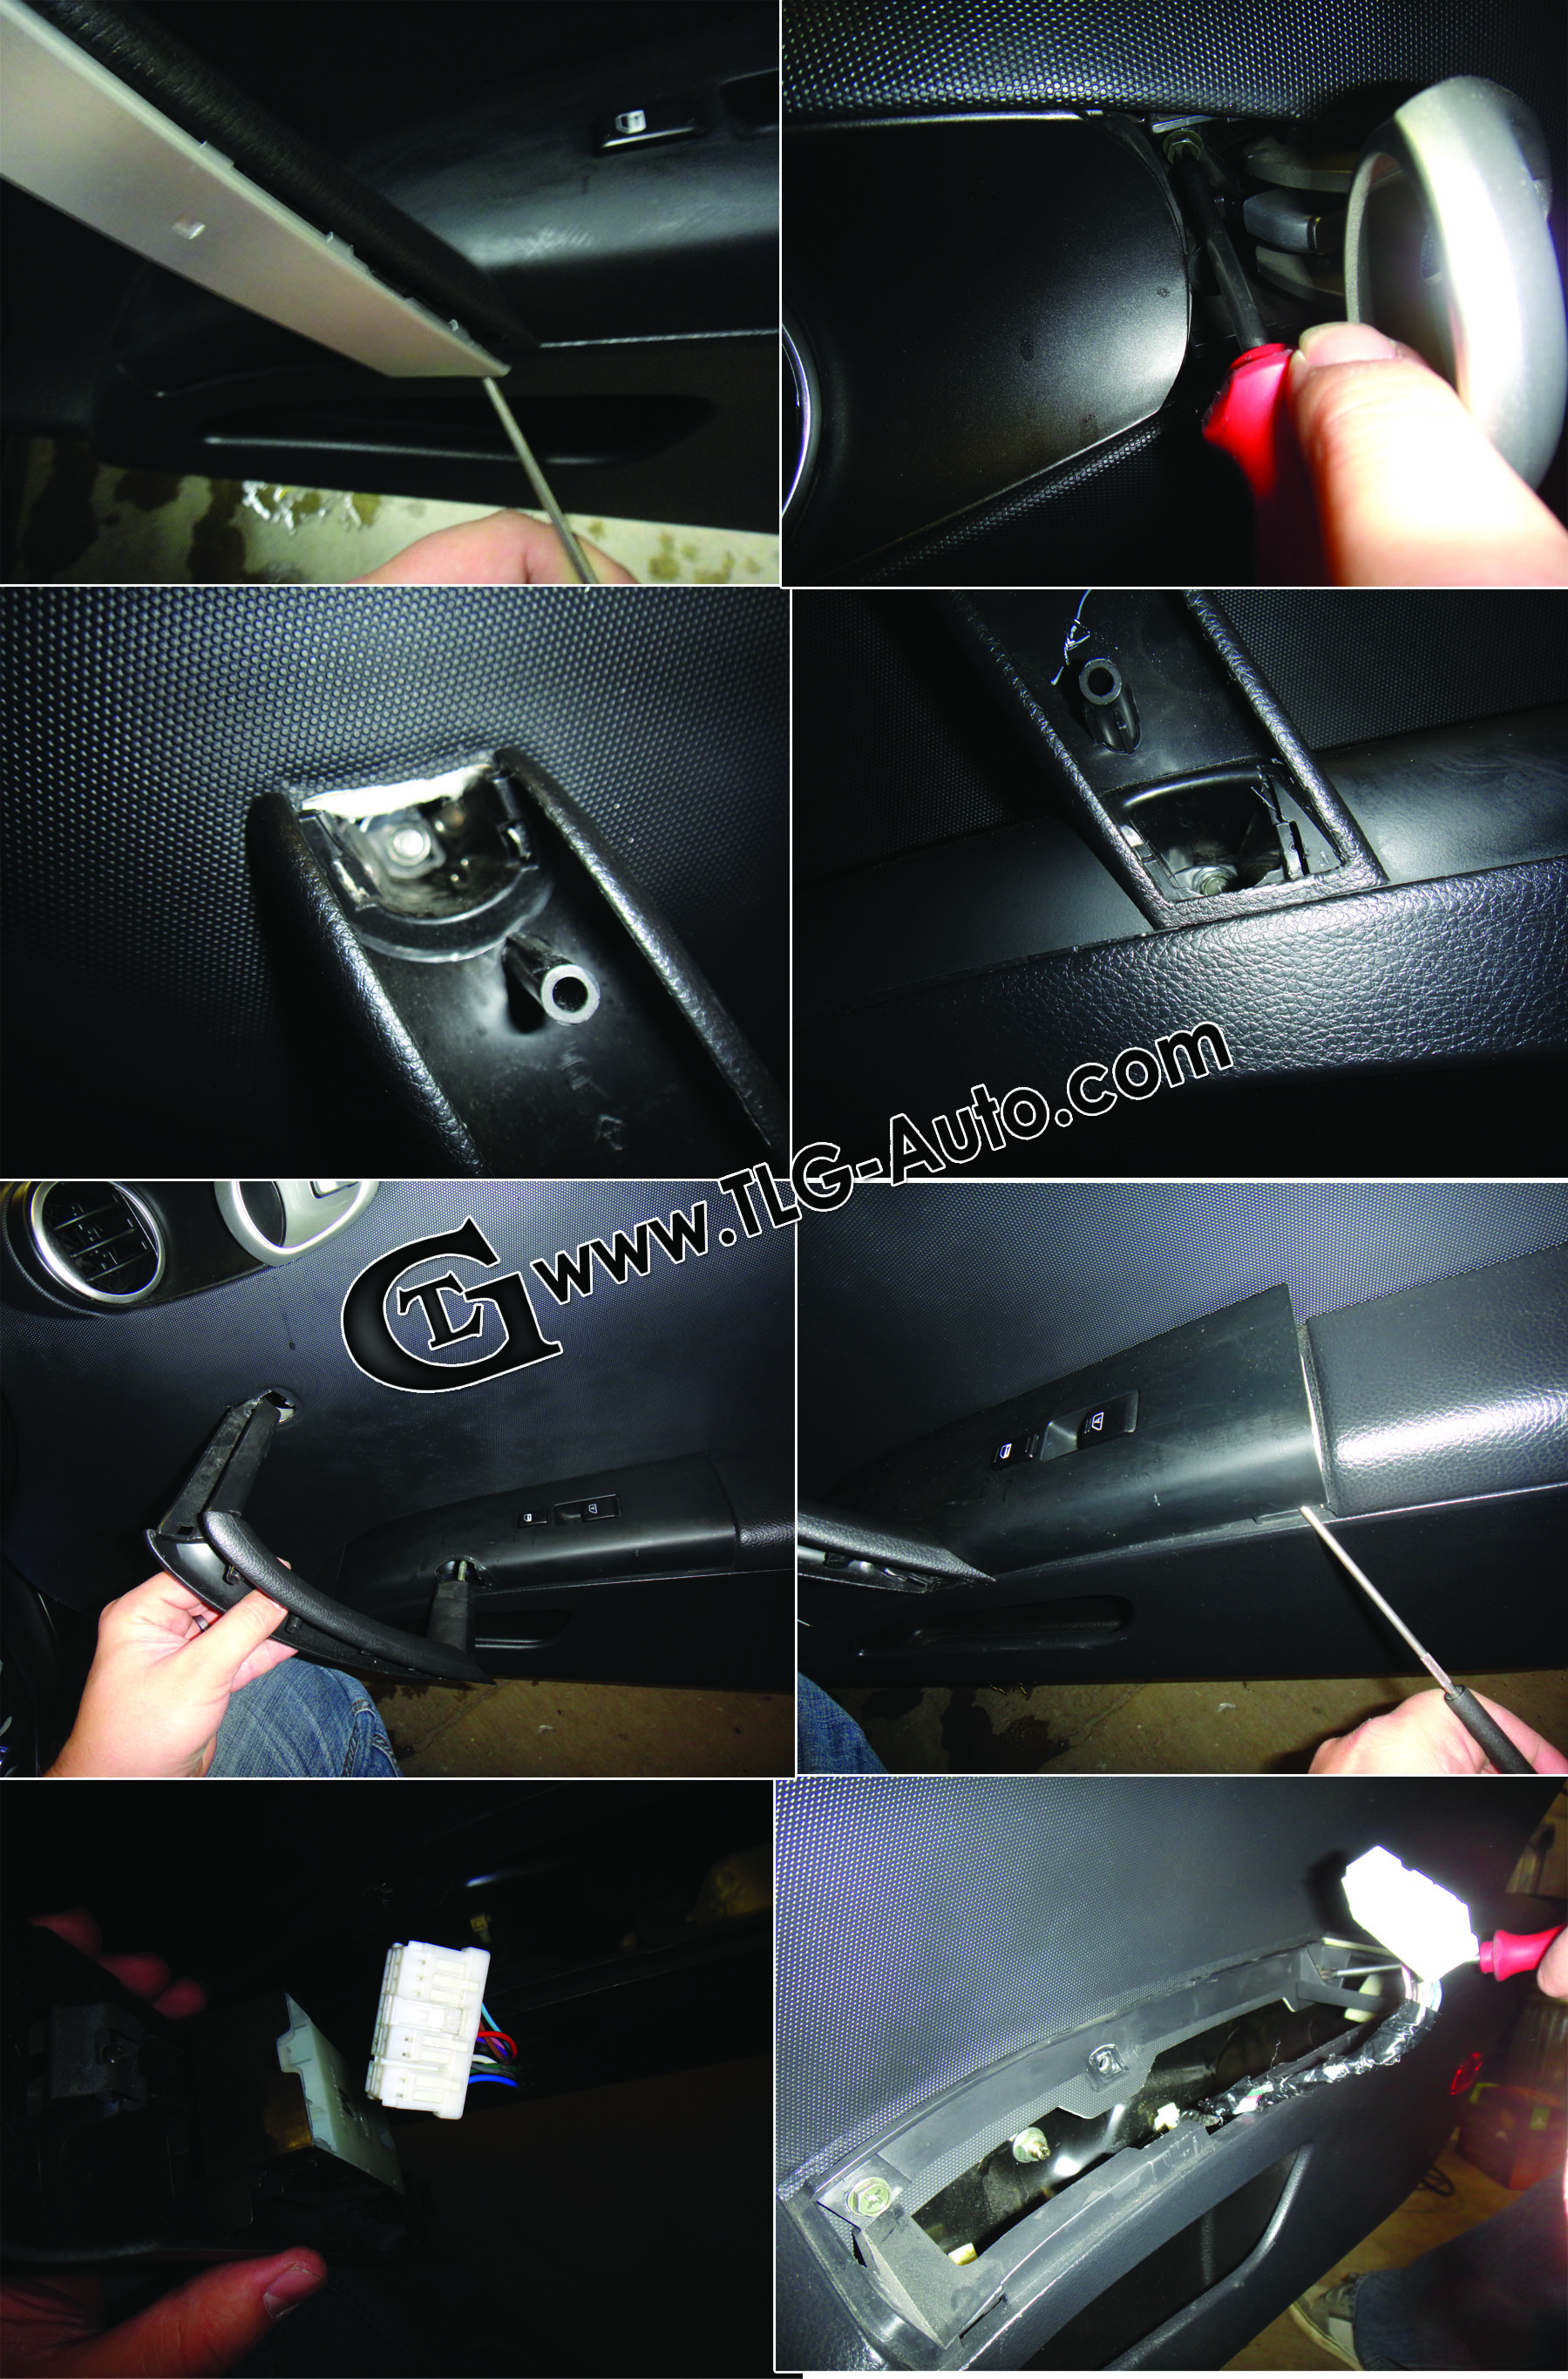
This image shows the steps to take to remove the 350z door panel. Click on it for a larger view!
Step 2: From underneath, pull on the plastic door panel to release the push-pin type clips that hold the door panel onto the car. There are about 8 little plastic clips around the perimeter of the panel, take the panel off and set it onto a flat surface so you can work on the back side of it:
Tug on the door panel to release the clips, then lay the panel down.
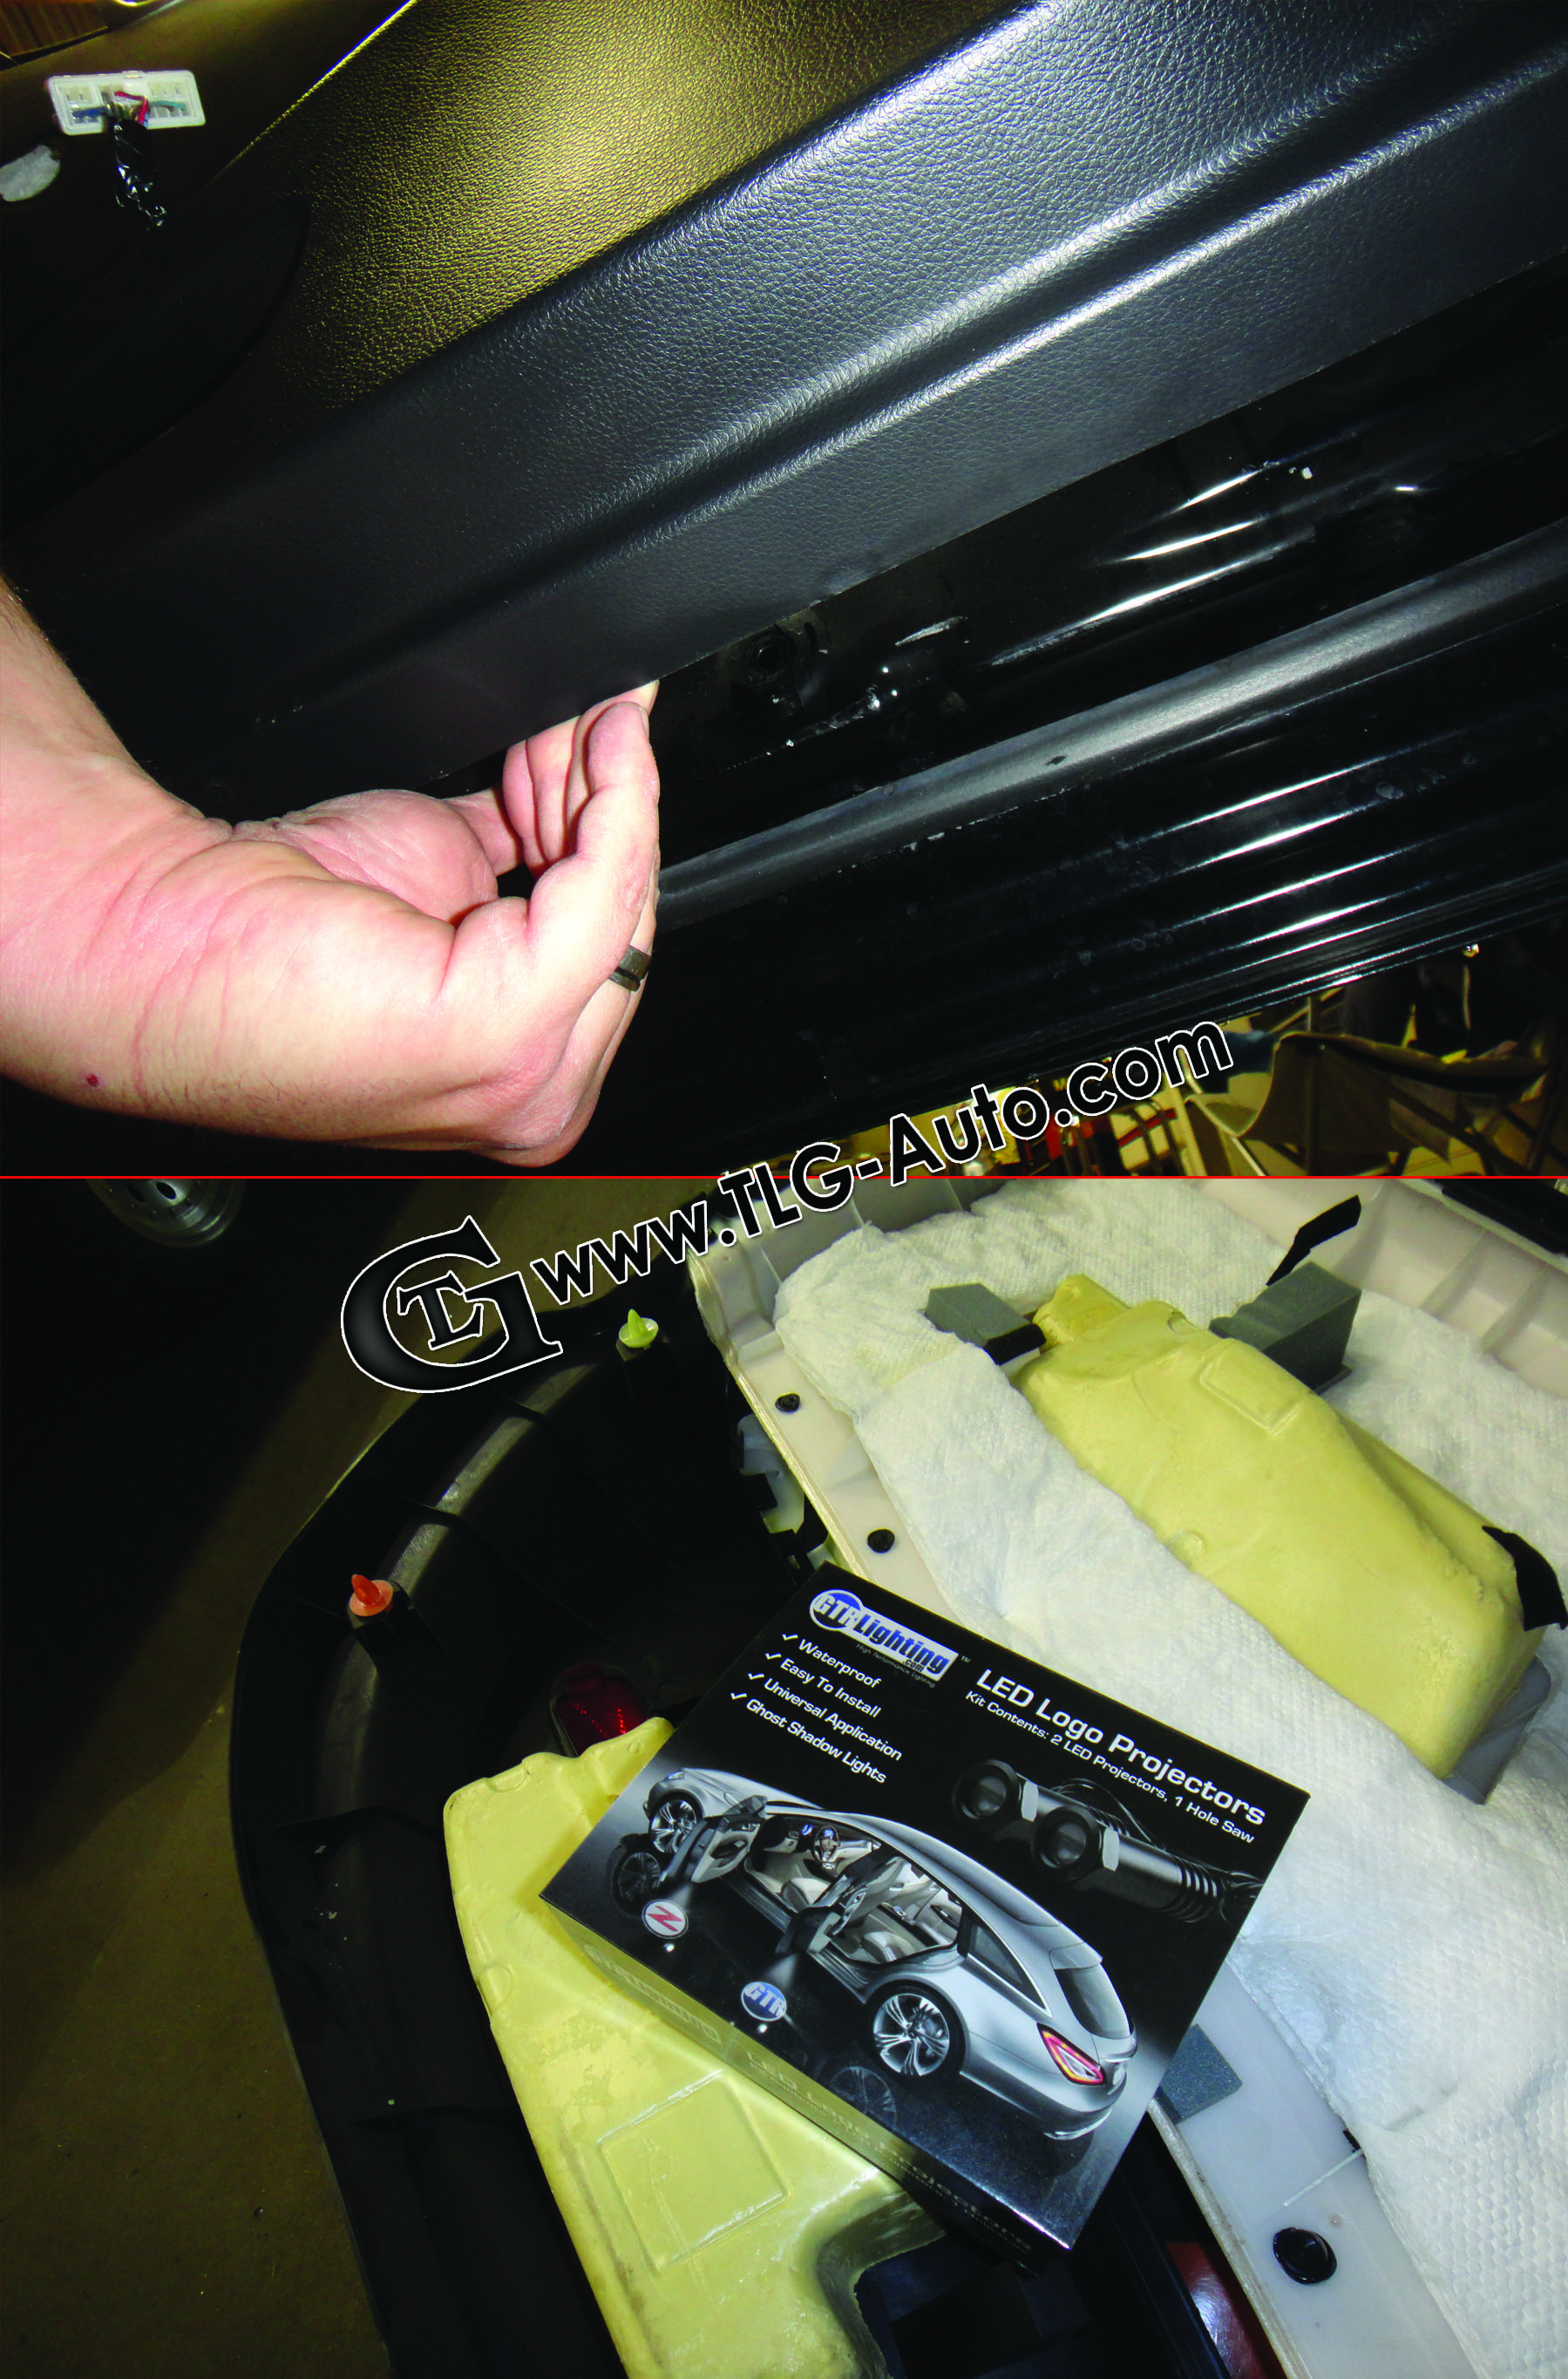
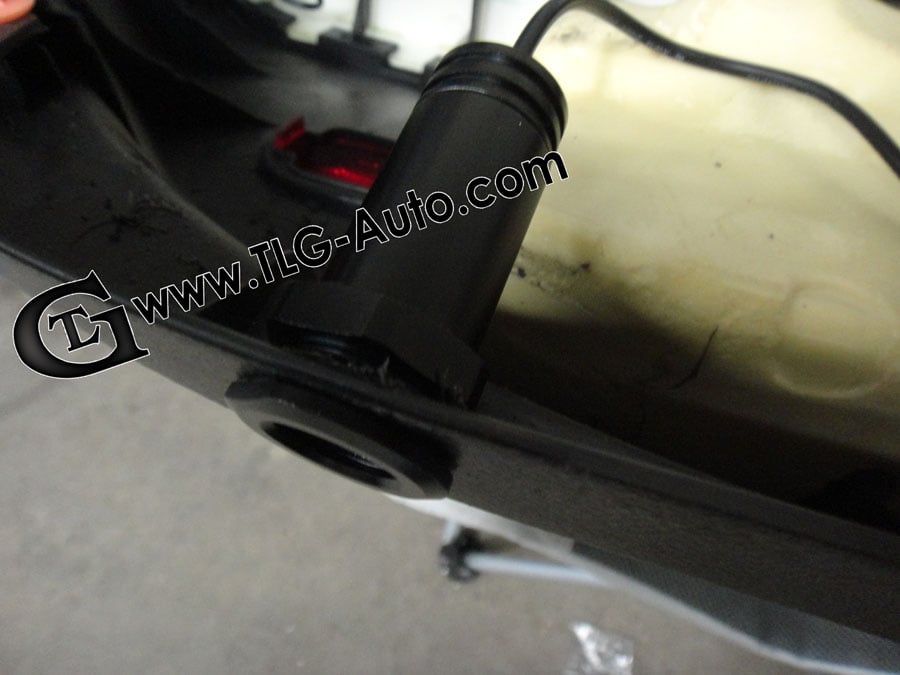
Step 3: Unpack the GTR Lighting LED Logo Projector kit box and use the collar-ring to find a suitable place on the inside of the door panel where the projector will fit. Then use the supplied hole saw and drill a hole:

Find a good spot where the logo will fit, mark it and drill the hole.
Step 4: Now that the hole is drilled, slide the projector both and wiring into the hole, and use the collar-ring over it and tighten it so it does not move and it sits almost flush with the door panel. Before you fully tighten up the projector and the collar ring, hook it up to 12v to test the light and make sure the orientation looks good on the ground with the door open.
The last step is to secure the projector and run the wiring.
Step 5: Lastly, you will have to wire up the projector to either an external switch or the door pin trigger wire. To wire the projector up to a switch simply run the two small wires (red and black) through the rubber door boot and into the car. To wire the projector to the door pin trigger, first wire the red positive wire up to constant +12v, which can be found at the power door locks wire connector. Then, run a ground wire into the car and connect it to the black wire on the projector. You can connect the ground wire to the door pin trigger which is covered by a little rubber boot inside the inner door frame. If you don’t understand how to do the wiring please seek professional help at your local install shop, or find an authorized GTR Lighting dealer.

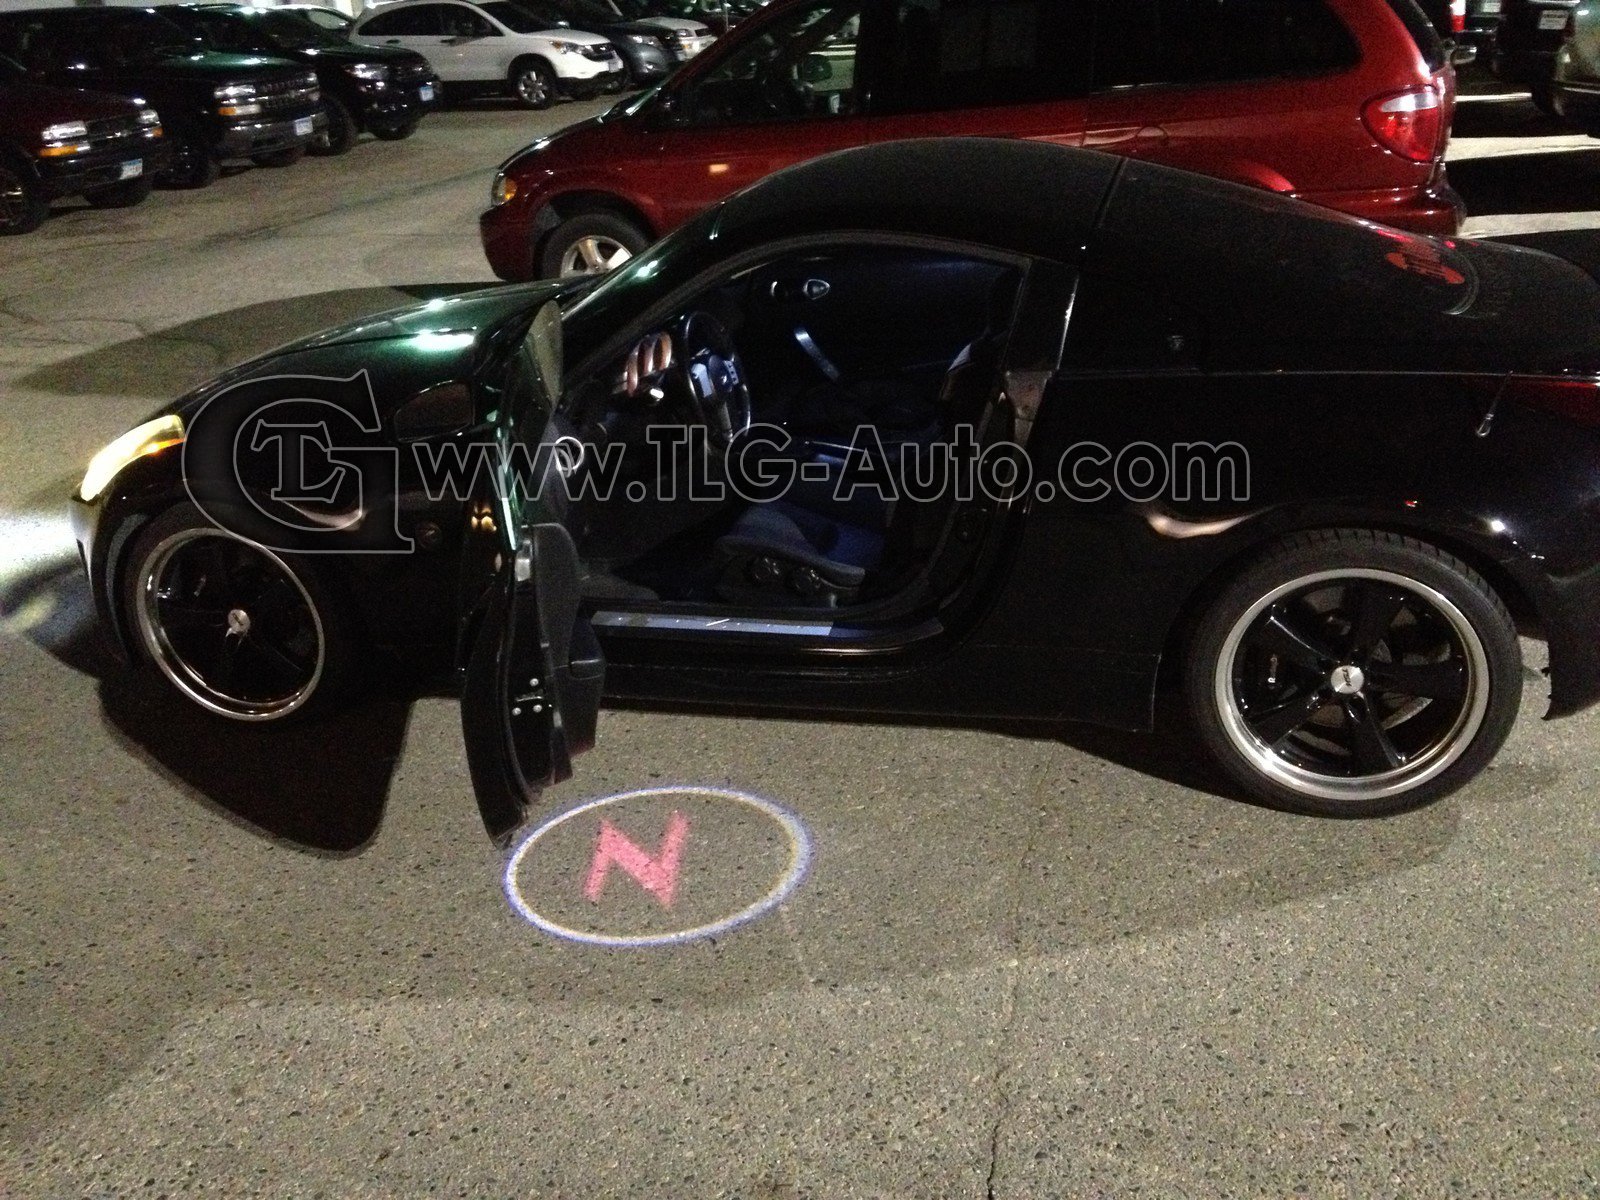
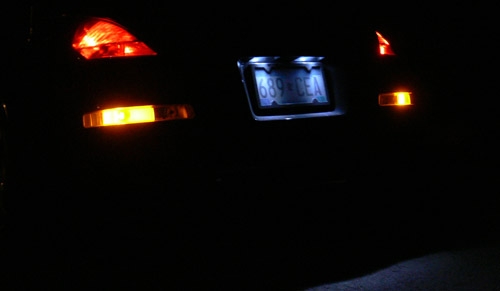
Finally installed and they look great!
Enjoy your new lights! If you want to buy this product you can find them here:
Nissan 350z LED Logo Projectors


.png?width=300&height=87&name=logo%20(1).png)